
The final challenge which we were tasked to do was to create a 2D Platformer.
Link to the game: https://qkayy.itch.io/paper-crane-2d-platformer

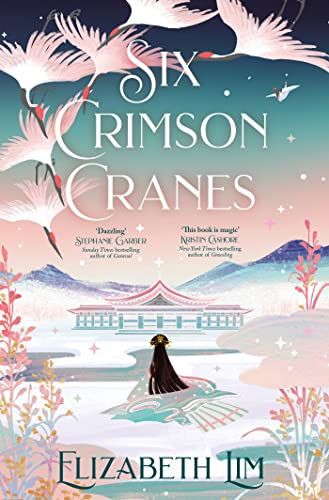
My inspiration for my player sprite for the platformer came from the book “Six Crimson Cranes”. In the book, the protagonist creates an origami of a paper crane which then becomes life-like when magic is imbued into it. Due to the fact that it is necessary for a platformer for its player to be animated, I chose the paper crane as I believe the animation for the crane flapping its wings would look cute!
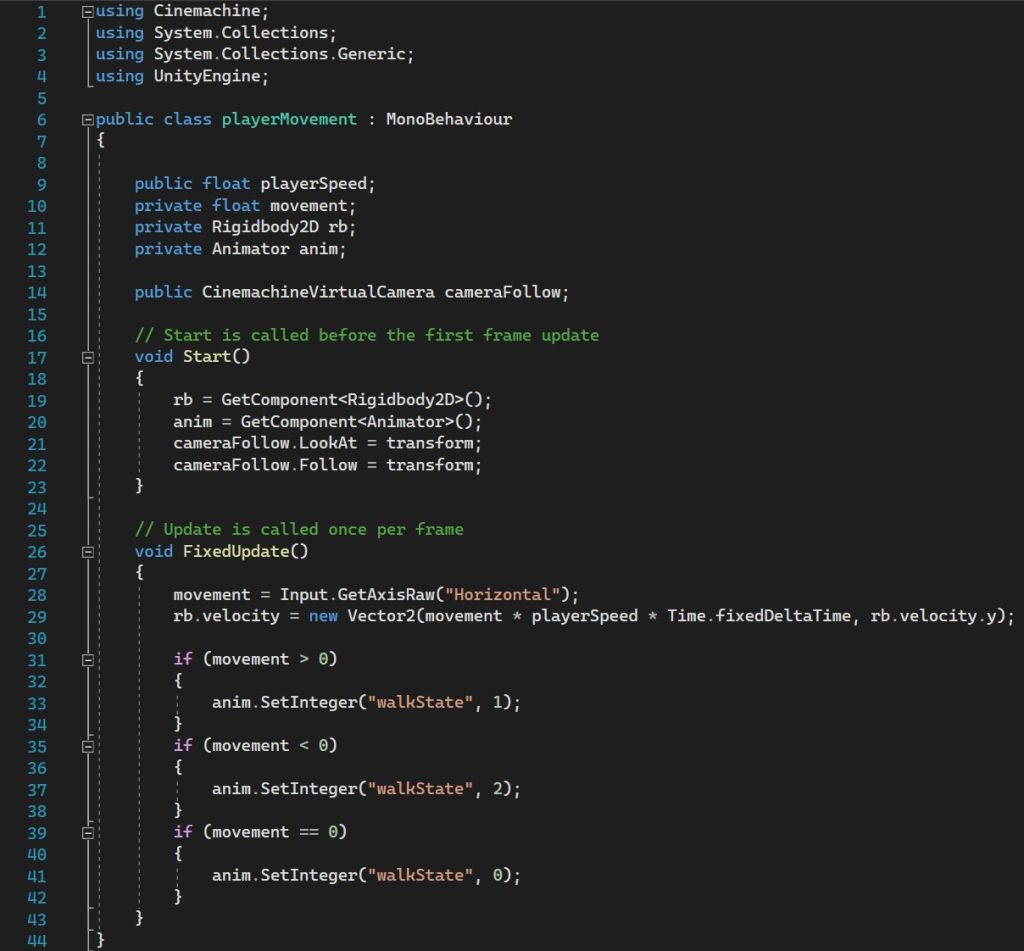
To begin with, since my player sprite has been created to play an animation, I need to incorporate an animation variable into the first script for my player’s movement – which has been named playerMovement. Focusing on the “FixedUpdate” function, the if statements state that if the movement variable (>, <, ==) to 0 then the “walkState” of the animator component would be set to the respective integer.
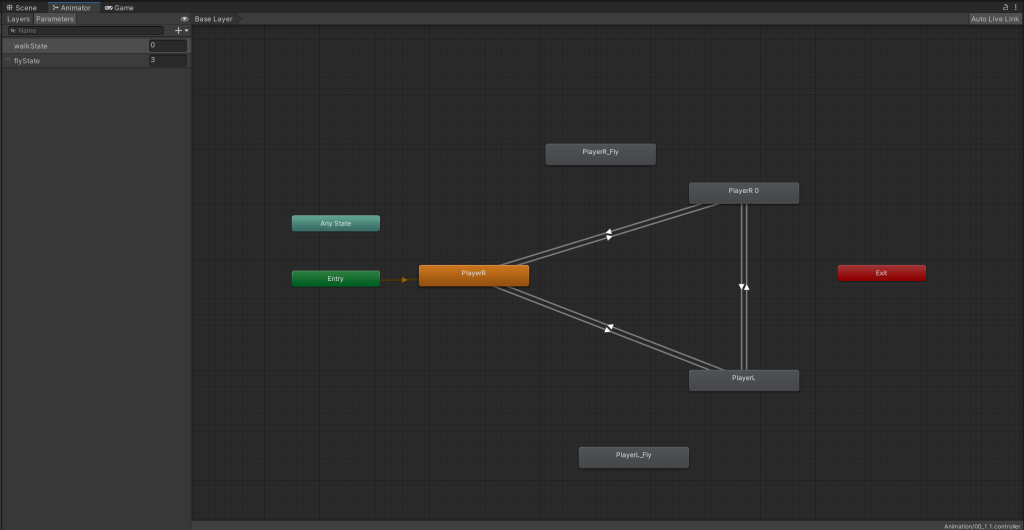
As shown in the screenshot above of the “Animator” window, a parameter named “walkState” was created with a default integer of 0. With this, we are able to add the other animations of the player to the animator and direct the transition between the animations; so in this case, I am creating a transition from the idle animation (which is the same as the face right animation) to the face left and face right animation. Because we need the animations to return to the idle, we need to create the arrow transitions to return to the default animation.
Once the transitions has been completed, conditions are needed to trigger the scenario in which the player will face left or right. To do this, when you select one of the transitions a window will appear that allows you to add a condition with a select parameter. In this case, I will be creating a condition for if the “walkState” is “Equals” to a number between 0-3 (depending on the transition number) which leads to creating the script for the player’s movement.
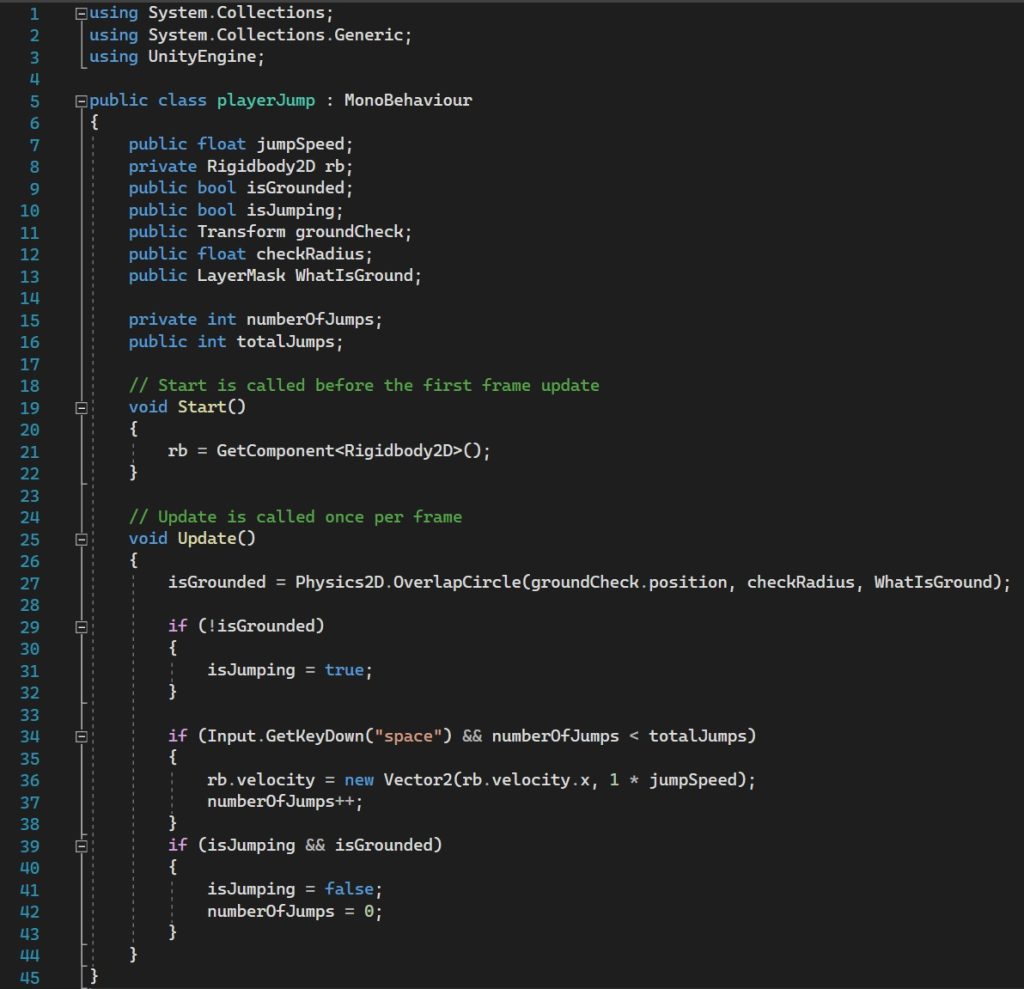
Once the player is able to move around, I needed to create a jumping script that enables the player to jump over obstacles, enemies and platforms! Firstly, I needed to create an empty game object within Unity and add a “Capsule Collider 2D” component and attach it to the player prefab. Once this has been done, assuming that the correct game objects have been placed into the transform within the “Inspector” tab and the tags have been labelled appropriately, the component should collide with the collider on the ground (tiles) game object which makes the “isJumping” variable false. The “isGrounded” variable is necessary as without it, the player is able to jump as many times as they could possibly want; however, with the “isGrounded” variable, the game is able to detect that there is a ground beneath the player (due to the collision components) and then disables the “isJumping” to false which leads to the “numberOfJumps” to equal 0.
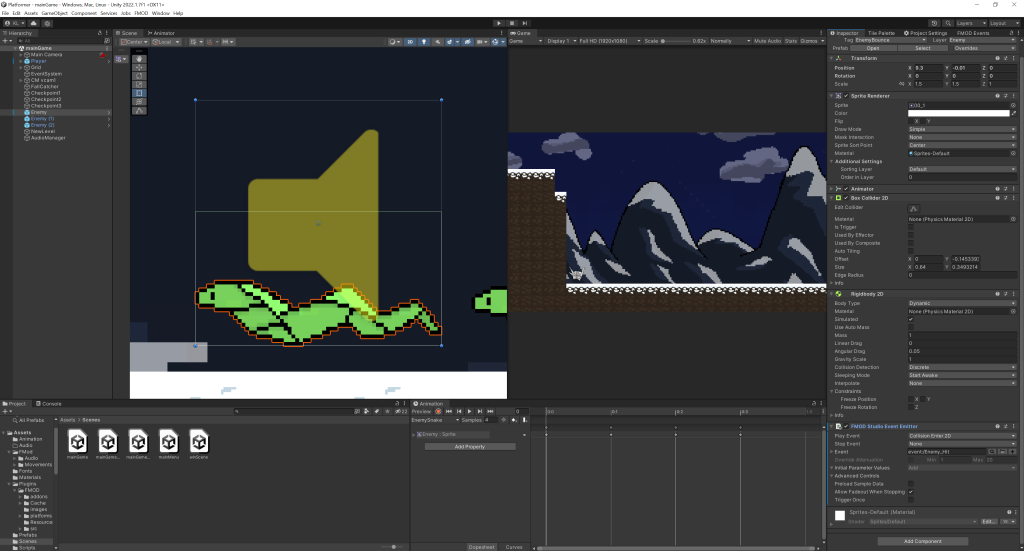
Rather than creating a script to trigger the event sound when the player collides with the enemy, I decided to add the script that is already implemented with FMOD which is the “FMOD Studio Event Emitter”. By changing the “Play Event” from “None” to “Collision Enter 2D”, each time the enemy collides with another object which has a collider, it will play the “Enemy_Hit” audio. However, because the event occurs for every collision, as the enemy spawns into the game it will inevitably collide with the ground (because the ground also has a collider component attached to it); therefore, each time the scene loads, the “Enemy_Hit” sound will play regardless of whether the player collided with it or not.
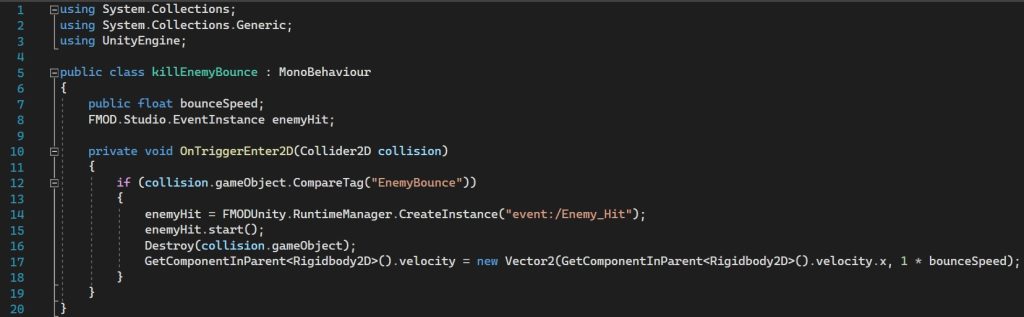
Therefore, a script became necessary for the collision audio to function as intended. In order for the “Enemy_Hit” audio to work, I simply added “FMODUnity.RuntimeManager.CreateInstance(“event:/Enemy_Hit”);” within the “OnTriggerEnter2D” function under the if statement of the “killEnemyBounce” script. To ensure that the correct sound is playing, I needed to copy the path directory of the audio event from the “FMOD Events” tab within Unity and paste it into the script between the quotation marks (as shown in the below screenshot).
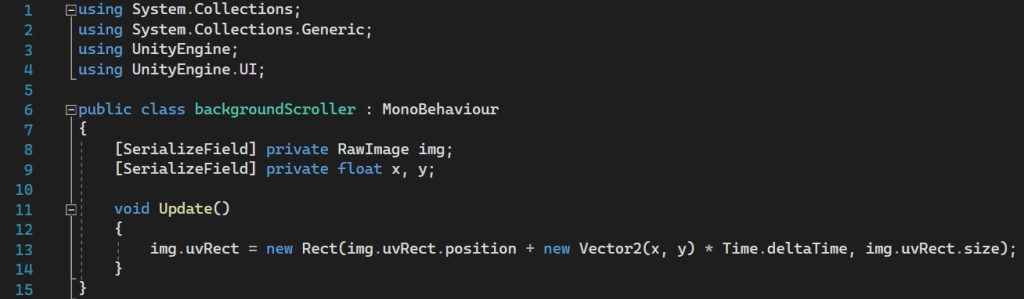
A feature that I think platformers should have is a scrolling background; which is why I wanted to add this to my game. I came across a script that clashed with my other game objects within Unity, so although the game camera would only display my background none of my other game objects would appear as the background is labelled under the “UI” layer, which layers it over the other game objects within my game.
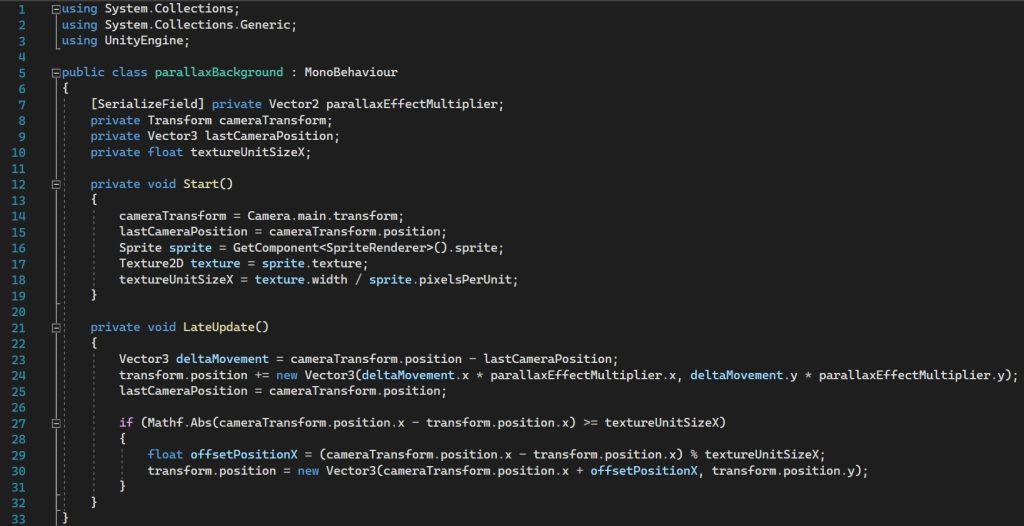
Thankfully, another script was found which worked together with my game (below). This script does not require the use of UI, so I did not encounter the problems that I had with the previous background scroller script. With this new script, it relies on parallax scrolling which activates the backgrounds to move independently from the main camera (Pav, 2020).
Unfortunately, although the script does work, my background does have a jitter as the player moves; this is possibly due to my background not being consistent – therefore, I would need to alter the background, but I unfortunately did not have enough time to implement this change.
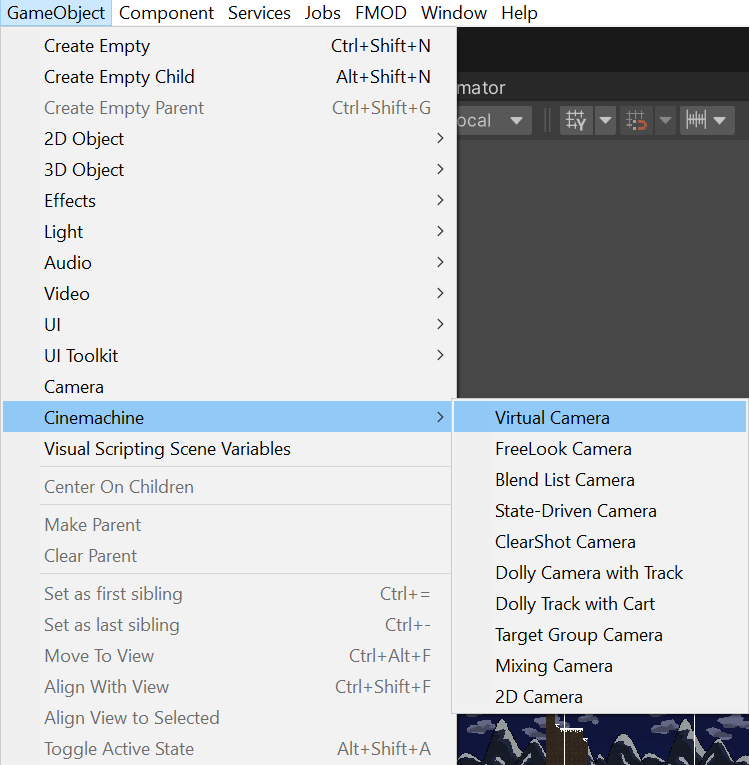
Rather than implementing the camera script from the tutorials, I added the CinemachineVirtualCamera within Unity. With this new component, I am able to create a script where the camera will follow the player.
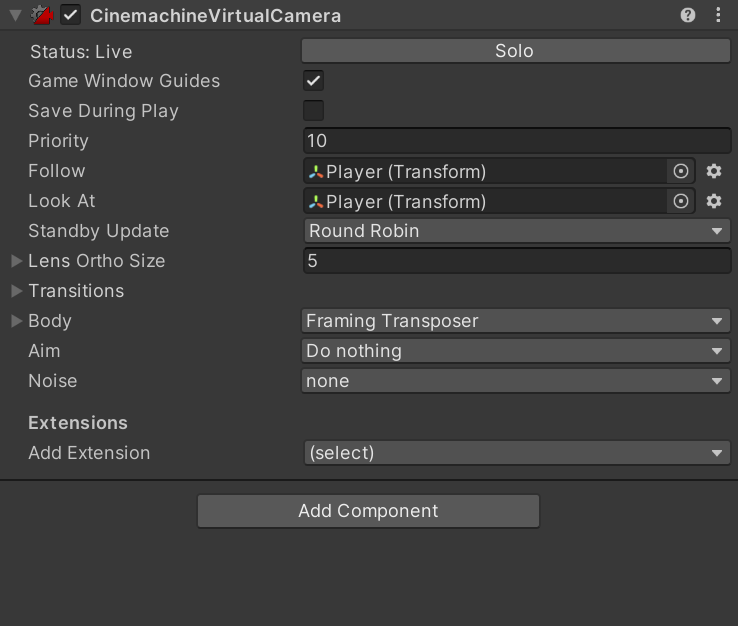
After creating the CinemachineVirtualCamera, as shown in the screenshot on he right, it is much simpler to import the player game object to the already implemented functions within the Cinemachine component. In this case, this allows me to embed the player transform into the “Follow” and “Look At” functions which, as a result, makes the camera follow the player throughout the platformer.

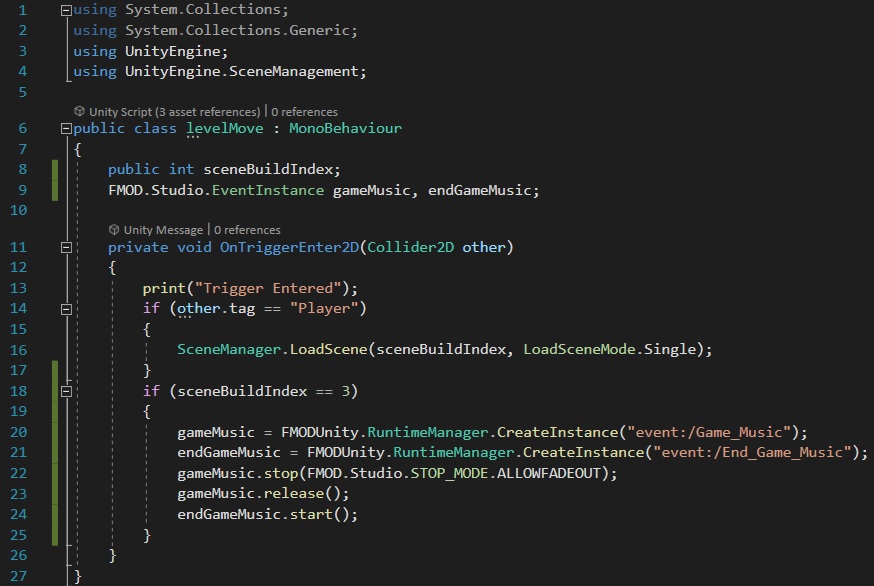
Additionally, I have also added another feature where once the player enters the trigger area, the chosen scene will be loaded. The image shown on the right is the sprite that I created for the player to move onto the next level (scene). By creating an integer variable and making it public, I am able to alter the scene number within the Unity’s Inspector so that I am not creating a new script each time I want to move to a new scene. Furthermore, thanks to the variable, I am able to create an if statement where if the scene number is 3, the game music will stop and the end game music will play.
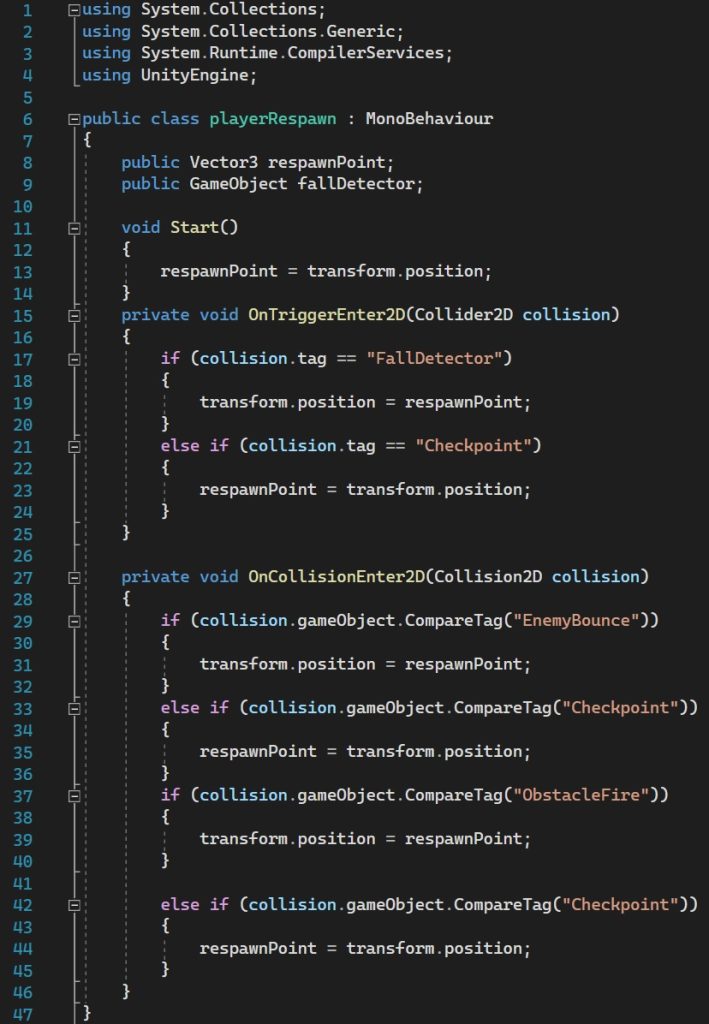
The script shown on the left is “playerRespawn” which holds the code to respawn the player. Rather than having the scene reload each time the player dies upon collision, I wanted to add checkpoints into my game (Daniel Wood, 2021). The code for the checkpoints follows simple “OnTrigger” and “OnCollision” functions in which if the player collides with the game object then they will respawn.
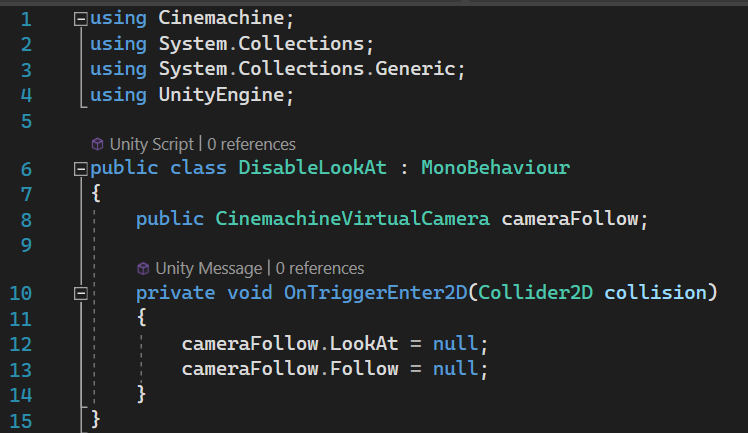
In addition, the “DisableLookAt” script was created because I wanted the camera to stop following the player if they fell through into the void. Essentially, what the code is supposed to do is to disable the camera and enable it once the player respawns; however, this code became unnecessary because I had the “FallCatcher” game object stretched across the platformer and with the addition of checkpoints and respawns, the “DisableLookAt” script became null. This is because once the player reaches the checkpoint but dies and respawns, the camera doesn’t resume following the player.

For my platformer, I wanted to include a third level in which there would be falling objects; however, due to the addition of the “Cinemachine” game object, the icicles would follow the player after it had fallen down. Furthermore, since I had added checkpoints into the game, the player was unable to spawn back into the scene so the third level had to be scrapped due to the fact that I did not have enough time to fix the code.
For further improvements, I think given enough time I would like to have worked on the errors that I had with my code. I would like for my code to have the falling icicles and a third level. Additionally, I would like to fix the background scroller on my game so that it would run smoother without the jitter that happens as the camera follows the player. I had also hoped to include more audio but due to the time management, I was unable to.
Overall, I am satisfied with the outcome of my final prototype game as I have implemented quite a few new features outside of tutorials compared to my previous prototypes. I would, however, would have liked for my enemies to move towards the player rather than standing there in their idle animations.
DevDuck (2019) Unity 2D Snow Tutorial [2019] [Video]. Available online: https://www.youtube.com/watch?v=h13P0PY8rao&ab_channel=DevDuck [Accessed 20/11/2022].
Tarodev (2021) Scrolling Background in 90 seconds – Unity Tutorial [Video]. Available online: https://www.youtube.com/watch?v=-6H-uYh80vc [Accessed 20/11/2022].
Code Monkey (2019) Parallax Infinite Scrolling Background in Unity [Video]. Available online: https://www.youtube.com/watch?v=wBol2xzxCOU [Accessed 21/11/2022].
Alexander Zotov (2018) How To Make Falling Obstacles Trigger Zone In Unity Game? Simple 2D Tutorial. [Video]. Available online: https://www.youtube.com/watch?v=Me6G20rBXvQ [Accessed 22/11/2022].
Daniel Wood (2021) Unity 2D Platformer Tutorial 20 – Respawn checkpoints [Video]. Available online: https://www.youtube.com/watch?v=VGOVe_adFMc [Accessed 23/11/2022].
Chris’ Tutorials (2021) How to Switch Levels with Trigger Area for 2D RPGs in Unity [Video]. Available online: https://www.youtube.com/watch?v=-7I0slJyi8g [Accessed 22/11/2022].
Pav (2020) Parallax Scrolling in pixel-perfect 2D Unity games [Blog post]. Pav Creations. 23 November. Available online: https://pavcreations.com/parallax-scrolling-in-pixel-perfect-2d-unity-games/ [Accessed 24/11/2022].
Font Used:
https://www.dafont.com/paper-mache-2.font