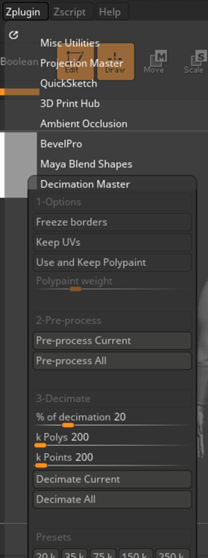
To export my model from ZBrush to Maya, I must use the ‘Decimation Master’; this tool allows the user to reduce their polycount of the model without losing too much detail. Depending on the percentage of decimation, I am able to decrease my polycount before exporting it to Maya.
To begin with, I pre-processed all of my subtools and then proceeded to experiment with 20% of decimation.
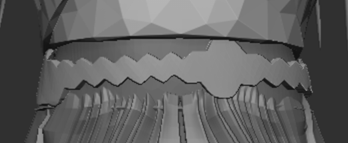
When decimating the belt, I noticed that although adjusting the percentage, the decimation would distort the shape; therefore, I decided to leave it as is and export it without decimating.
Retopology
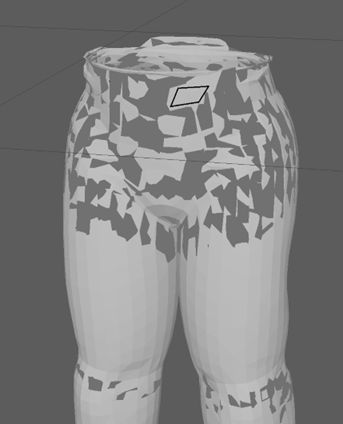
When I imported my model into Maya, I noticed that there were grey patches scattered around random areas of my mesh. I attempted to retopology, but realised that it does not work on the broken mesh.
Upon requesting for help, it was discovered that the broken mesh took this appearance because the layers were too thin and close together which caused both the inner and outer layers to clip. However, this can be solved by moving the inside faces further inwards so that the inside and outside meshes are not clipping into each other.
Because of this issue, I decided to re-export the broken mesh with adjustments to the decimation percentage, so it was not too low poly; this is because the polycount lowers when deleting the inside faces, therefore, by adjusting the decimation percentage to around 80% it allows me to maintain a decent polycount without losing too much detail.

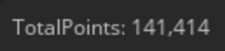
When using the ‘Decimation Master’, my polycount had lowered significantly down from 500k to 140k. Since the polycount had lowered so drastically, I decided to alter the percentage from 20% to 80%; this allows me to maintain details on my model so that it isn’t too low poly, as 500k was the desired amount.

Once the issue with the broken mesh had been fixed, it was time to begin retopologising.
Orthographic of Topology

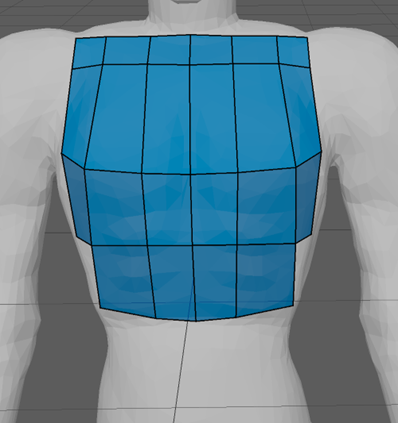
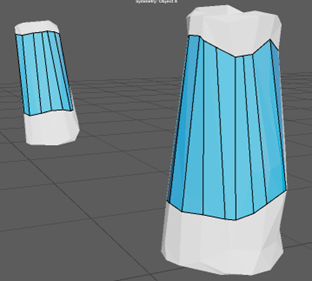
With the magnet icon selected, it activates Live mode which allows me to edit the retopology without editing the base object. Using Quad Draw, I’m able to create dots which then allow me to produce squares to begin retopology.
To start with, it was important to create large squares first and then by using CTRL + Shift + LMB I am able to create edge loops for smaller squares for the finer detail.
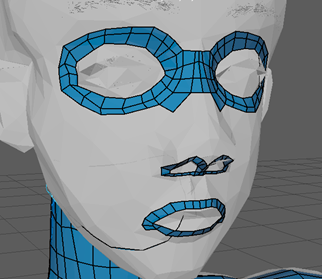
With the face, I started around the facial features e.g eyes, nose and mouth, worked around it then fill in the rest. To ensure accuracy throughout, I followed a tutorial I found online (FippedNormals, 2018) which gave insightful advice about how to do retopology efficiently. Additionally, as my model was created with symmetry, to maximise efficiency, I turned symmetry on ‘Object X’.
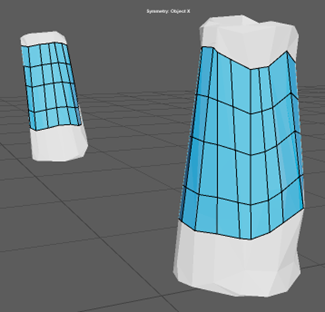
When doing retopology on a straight surface, I found it easier to create long rectangles and use CTRL + Shift + LBM to create edge loops. By adding edge loops to the long rectangles, it splits the quads which then allows me to adjust the topology and make them neater and smoother.

During the process of retopology, I experimented with the different tools such as extruding the quads using Shift + MB and smoothing out the topology by holding the Shift key. I also experimented with the smooth all option, but decided against it because it created more edge loops throughout the topology.
Unfortunately, due to some time restraint, I was unable to do retopology on 1 or 2 of the objects.
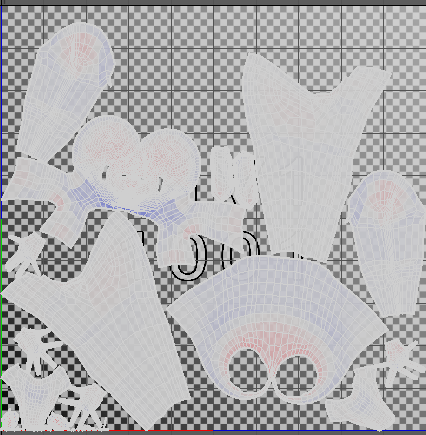
UV Unwrapping

Once the retopology had been finalised, I moved onto the next step which was UV unwrapping. I decided to start with the body topology first. By opening the UV Editor and hovering over the ‘Create’ tab, I selected “Normal-based” then selected the ‘Cut/Sew’ tool, I went around the body and cut around the key loop areas such as the ears, eyes, arms, legs, etc.
FlippedNormals (2018) Retopology for Beginners in Maya [Video]. Available online: https://www.youtube.com/watch?v=xpDWta5O3n8 [Accessed 09/01/2024].