Substance Painter
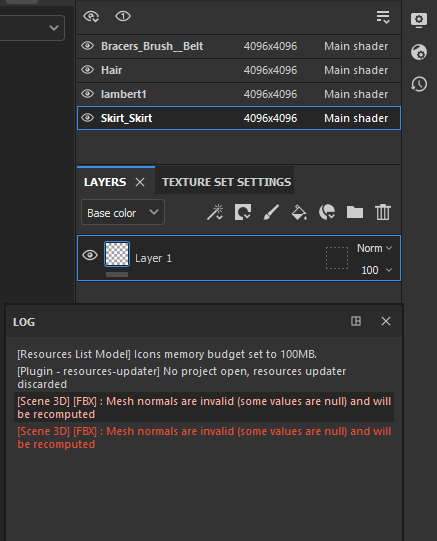
When importing my model into Substance Painter, I came across an error that merged my UV Maps together; this made it impossible to paint over as the UVs all overlapped.
I tried many different attempts with different export settings, but none of them worked; therefore, I decided to export the objects separately from before my character was merged together.
Once I had found another solution to the problem, my first step is to bake the FBX import. Because I do not have a high poly mesh, I used the imported model low poly mesh and ticked the box shown in the screenshot.
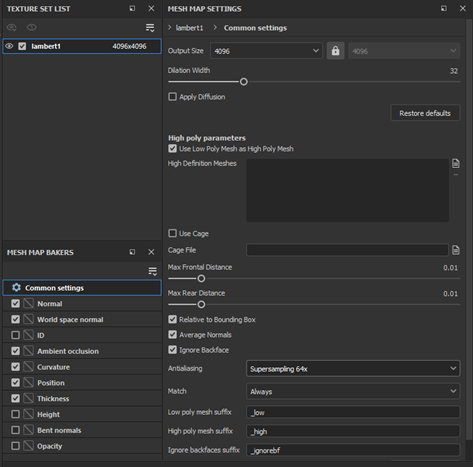
As I have created the UVs with a 4096 resolution (4k), I changed the output size to the same and changed the antialiasing to the highest option, which in this case is 64x. After baking the mesh, I proceeded to paint the layers.
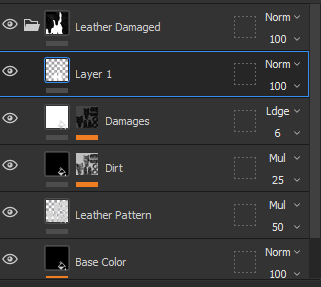
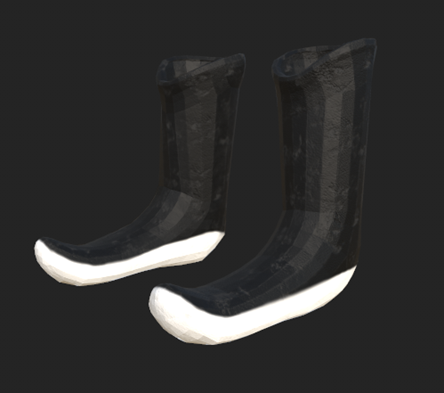
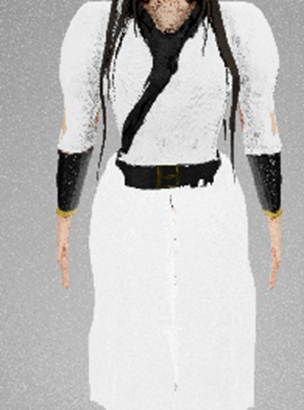
During the process of using Substance Painter, I experimented with the different paints/materials and found a leather paint that I used for the boot. In tabs below, there are options to alter the colour so I painted over the model with the desired colour.
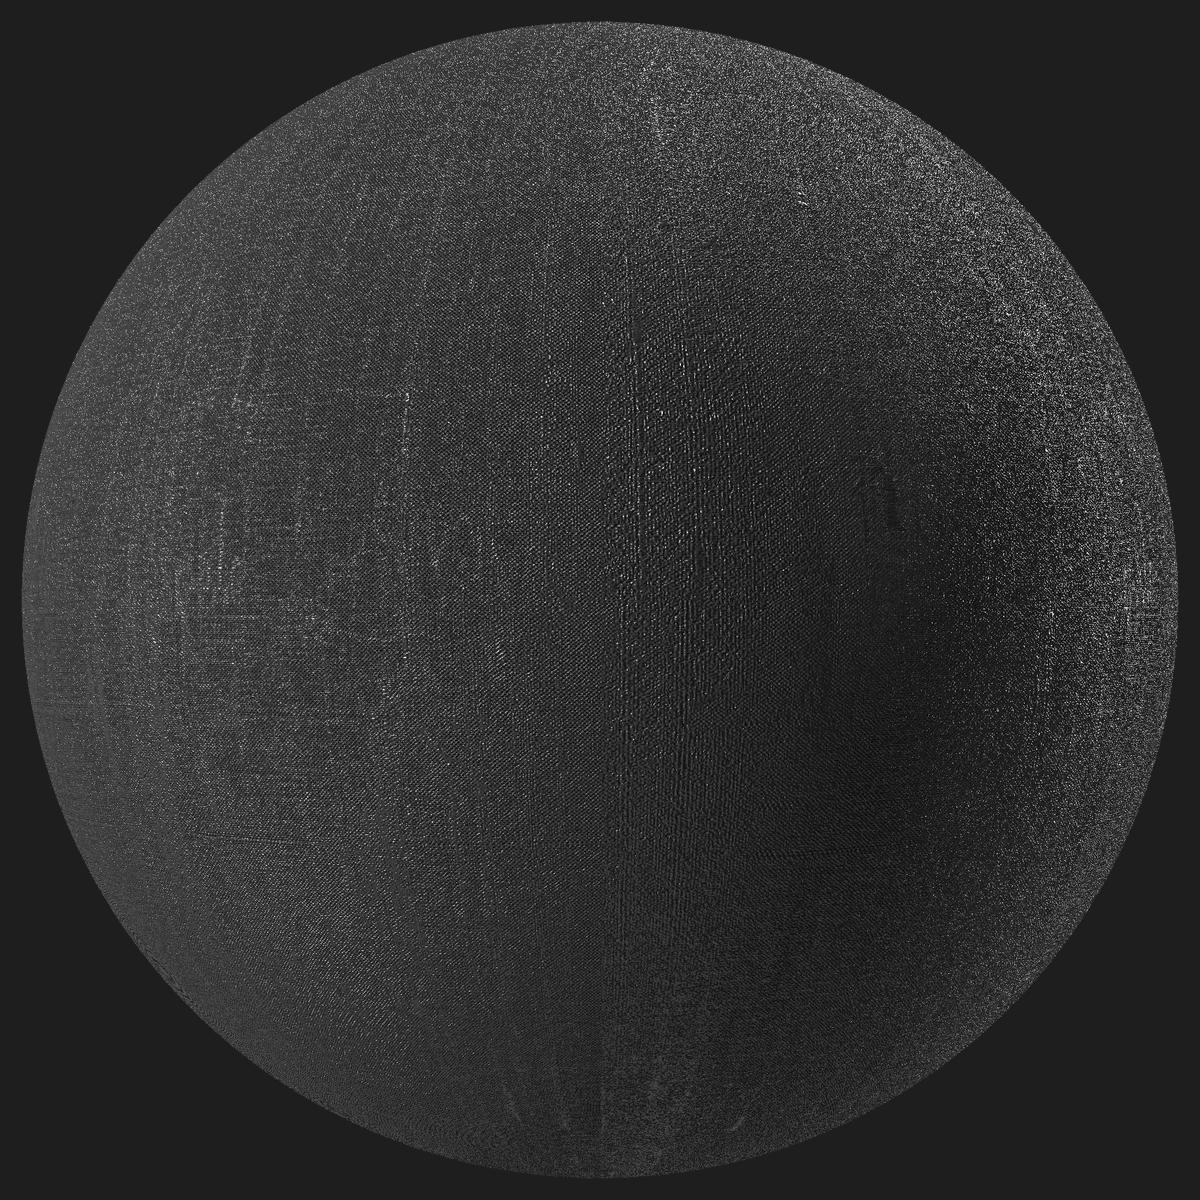
When looking for materials for the skirt, I found a material online (Polvias Bias, n.d.) that I could download for free and import it into Substance Painter.
The initial idea for the skirt is for the material to be translucent silk. As I could not find anything specific, I decided to find a material that was simply silk and this material (left) seemed most suitable. To ensure that the object fit my ideal design, I experimented with both high and low opacity of the brush as I painted it onto the layer.
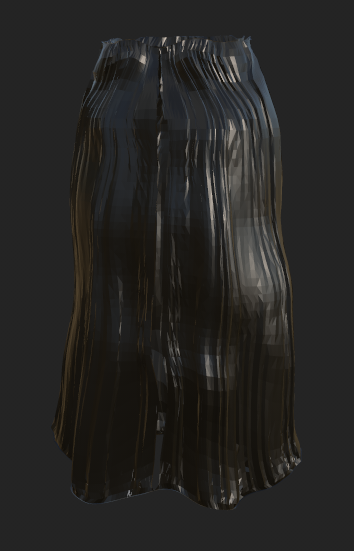
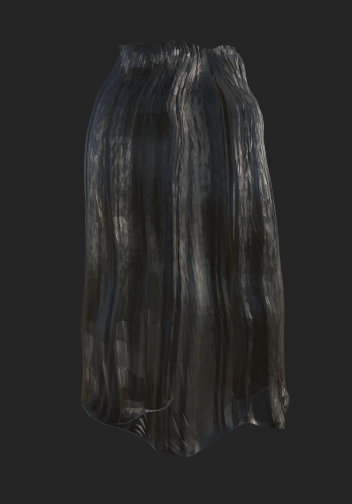
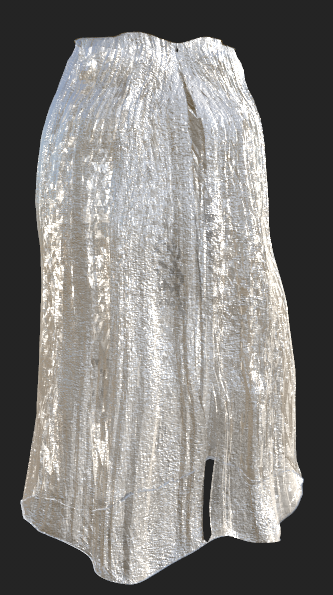
Rather than having a black skirt, I wanted to experiment with a different colour such as white and found that this was a much suitable option for my character.
Texturing
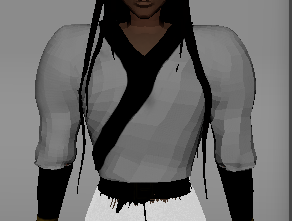
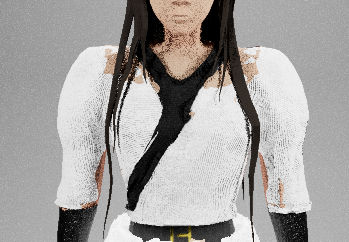
When importing my textures from Substance Painter into Maya, I came across a problem where the render would distort the objects yet appear fine in the viewport. To solve this issue, I scaled the objects so that they would not overlap each other; however, due to the scale transform, I could only scale outwards so the body and shirt would still overlap along the inner side of my character. So although I was able to adjust the objects slightly, there were still some parts that clipped which I could not find another solution for.
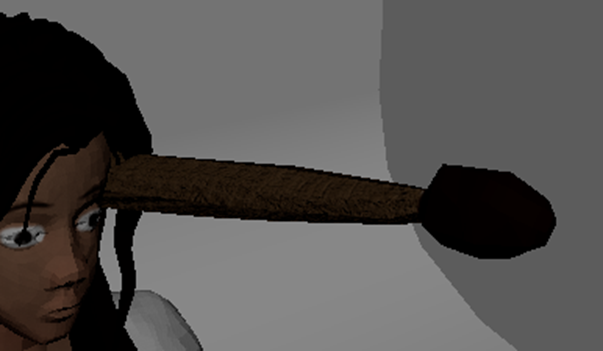
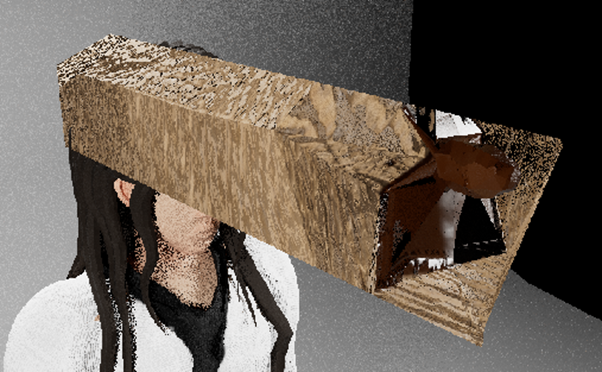
I had a different issue with the paintbrush object; when attempting to scale, the render still looked the same. I tried to reimport and do the whole process of importing it into Maya from ZBrush etc, but the outcome stayed the same. Unfortunately, due to time constraints, I removed it from my character as I was unable to find a solution.
Another issue I had when importing from Substance Painter to Maya, was that the opacity of the skirt was not working. Again, due to time constraints and being unable to find a solution, I left the skirt as is.
Lighting
Once I had attempted to solve the texture problem, my next step is to setup lighting to render.
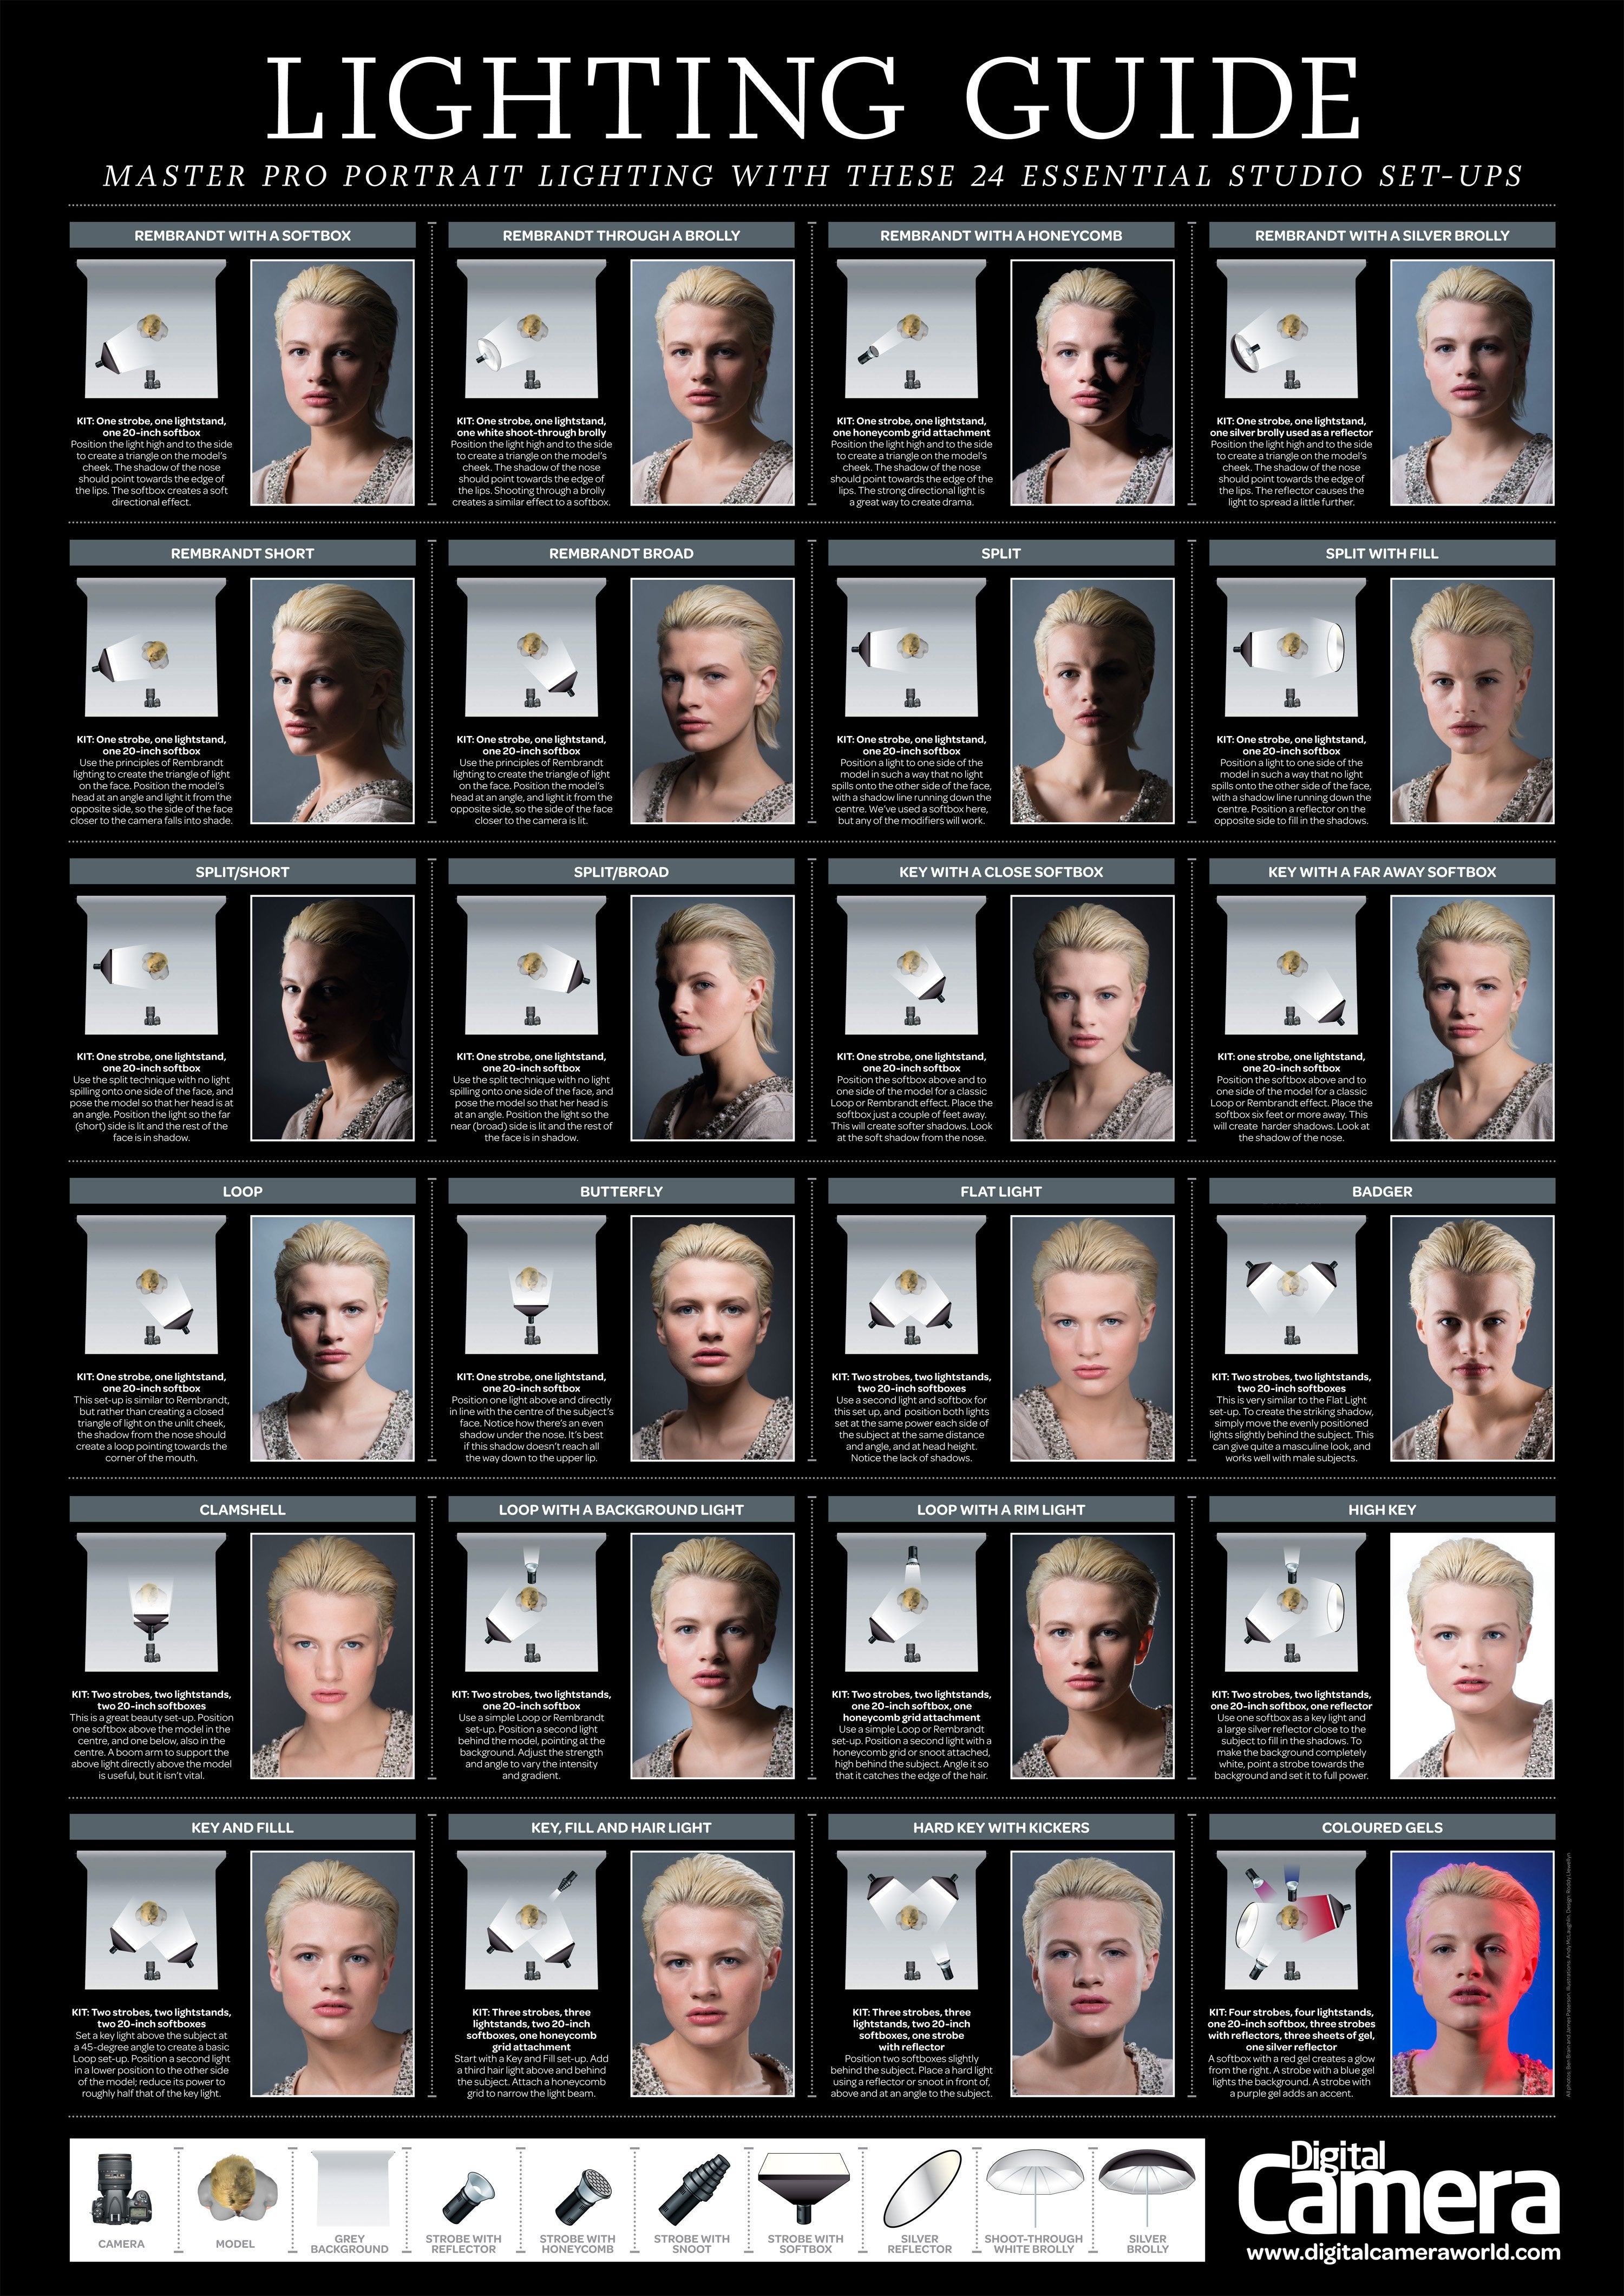
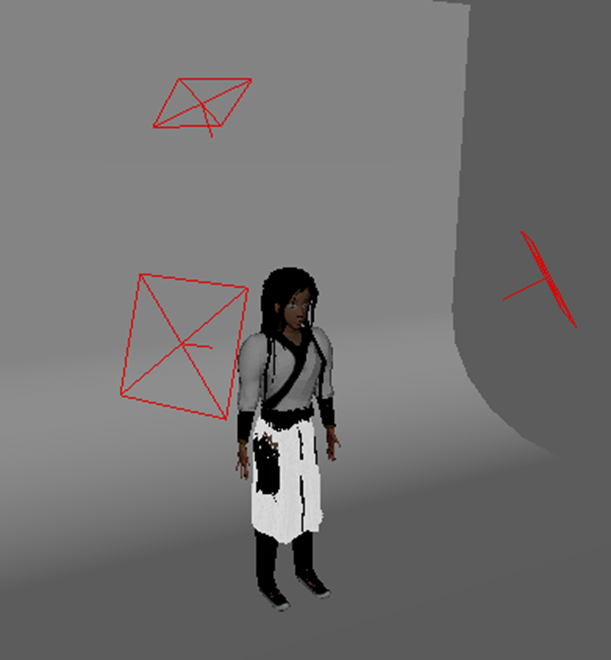
I added ‘aiAreaLights’ into the scene and altered the intensity and exposure in the settings to get the desired outcome. As I rotate the camera, it was important to remember to change the settings for the lights as the lighting altered as the camera moves around.

Povilas Bias (n.d.) Dupion Silk A [Material]. Available online: https://substance3d.adobe.com/community-assets/assets/f13c4581c9fa1cfdf99acf0a7ada20bf823c4ca6 [Accessed 20/01/2024].
James Paterson, Chris George (2023) Photography cheat sheet: Lighting setups for professional portraits. Available online: https://www.digitalcameraworld.com/tutorials/photography-cheat-sheet-lighting-setups-for-for-professional-portraits [Accessed 22/01/2024].