Camera Mapping

Mixamo
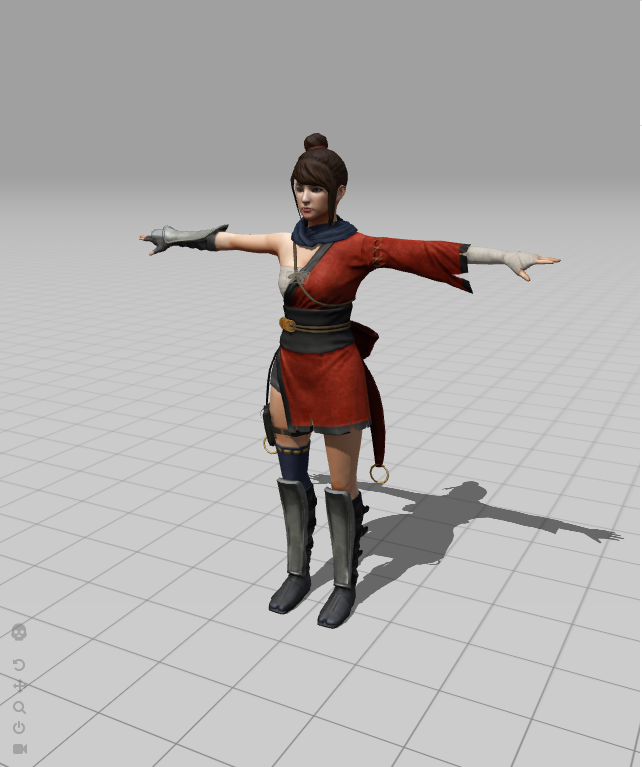
In order to create my music video, I need two characters to star in the production. After looking on the Mixamo website, I didn’t think any of the characters provided fit the style that I was intending; therefore, I tried looking on different websites for 3D character models such as Sketchfab.
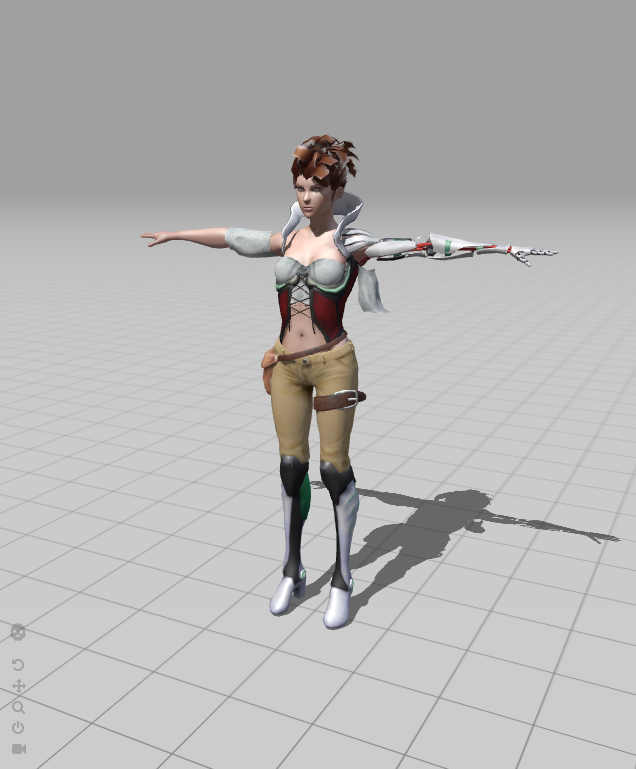
After looking for a while, I couldn’t find one that was free nor fit my theme. Therefore, I decided to return to the Mixamo website and decided on using these two characters shown below.
I created a list of animations I needed and located them within the website under the ‘Animations’ section.
I’m not quite sure why, but when downloading the first animation with Character B’s skin, I found that some part of the hair was missing. I followed the same method I used when downloading Character A and I attempted to download multiple times but the outcome was still the same. Despite this, I liked the design of the character because the design added to the sci-fi aspect of the music video, so I decided to stick with it anyway.
Sequencing
Opening Sequence
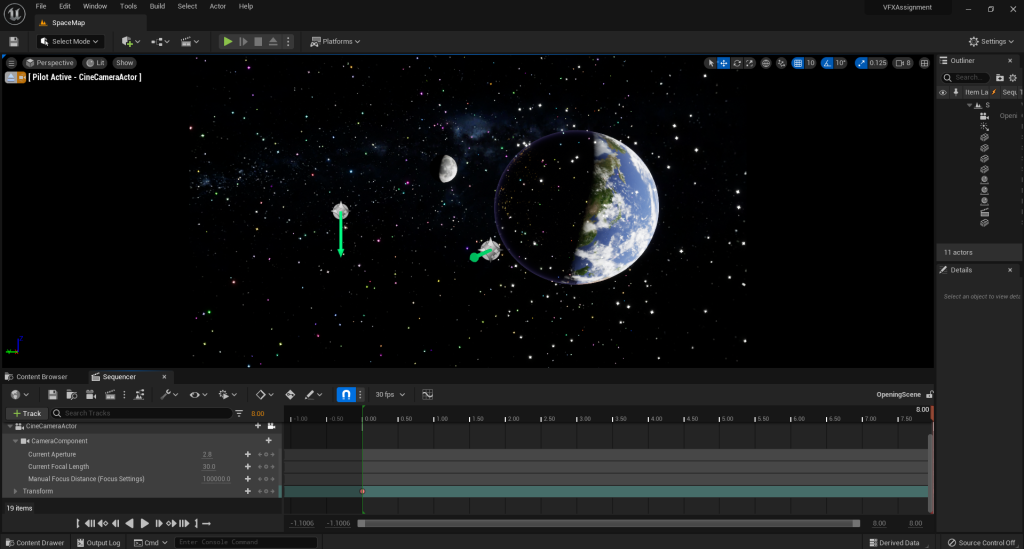
The first sequence I’m starting with is the opening scene. To begin the sequencing, I selected ‘Add Level Sequence’ from the topbar and labelled my first sequence ‘OpeningScene’ to make identifying the sequences better. Once I created the level sequence, Unreal automatically opens up the ‘Sequence’ window next to the content browser.
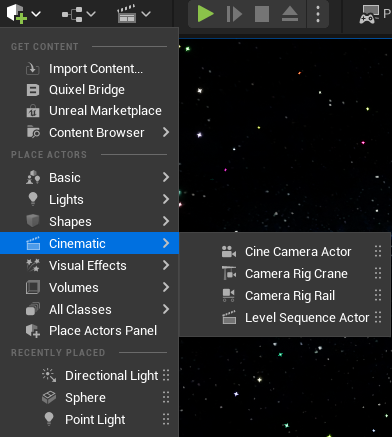
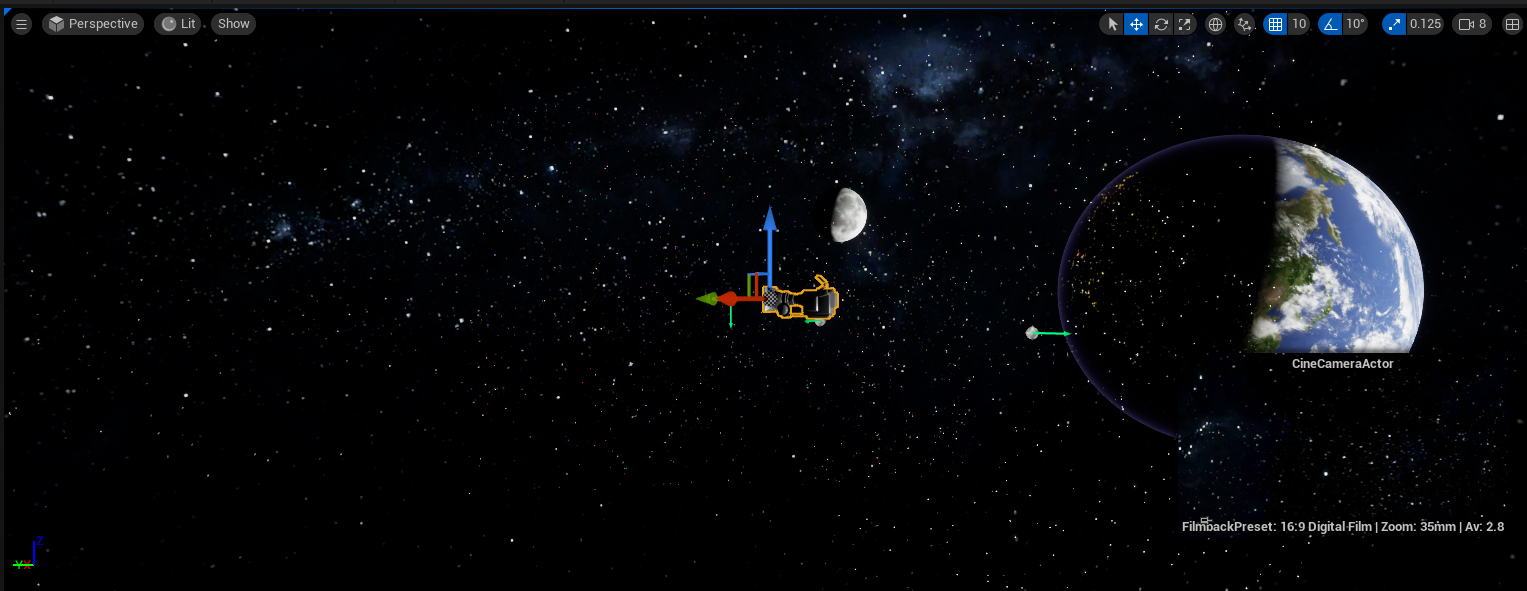
At the beginning, the sequence window is empty; in order to get started, I need to add a camera into the level. To do this, I simply located the ‘Quick Add’ icon and navigated to the cinematic tab to add the ‘Cine Camera Actor’.
By selecting ‘Cine Camera Actor’, I add the camera into the desired transform location and from the outliner, drag the camera into the empty space beneath ‘Track’ within the sequencer window.
From here, I experiment with the different lens settings. There are a wide variety of settings available to choose and I decided to settle with ’12mm Prime f/2.8′. This lens setting works for the video best as it captures the entire scene and doesn’t leave out any of the details; compared to one that is set with a closer zoom which cuts out a part of the Earth and another lens that is set zoomed too far out which makes the planets look too small. Once the lens setting has been determined, I began working on the first sequence.

The first step that I need to do is to determine the length of the opening sequence. To make things easier, I located the section that informs you of the fps the sequence is set to and changed the time shown from ‘Frames’ to ‘Seconds’.
Once this is done, I set the manual time controller to the beginning of the sequence and added a key on the transform. Following my original concept, I moved the manual time controller to the end of the track length (8 seconds) and repositioned the camera object to face the planets. Once I have readjusted the camera to the desired position, I added a key on the transform.
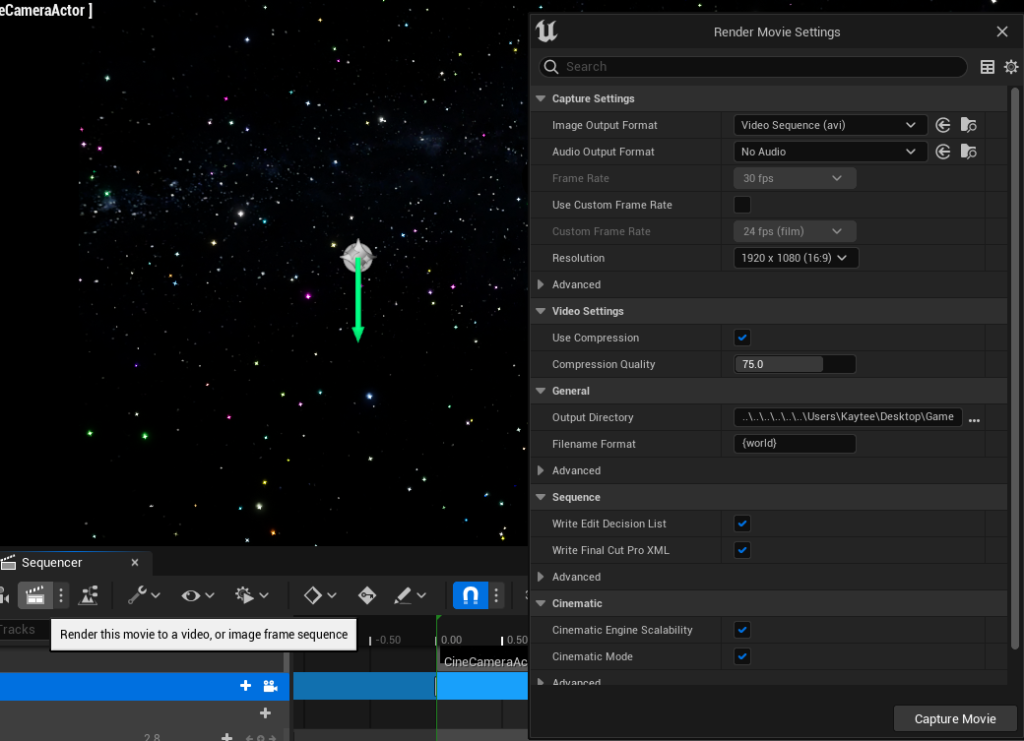
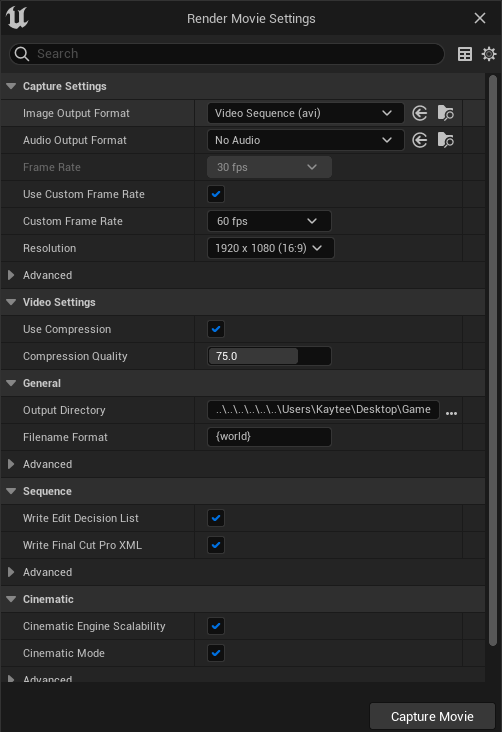
As the opening sequence is quite simple, I left it as that. Once I am satisfied with my sequence, I selected the ‘Render’ icon and altered the resolution to ‘1920 x 1080 (16:9)’ and clicked ‘Capture Movie’ to render my sequence.
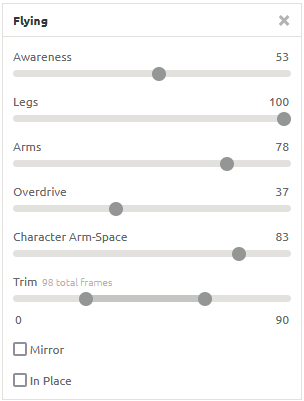
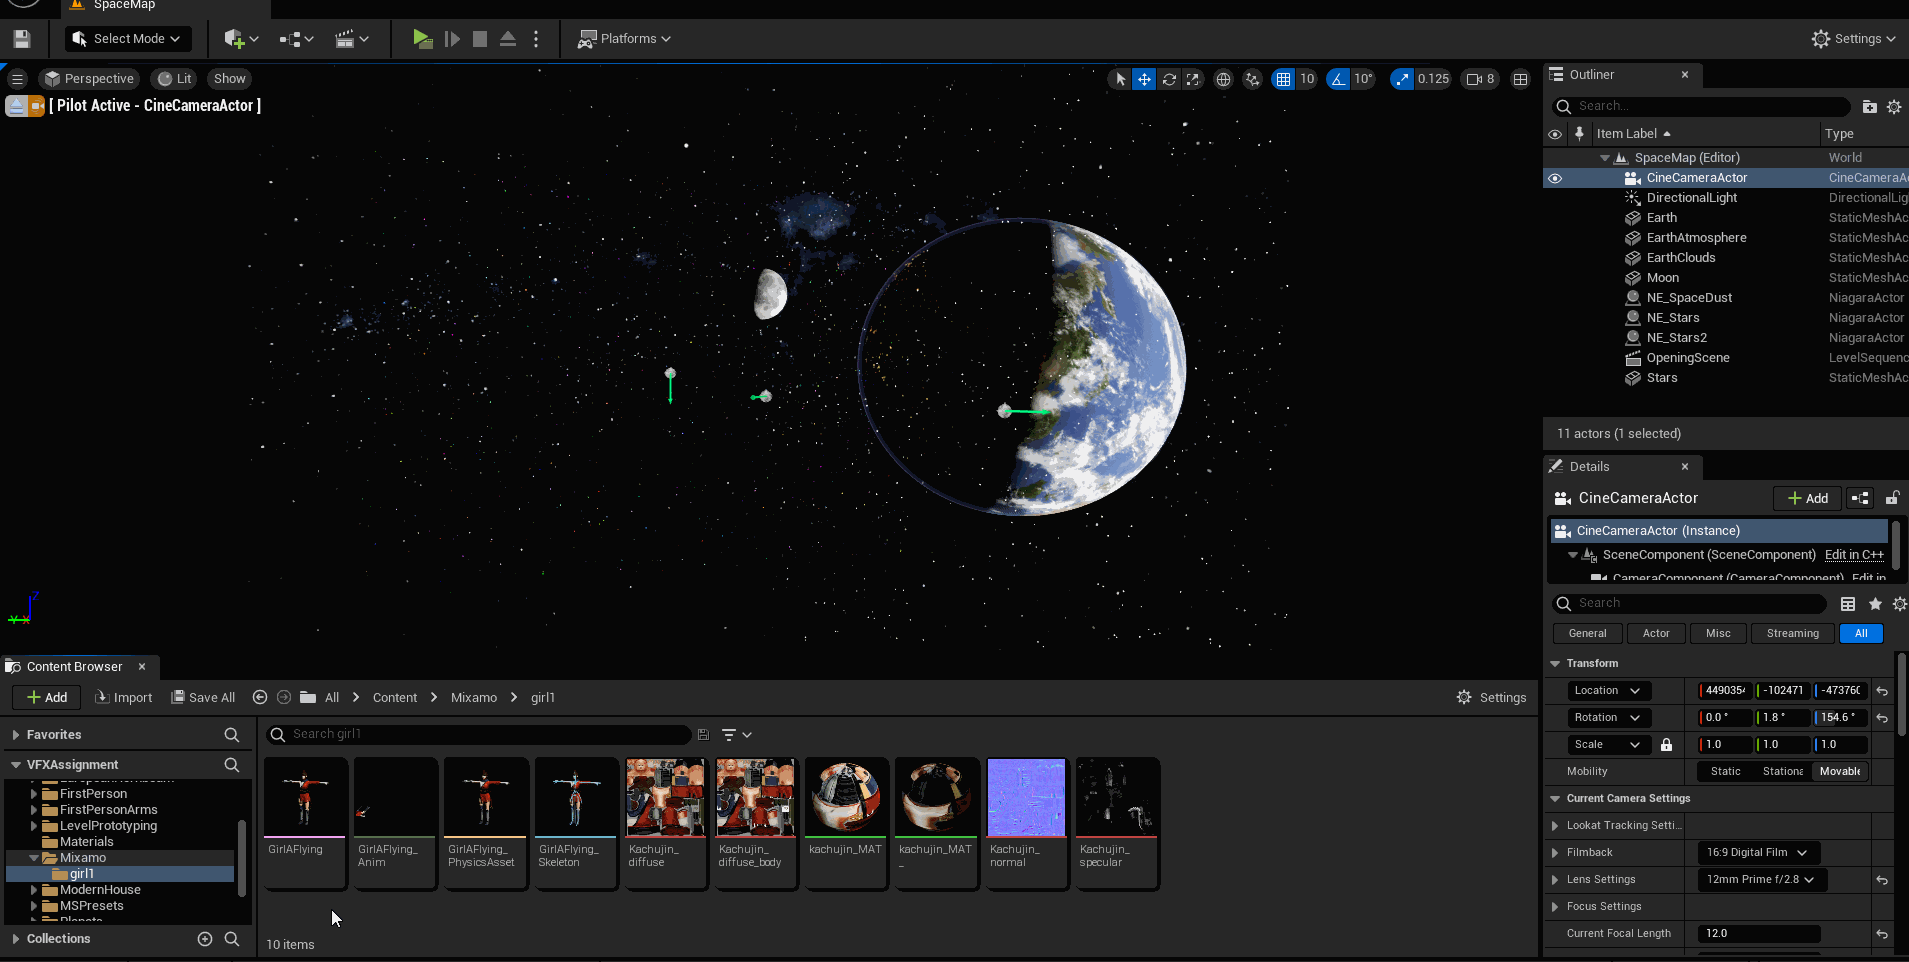
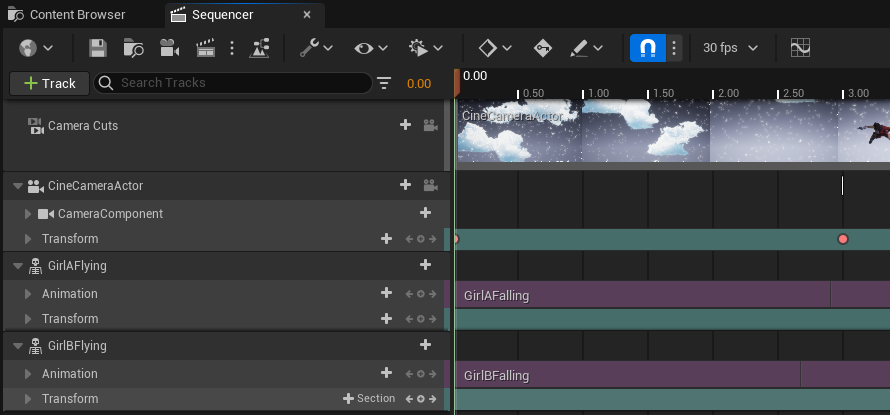
Following my original plan, once the introduction intrumentals have stopped and the singing begins, the characters appear on screen by flying into view. As I was following the PDF tutorial for setting up the Mixamo animations, I realised later on that I needed to add the animation sequence within the first opening sequence that I had already made.
Because of this, I went back and opened the first sequence within the Content Browser and followed the same steps by adding the character animation by selecting ‘+ Track’.
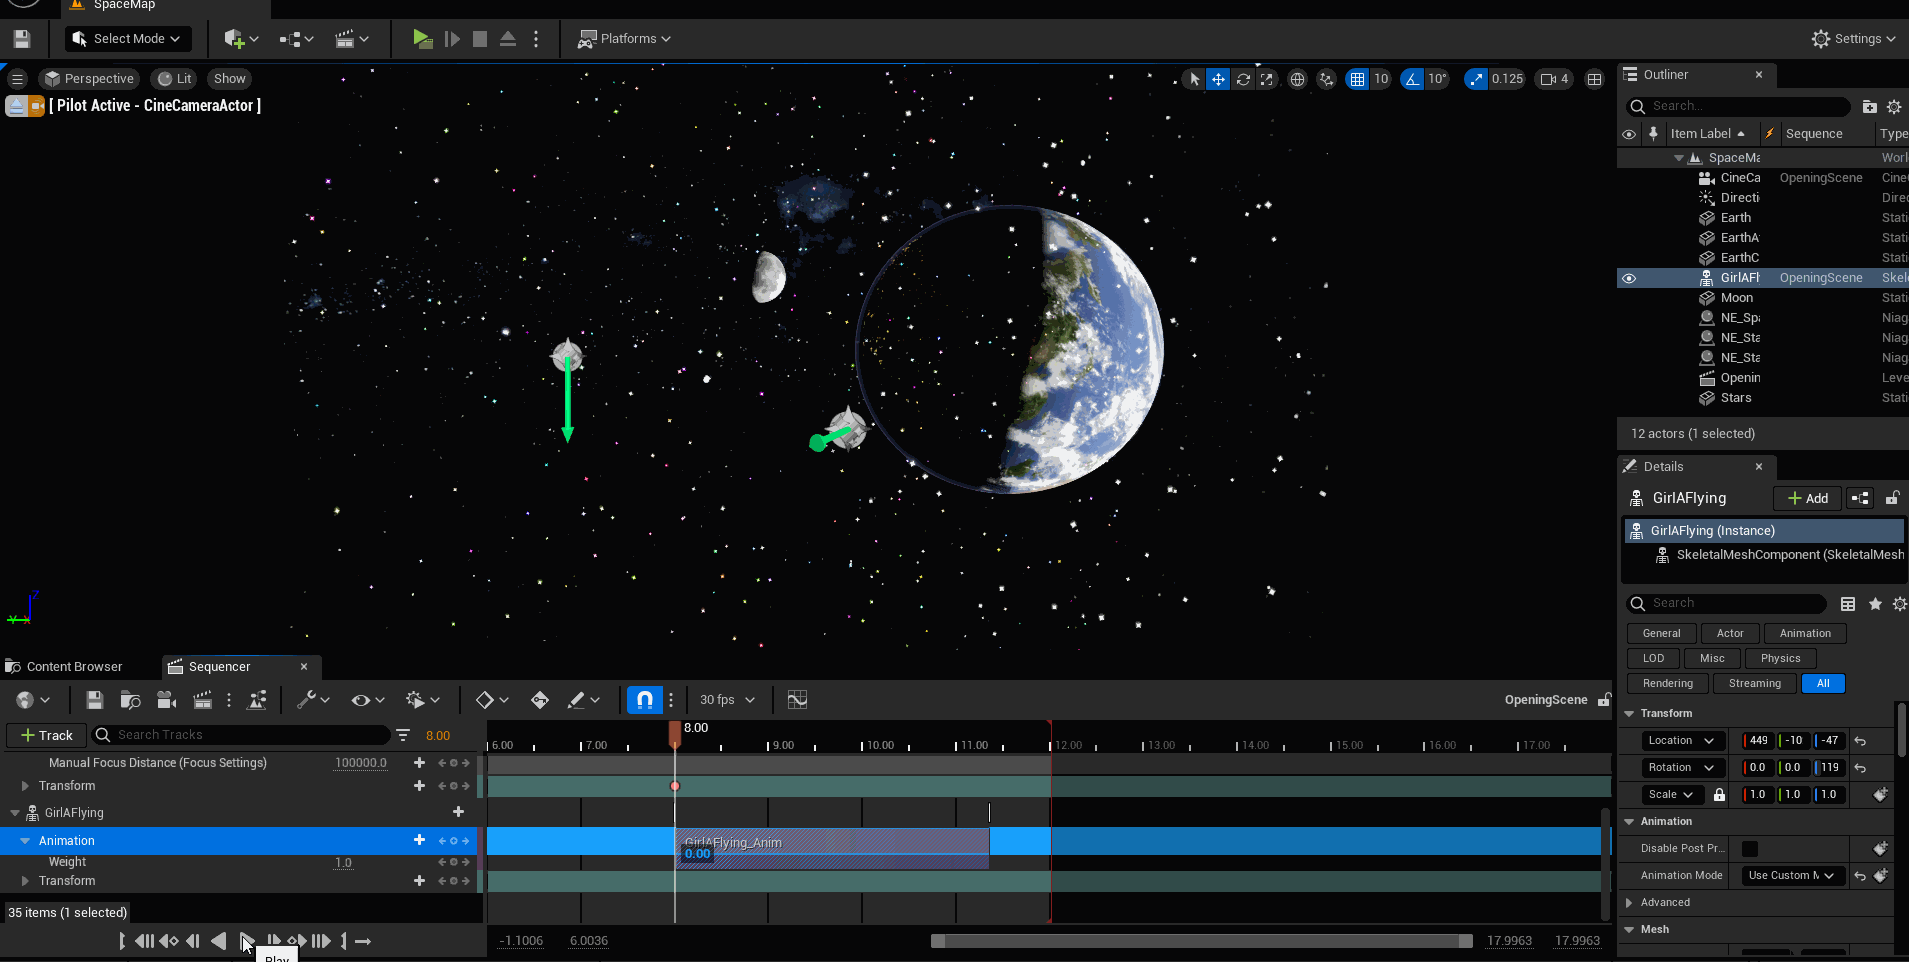
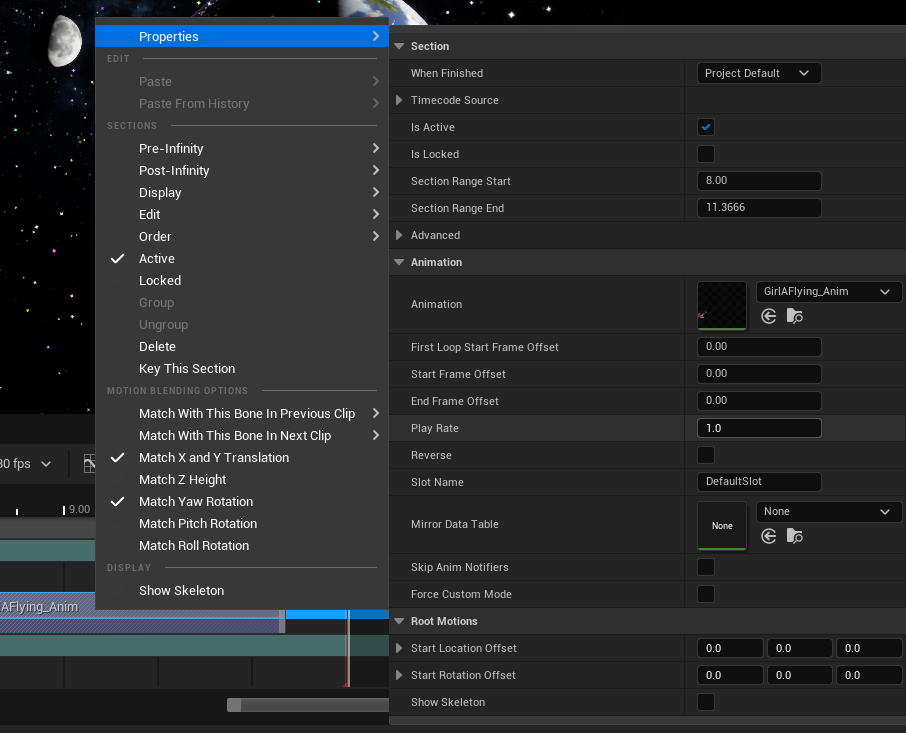
When importing the animation into the sequencer, I noticed that the flying animation was extremely fast which didn’t fit my plan for the music video. To solve this issue, I right-clicked the animation within the sequencer and hovered over ‘Properties’.
Within ‘Properties’ there is a section labelled ‘Animation’ which has a scale to adjust ‘Play Rate’; this essentially is the speed of the animation which is the ideal option to adjust to how I think will fit the video.
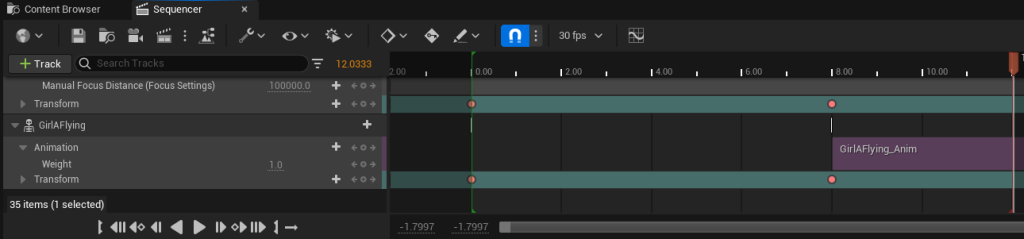
I decided on the value of 0.5 and readjusted the character transform so it would fit the camera better. As the animation is being added onto the opening sequence I already created, I realised that the object remains stationary and visibile within the sequence before the animation activates. I need hide the object before the animation begins so that it does not show within the sequence before the animation plays.
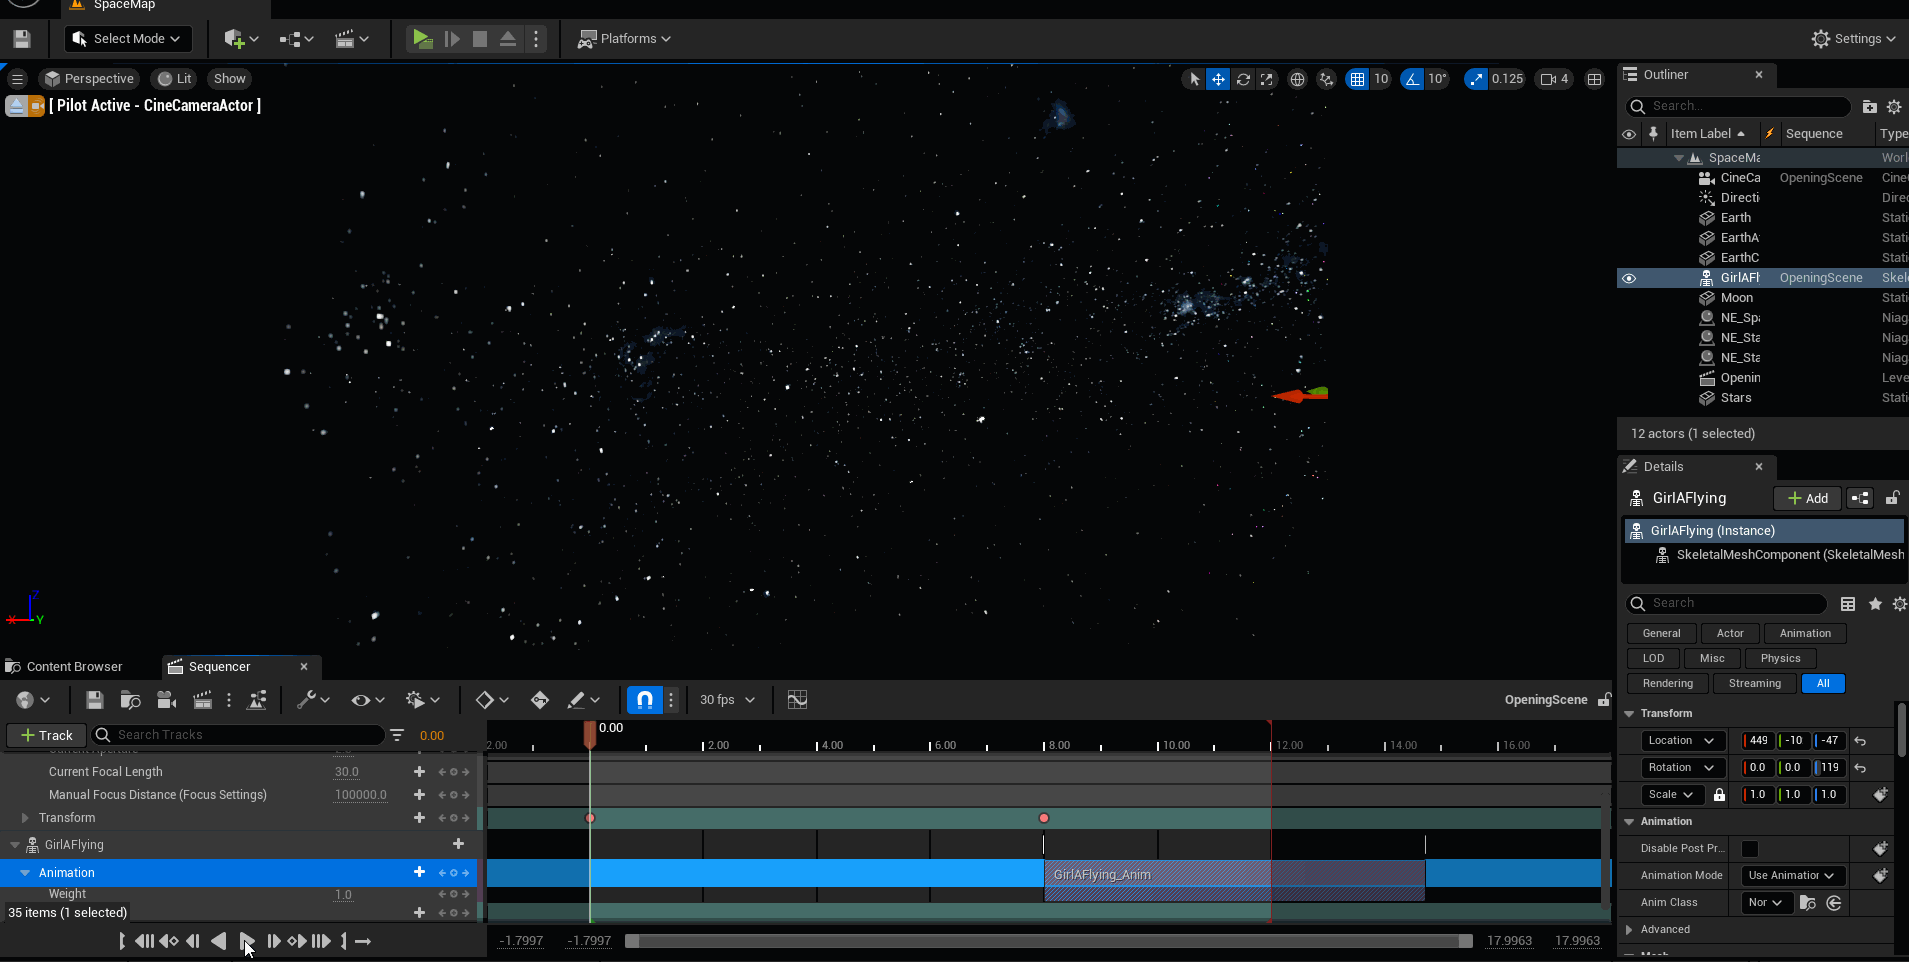
To solve this issue, I simply needed to add keys on the transform onto its current position for when the animation begins, and moved the manual time controller to the beginning and repositioned the character out of the camera view and set the key on the transform!
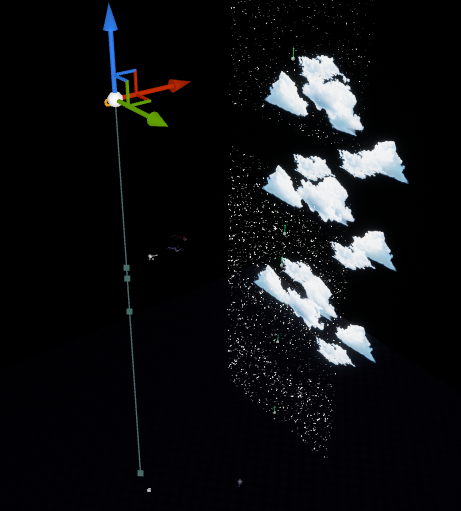
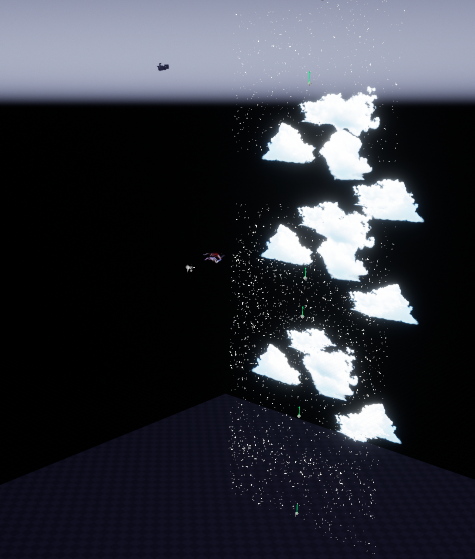
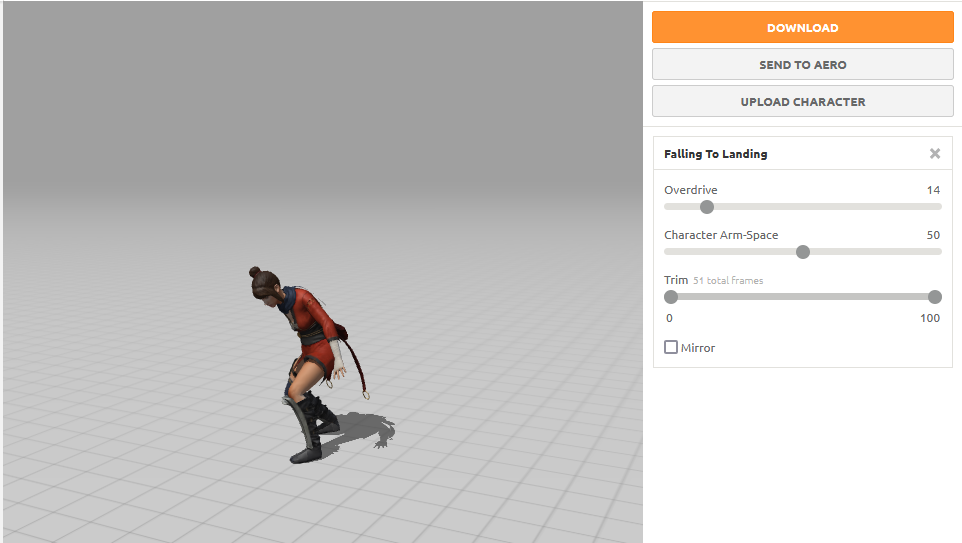
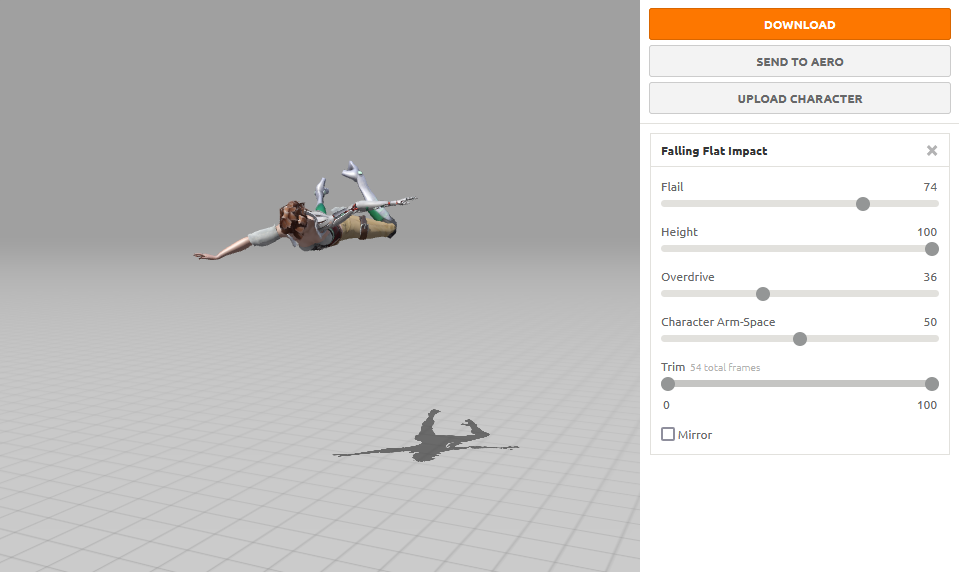
Falling Sequence
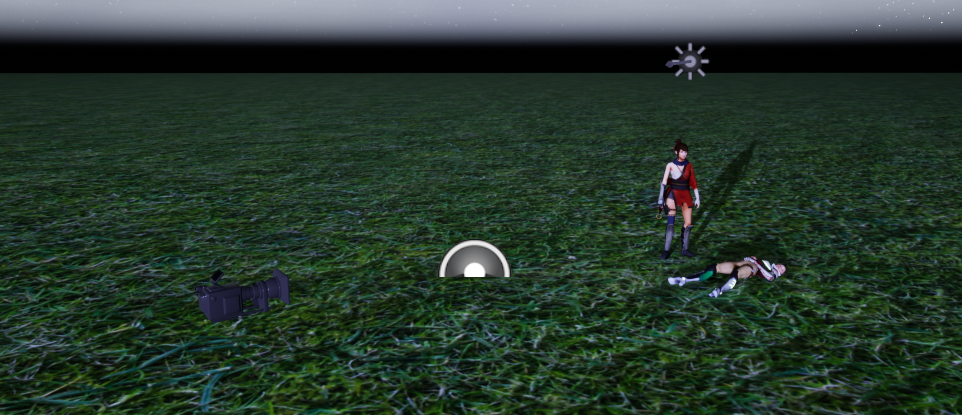
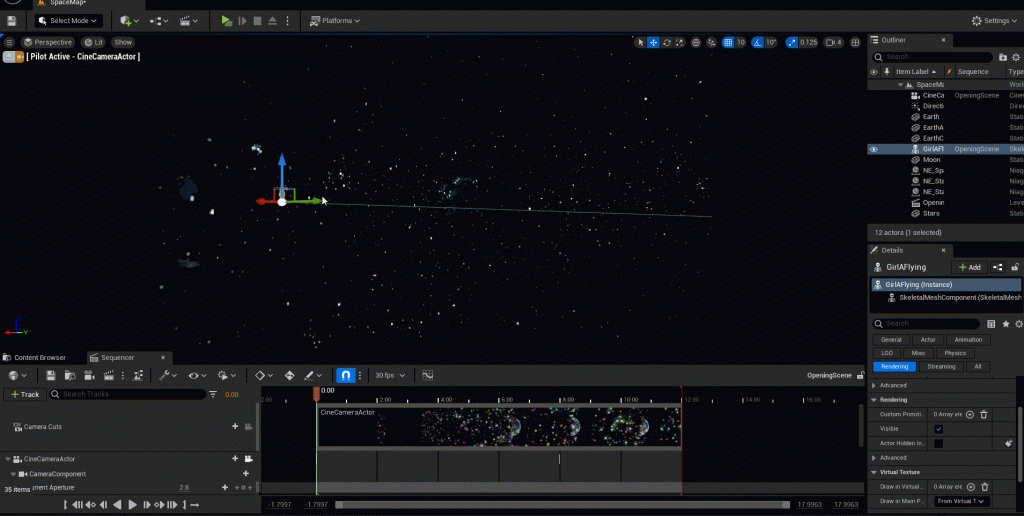
During this scene, the only thing that’s required to move is the camera; to do this, I set the key for transform at the beginning of the sequence and then repositioned the camera to where the characters are and set the key for the transform again.
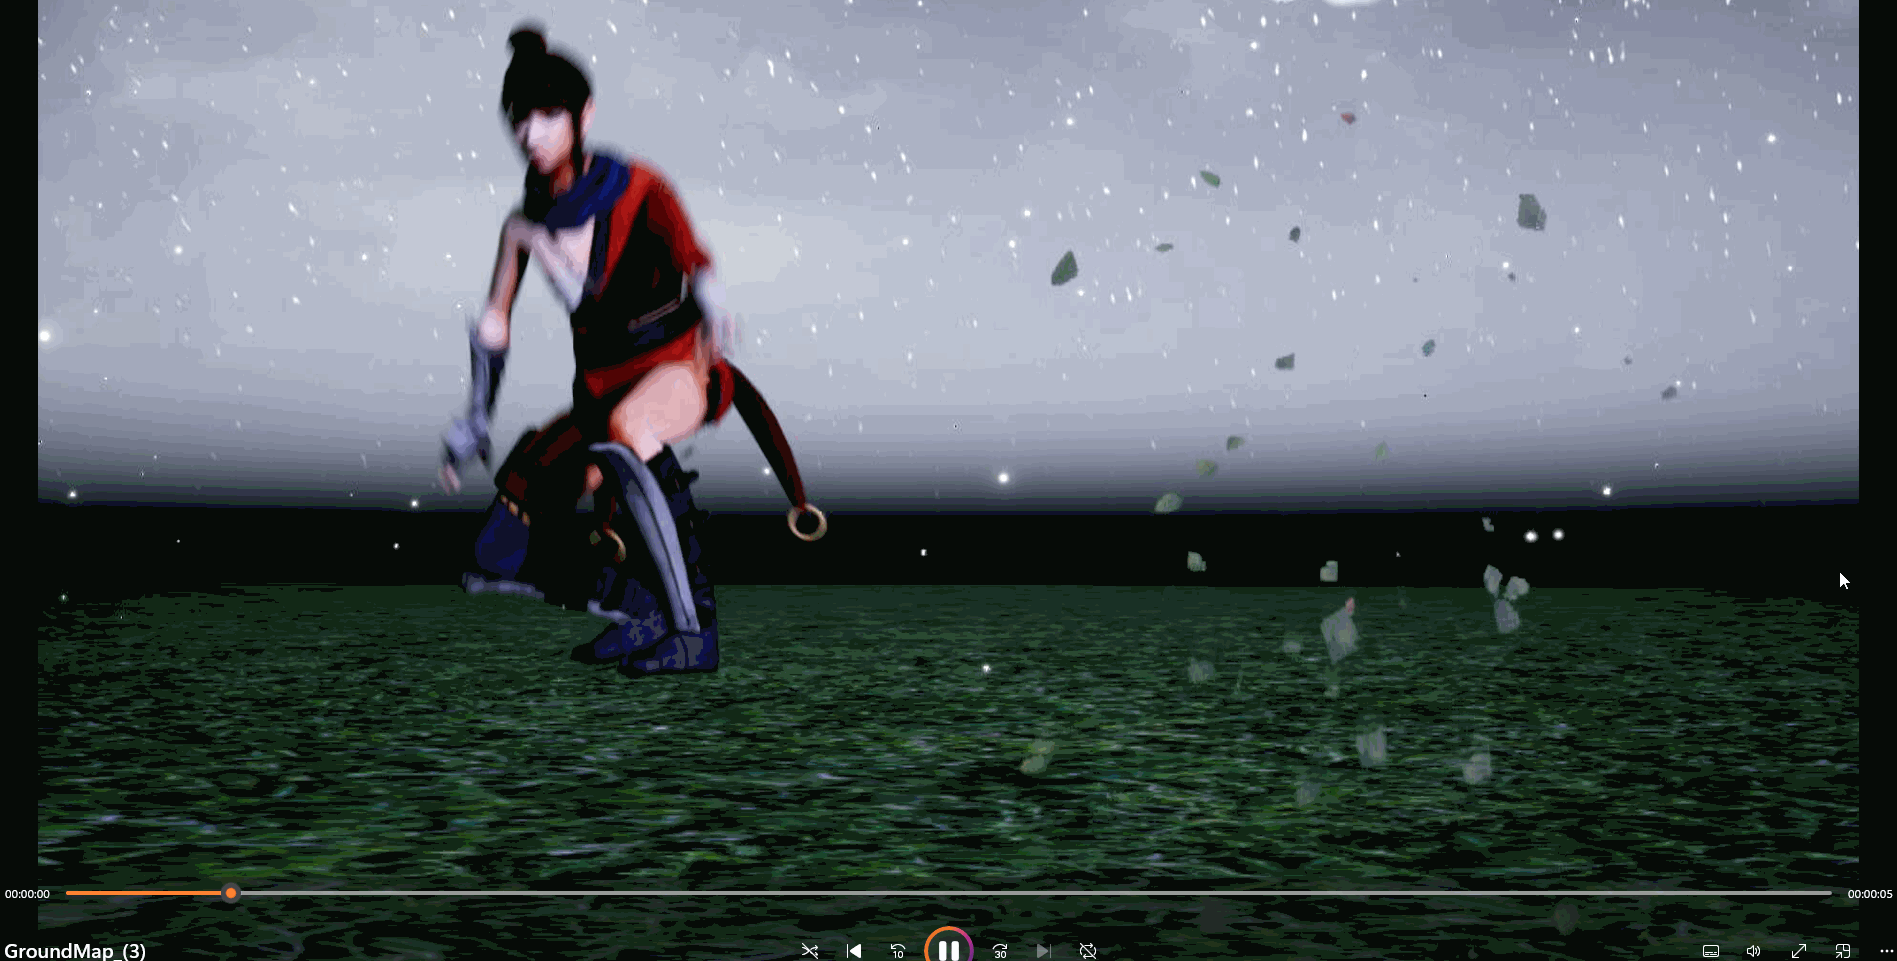
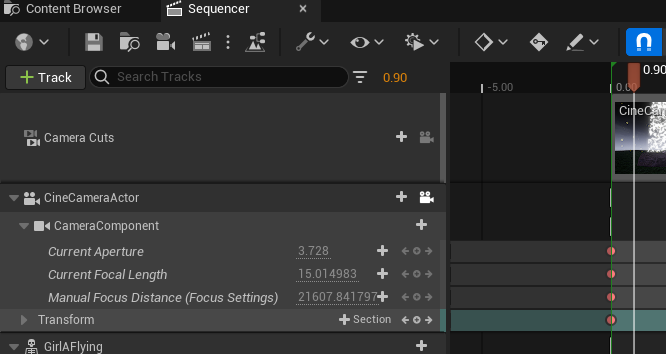
Furthermore, as this scene focuses on the movements of the character animations more than the previous scene, I needed to adjust the aperture of the Cine Camera so that the characters were in focus and not blurry.
When rendering the sequence, I noticed that the quality of the render was quite poor. To solve this issue, I altered the frame rate to 60fps.
I noticed that the sequence was a second too short, and went back to make it longer. After analysing the sequence, I realised that I could also make the camera continue to move in a downwards direction along with the characters falling, so that the sequence doesn’t look so static.
Once I had readjusted the scene to the desired outcome, I exported the sequence and moved onto the next animation where the characters land onto the ground.
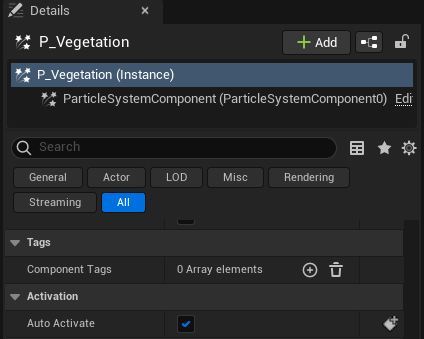
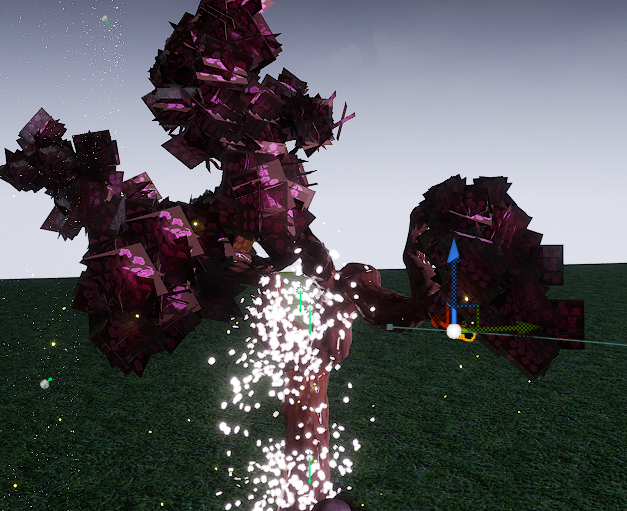
I noticed that when rendering the sequence, the ‘Hit’ VFX would activate when the video begins. I quickly fixed this by locating the particle system component and unticking the ‘Auto Activate’ option.
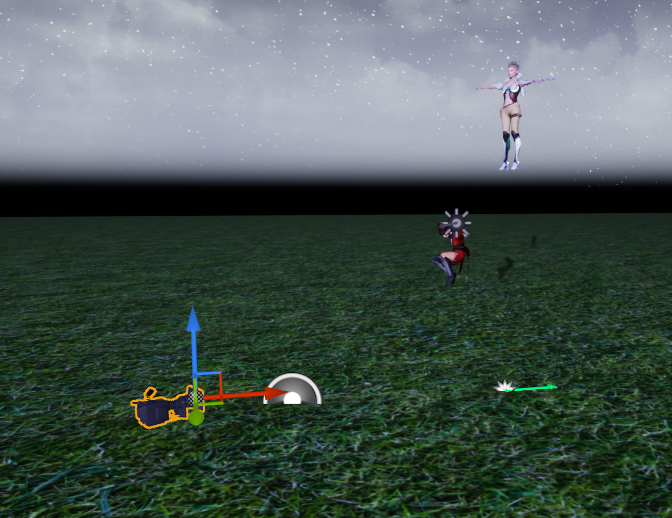
Karaoke Sequence
The beginning shot of this sequences focuses on a glass cup and the bubbles particles within the cup. I wanted to experiment with the different camera settings as I hadn’t had a good opportunity to; therefore, I had an idea to use this beginning shot to ensure that the full focus centres around the particles. To do this, I adjusted the Cine Camera settings so that the glass would be the only object in focus and the background would be completely blurred out.
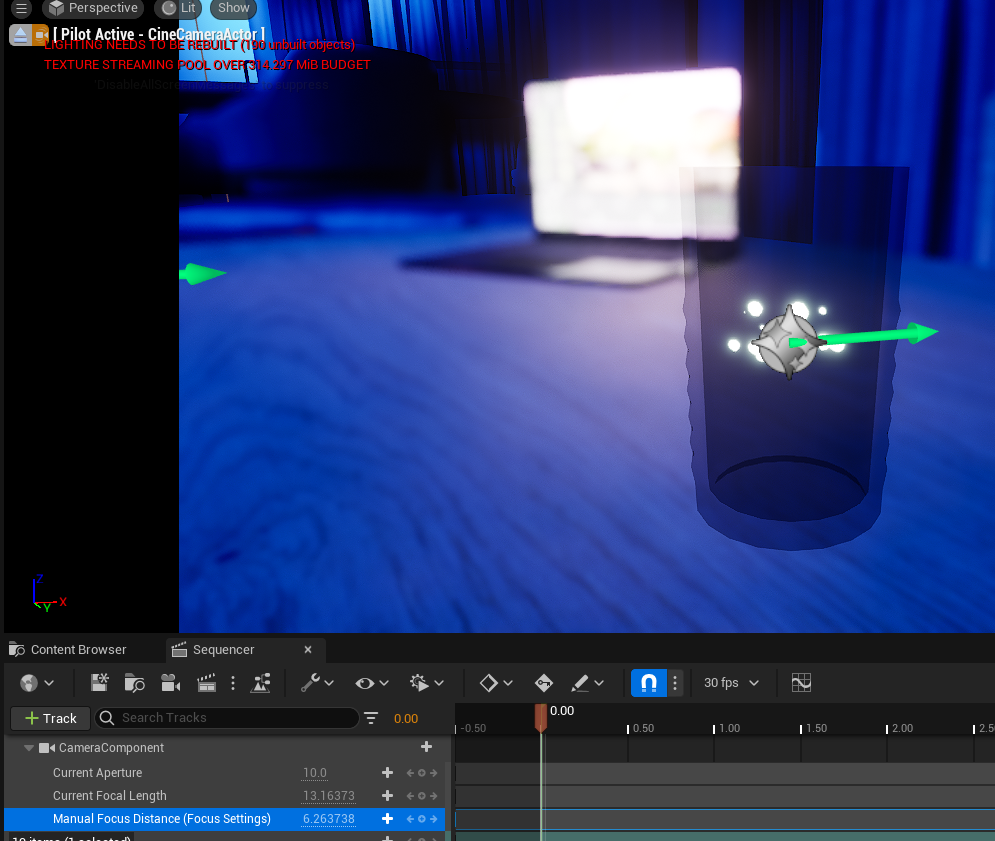
Once I was satisfied with the camera settings, I set the manual time controller to 0 seconds and added keys for each aspect of the camera that I had adjusted.
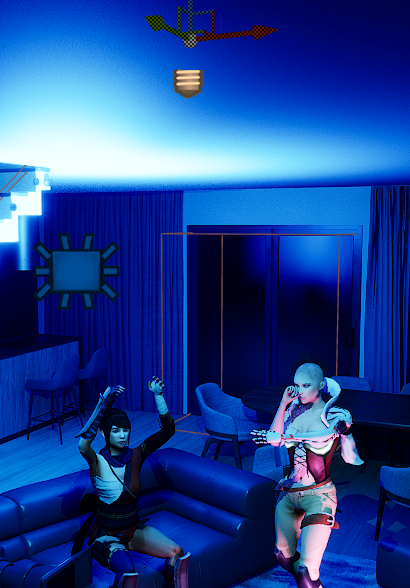
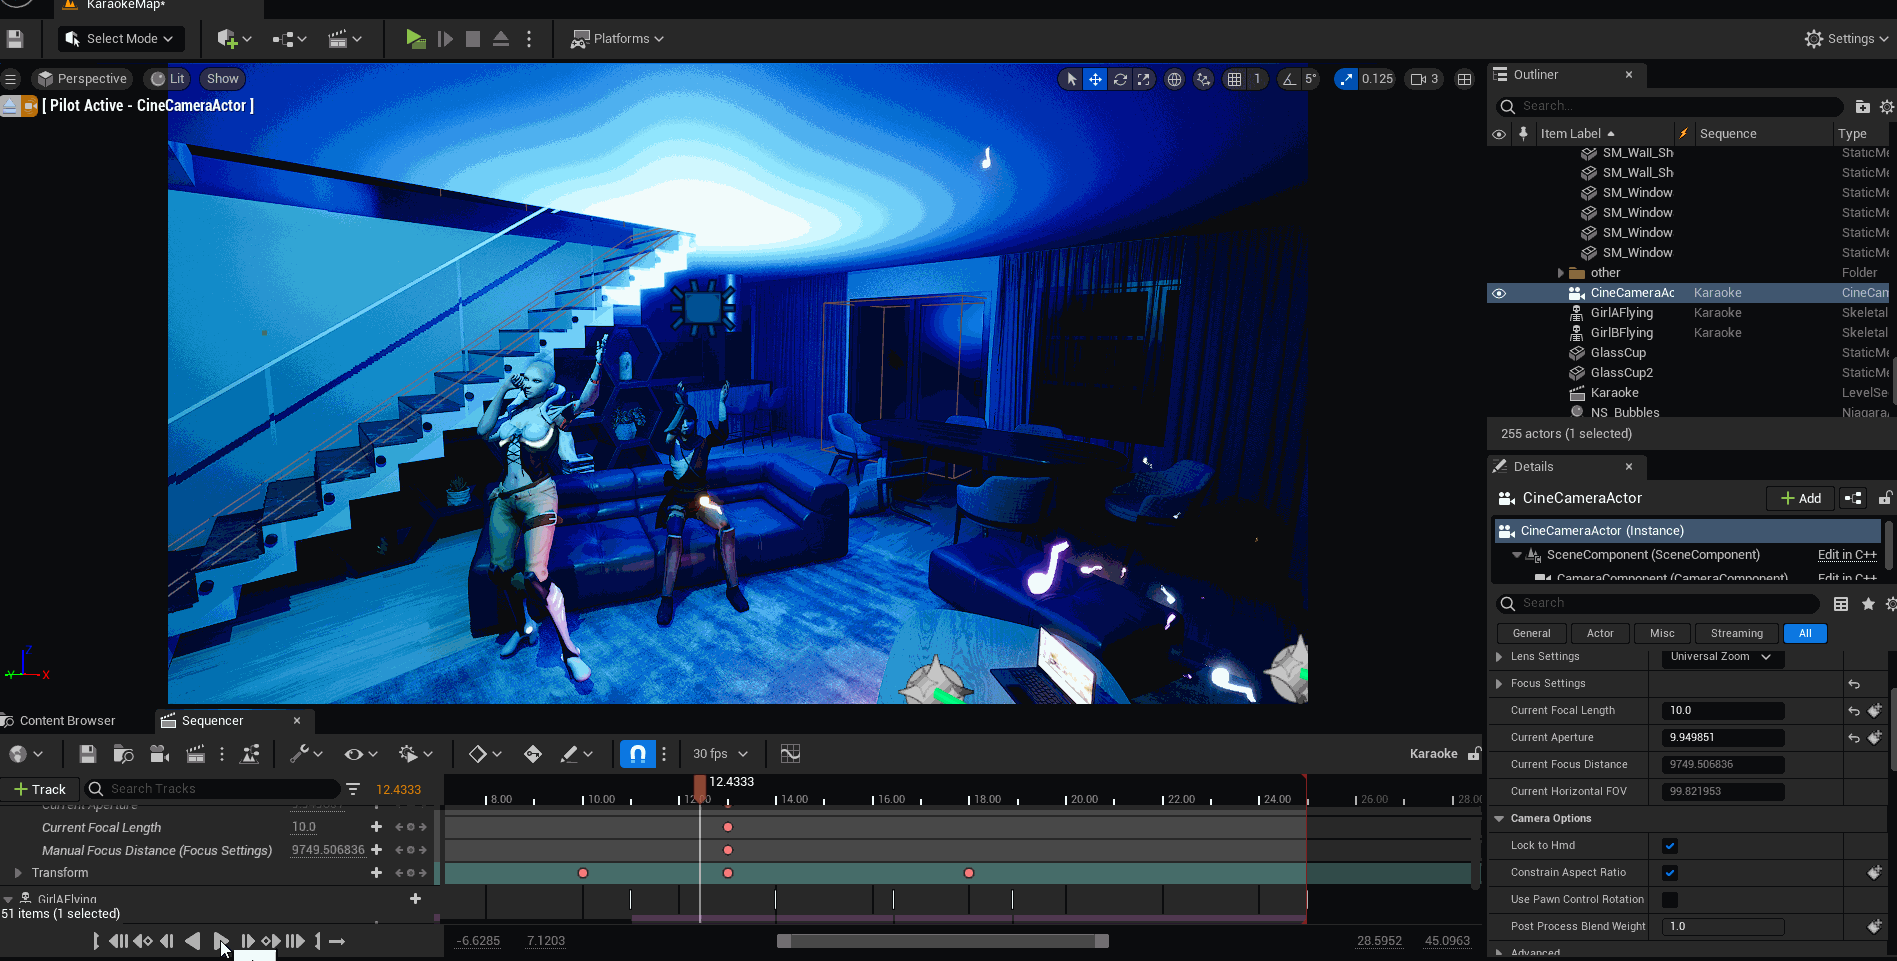
For the next sequence, I wanted to introduce more lighting to the scene as I thought it was quite difficult to see the faces of the characters; although the animations don’t include facial expressions, I thought it would look better to shine light onto their faces rather than keep them in the dark.
Once this was done, I added all the animations where appropriate and checked that the animations were lined up correctly to ensure that the animations flowed smoothly.

After watching the sequence back, I thought that it was lacking slightly in terms of cinematic. To add to this, I decided to introduce a new camera angle and added keys onto the transform of the Cine Camera to make the camera move around the scene.
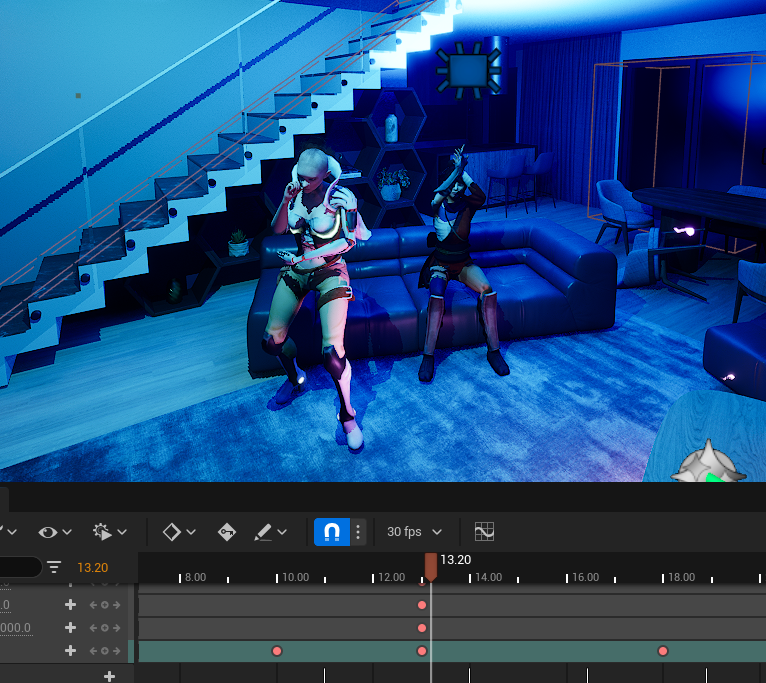
As the singing animation doesn’t have a microphone and the character is seen singing with a pretend one, I thought it would be a nice addition if I had the music notes VFX follow the character along as they sing.
After taking a look at the video above, I thought that it wasn’t really clear that the music notes were following the character; therefore, I decided to create another music note niagara system so that it could be differentiated.
I duplicated the original Music Notes Niagara System and adjusted some settings to make the new one stand out more. My main concern was the range that the music notes were spreading out to; therefore, for the new particles, I changed the velocity to a lower value.
End Sequence
Due to the fact that the previous sequence went on a little longer than planned, I used this opportunity to focus more on the VFX that are placed in the end sequence.
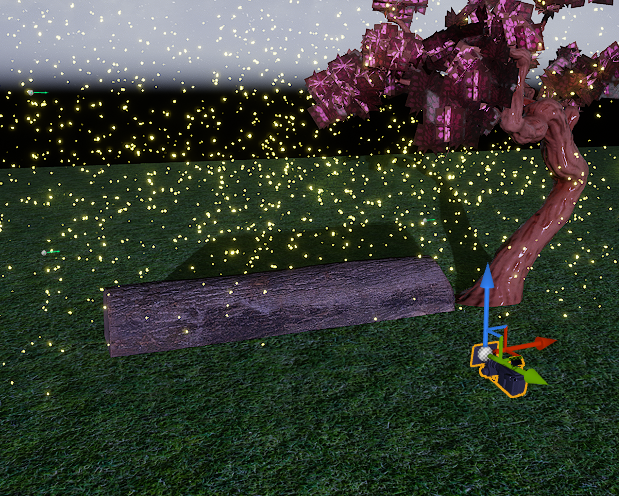
For this final sequence, I wanted to include a close-up shot to focus on the cherry blossom particle system. As the sequence requires a close-up shot, I needed to adjust the camera to have the background blurred and have the shot focused soley on the particles within the frame; I used keys for the aperture, focal length and focus distance and added them at the beginning of the sequence and adjusted them when I wanted to zoom out and pan to the two characters.
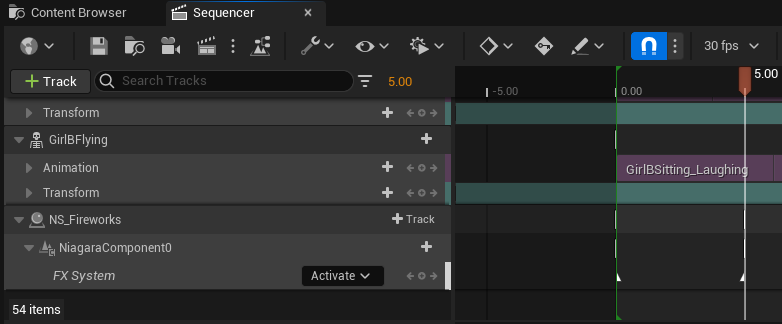
Finally, as the camera sits behind the two characters, I added the ‘Deactivate’ key at the beginning of the sequence and added an ‘Activate’ key at the part where the fireworks should start.
Adobe (2024) Mixamo. Available online: https://www.mixamo.com [Accessed 30/5/2024].