Workshop 1: Creating 360° Scenes with Maya
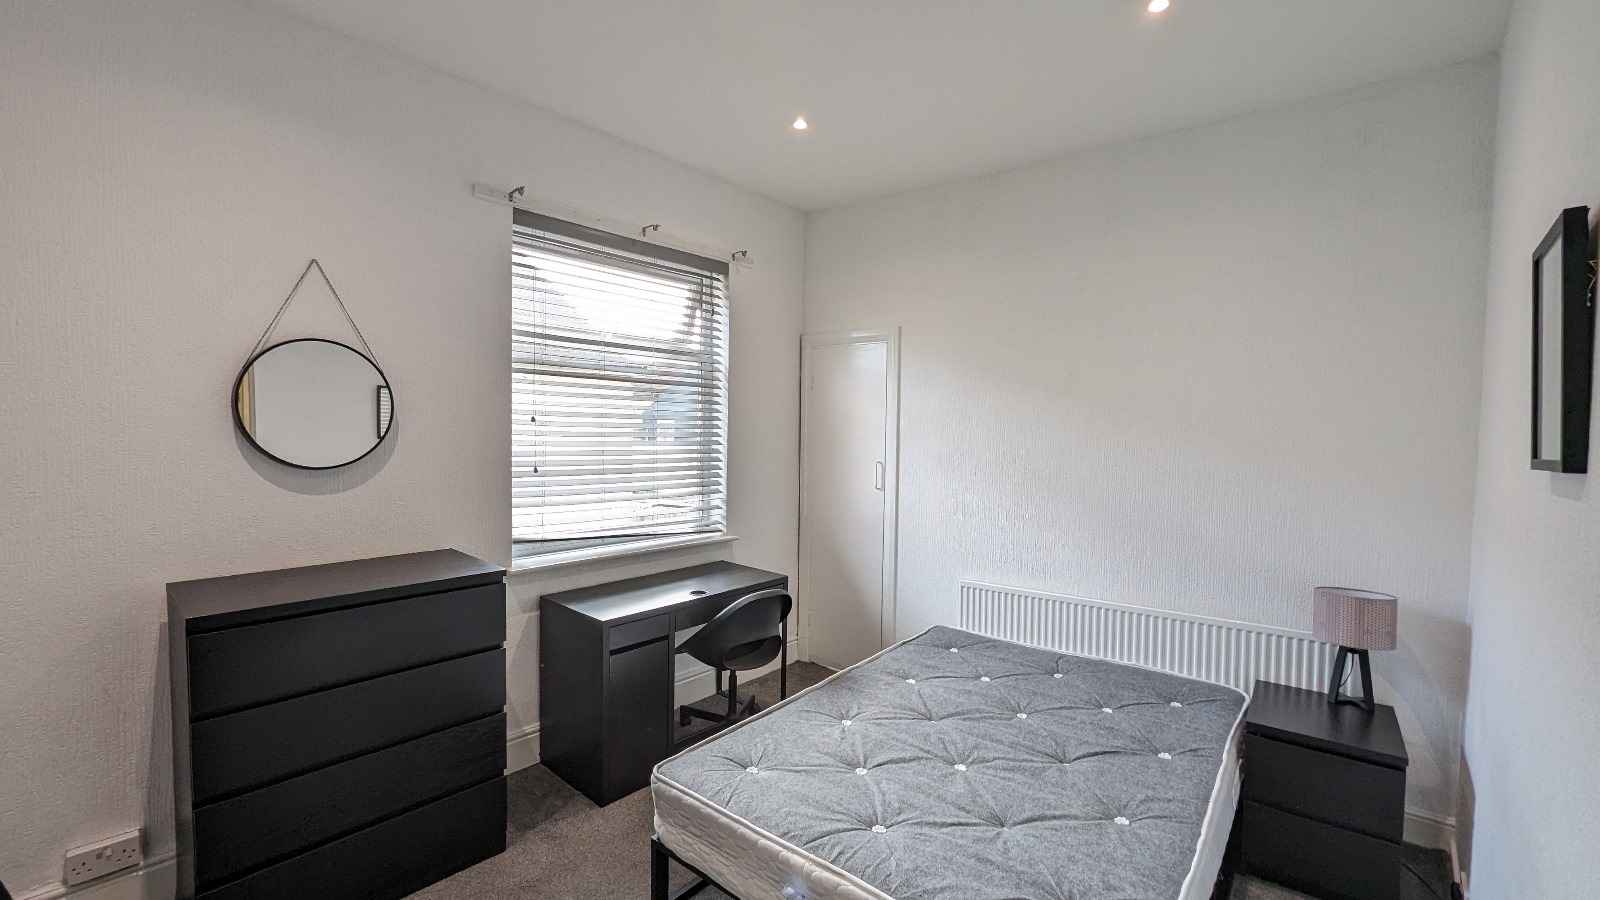
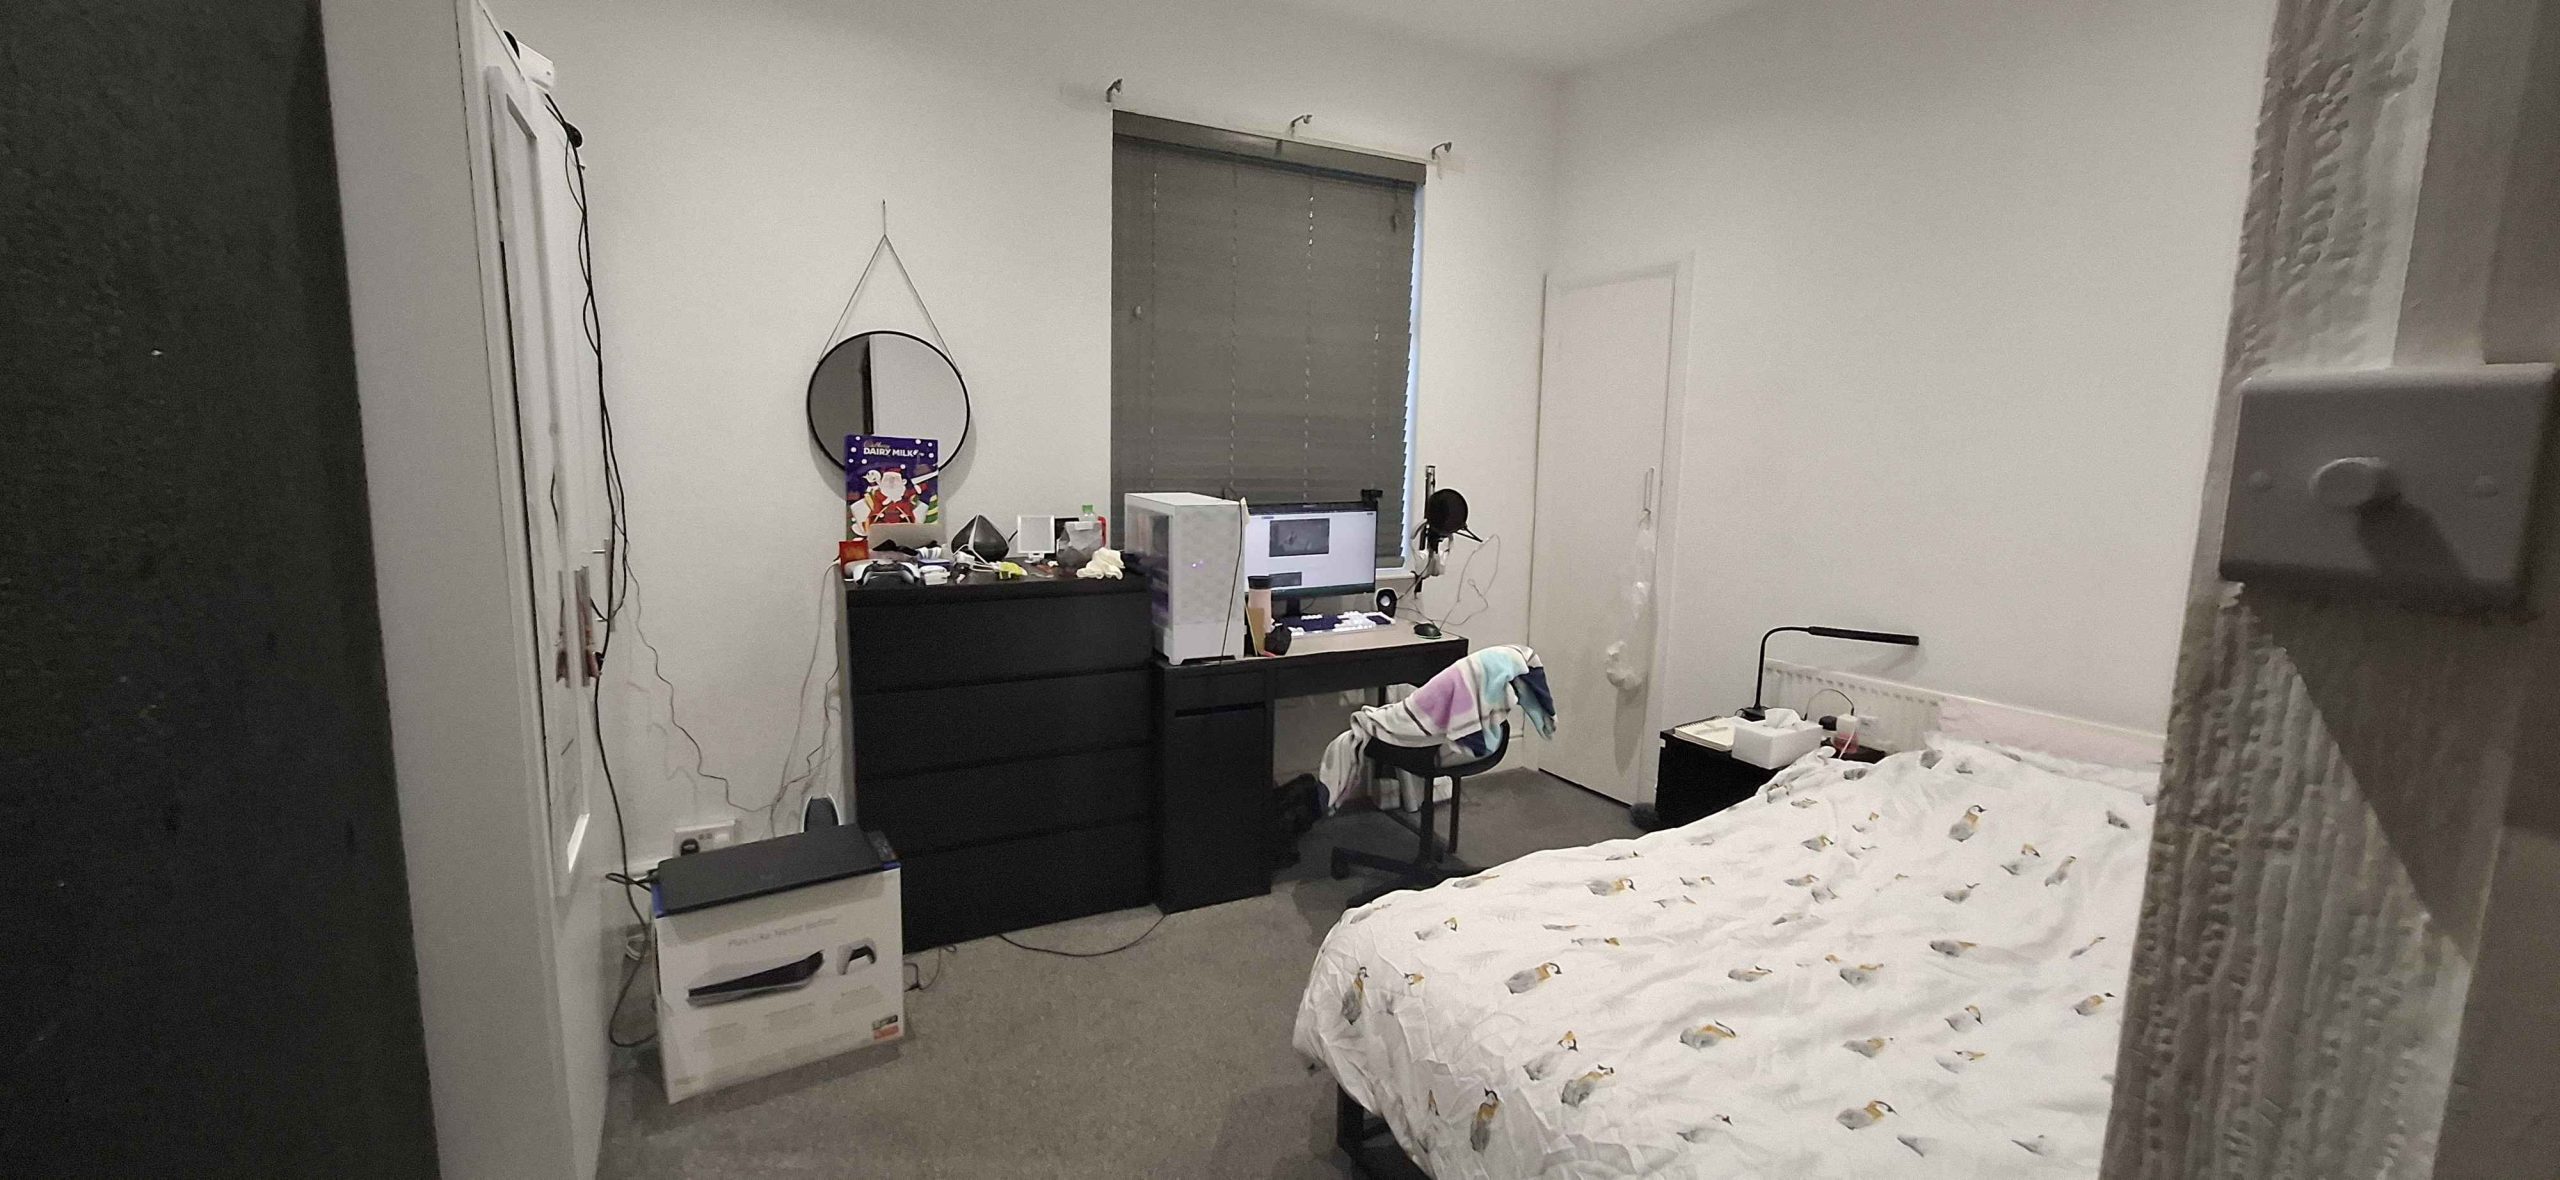
For the first session, I was tasked to create a 360° scene within Maya. I wanted to create something simple for my 360° scene; as I struggled with coming up with unique ideas, I decided to keep it simple so I recreated my bedroom!
Storyboard
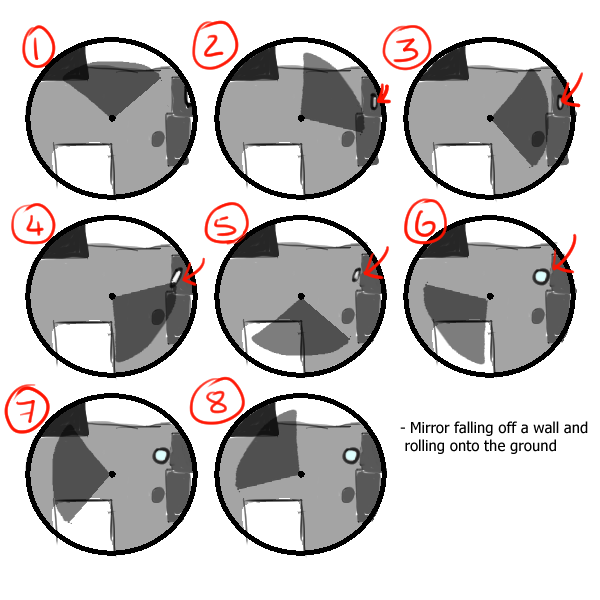
My storyboard is quite simple, it is a recreation of my room and centres around the mirror in my room that is hung up on my wall. The mirror will fall off the wall and roll off the drawers and finally land on the floor.
Setting the Scene
To start with, I quickly created the assets and then added materials onto the objects so that there would be more colour.
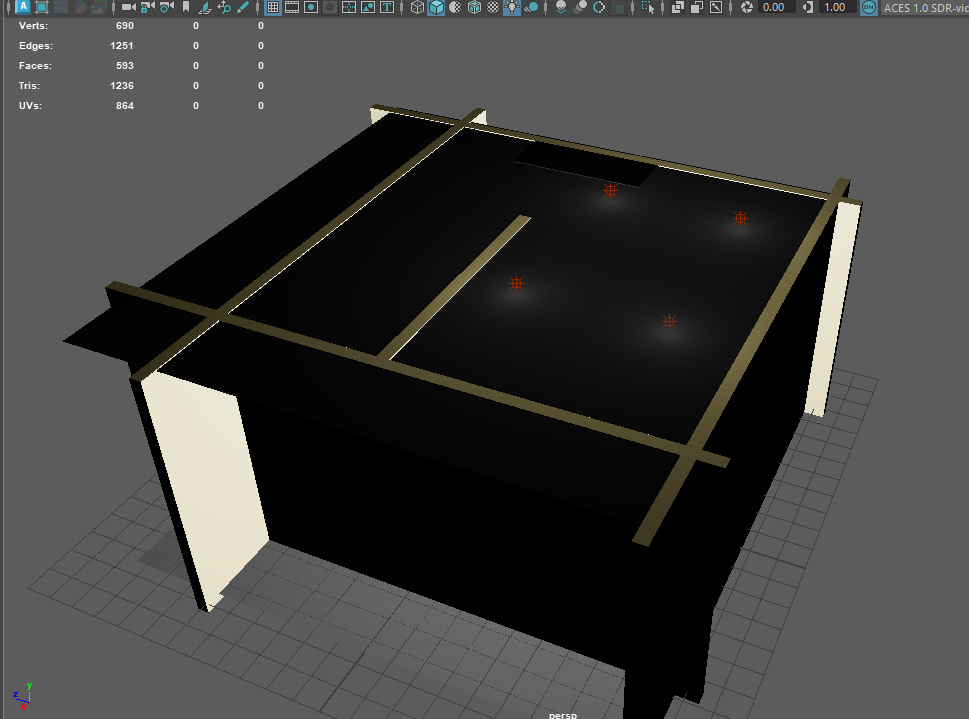
Once I had finished creating the assets and positioned them in their appropriate places, I then went to add materials to the assets to add colour to the scene. I used the reference images of my room and decided to stick with the colours that my furniture was, black and white.
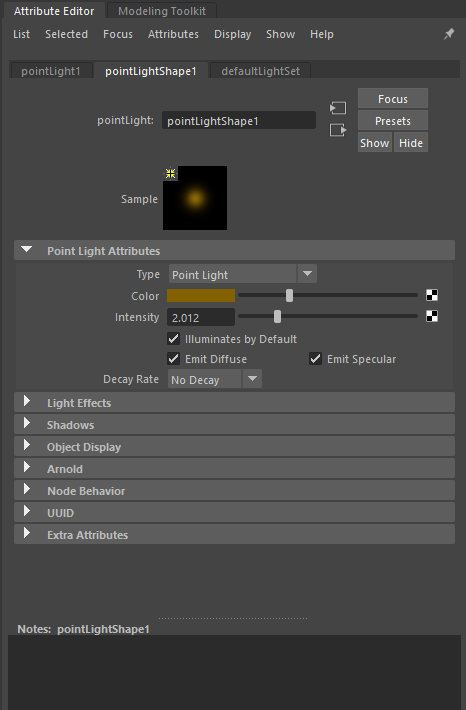
After adding the materials to my assets, I then added the ceiling of the room and proceeded to add point lights to light up the scene. I re-adjusted the colour of the point light until I thought that the room was well-lit.
After I had adjusted the colour of the lighting, the scene was finished. My next steps were to create an immersive experience with the use of visuals. I needed to create the animation. The animation which I decided to do was to make the mirror fall off the wall and onto the floor. This was quite a simple process to do as I just needed to keep adjusting the positioning of the mirror and add the key to the animation.
Once this was completed, my final step was to add the VR Camera to the scene and adjust the settings.
Video Showcase
Reflection
After experimenting with creating a 360° scene in Maya, I can understand the importance of using lighting, colour and audio to create an immersive VR experience. When reflecting on the outcome of my 360° scene, I can see that the lack of audio can make the viewer miss the action that’s happening within the scene. If the viewer were to turn as the mirror was falling down, they wouldn’t see it or even know that it was happening without the use of audio cues.
I think to improve this 360° video, I could have used a spotlight lighting to direct the attention of the viewer to the mirror with the addition of an audio cue of the mirror falling. Furthermore, I think in hindsight, rather than sticking with the reference, I could have added more colour to the assets so the scene would be more attention grabbing, as it feels as though the plain black and white furniture seems quite bland and goes against an immersive experience.
As informed during the lectures, the audience will work twice as hard to make making out of every detail they see when they have limited visual information. With this in mind, if I were to create a 360° scene for the 2nd part of the assignment, it is important to consider the use of lighting, colours and audio to help guide the viewer towards the visual cues so they don’t end up missing anything.
It is also important to remember that there should be a suitable amount to ensure that the viewer is not distracted by anything unnecessary. If the 360° scene is filled with audio cues, it may distract them to look to an area where nothing is going on; therefore, if I were to create a 360° scene for the video assignment, I would take into consideration how to balance the use of lighting, colour and audio for an immersive VR experience.
Workshop 2: Maya MASH Networks
Once I had completed the first task, I began exploring the second exercise which is MASH dynamics.
Setting the Scene
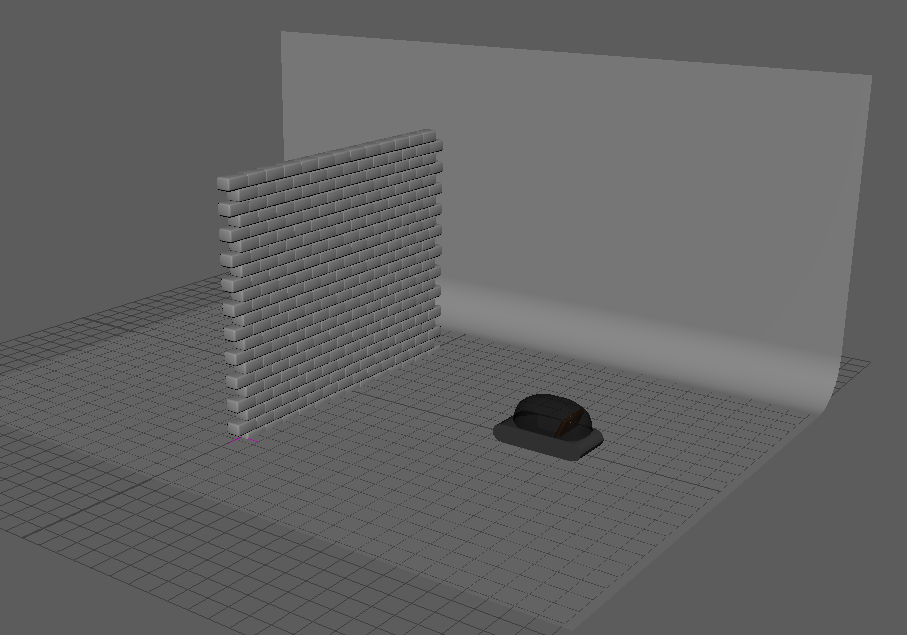
After taking a look at the different tutorials provided, I decided to follow the ‘Warping Wall Effect’ tutorial. During this process, I created the wall and then began to create the car.
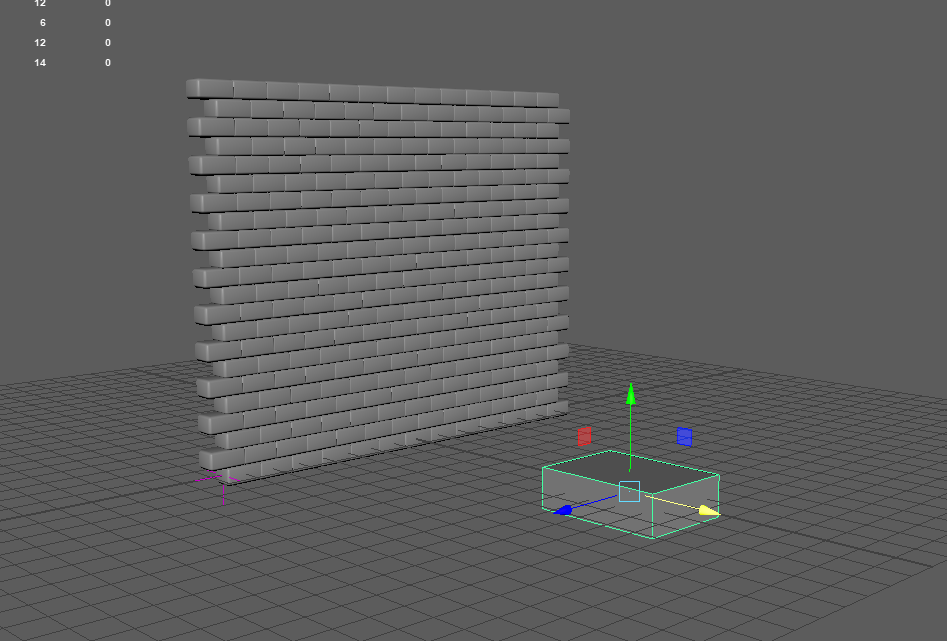
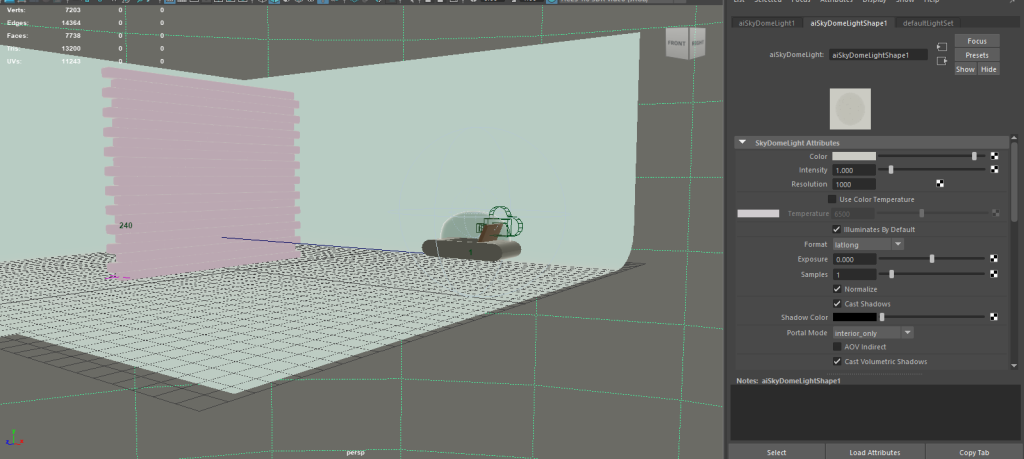
Rather than a regular car, I wanted to create something that’s similar to a spaceship, as I had envisioned the pathway of the moving vehicle to float.
Once the spaceship was completed, I needed to create a glass-like material to the half of the sphere to form the windshield.

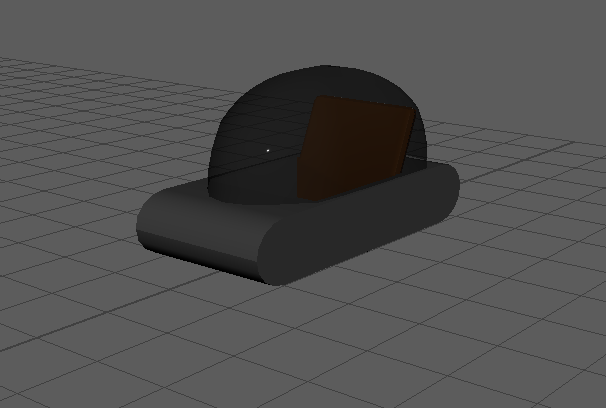
Once I had finished adding the glass material to the half-sphere, I followed the tutorial to create the motion path for the vehicle and raised the object so that it would appear as though it was floating.
After creating the motion path, my next steps were to add the camera within the vehicle so that it would appear as though it was a point-of-view video when rendering.
I felt as though the colour of the glass was slightly too dim for the camera to see through the material, so I altered it to a lighter shade.

Once I was satisfied with the positioning of the camera, I grouped the camera and the vehicle together. This is done because it’s necessary for the camera to be grouped with the vehicle in order to move together along with the motion path, allowing the camera to follow along the motion path during rendering to capture the moving process.
When testing the vehicle moving along the motion path, I thought that the space between the bricks and the vehicle were too close together; therefore, I decided to adjust the signal falloff of the object to create a wider space so that the appearance of the bricks would look more ‘explosive’ as the vehicle floats through the wall.
After I had adjusted the MASH Signal Falloff, my next steps were to add colour to the objects. I decided to go for light, pastel colours so they were easy on the eyes.
Premiere Pro
As the rendered animation was exported as PNGs, I needed to trim and compile the 240 frames of images together. To do this, I simply imported all the frames into Premiere Pro. However, when watching the video back, I noticed that it seemed a little too simple. To change this, I added a separate camera to render from an outside point-of-view, so that it wasn’t just a camera recording within the vehicle.
Video Showcase
Reflection
I enjoyed the process of experimenting with MASH. I liked creating the outcome of how the impact of the car and the bricks created an ‘explosive’ effect; it looked futuristic as though the bricks were parting way to let the car through.
During the process, I had thought about using black and white again to suit the futuristic theme, but I decided against it due to the previous task looking too plain. To make the video appear ‘softer’, I thought the use of light colours would make a better choice than dark.
Furthermore, the use of lighting also helped with brightening up the scene, and I feel as though it makes the objects within the scene pop-out more. This task allowed me to explore lighting and colour in a different way in comparison with the first task, as I was able to use brighter colours to make the experience more immersive.
In regards to UX principles, in this case, the experience appears quite restraining as the cameras are stuck to the vehicle; however, by adding more interactive objects for the user within a VR environment, it can make for an immersive experience – much like a ghost ride.
This is where you can introduce the idea of using lighting and audio for an immersive experience. You could use lighting to point the user in the direction that you would want them to face, and positional audio to do the same.
Workshop 3: Web VR Exercise
For the last exercise, we were tasked with creating a Web VR Experience within Frame VR.
https://framevr.io/kaygallery#
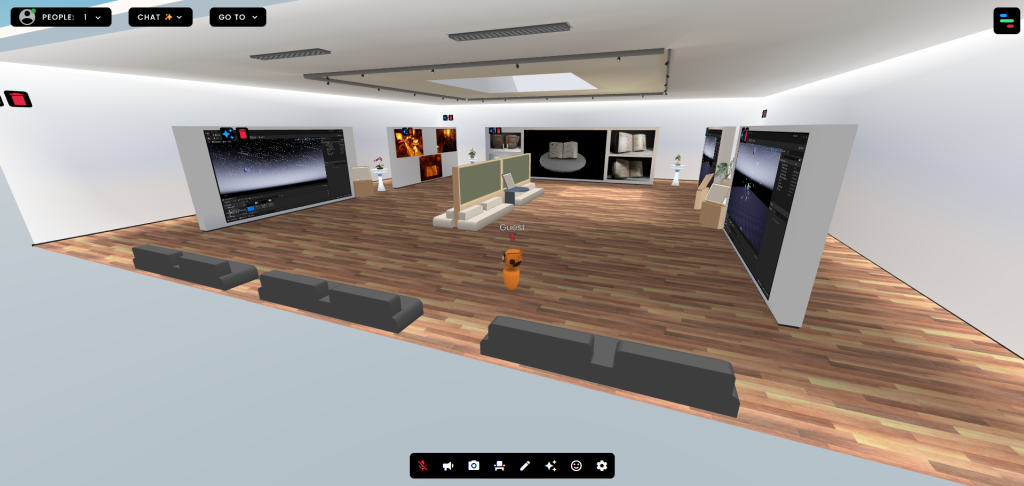
Frame VR
With a couple of presets to choose from, I decided to pick the gallery preset to present my work and use this format as an exhibit to showcase my portfolio. I had planned to import my 3D asset that I had created during the 3D Asset module but I was unable to find the model, so I imported the images of the rendered beauty shots that I had instead.
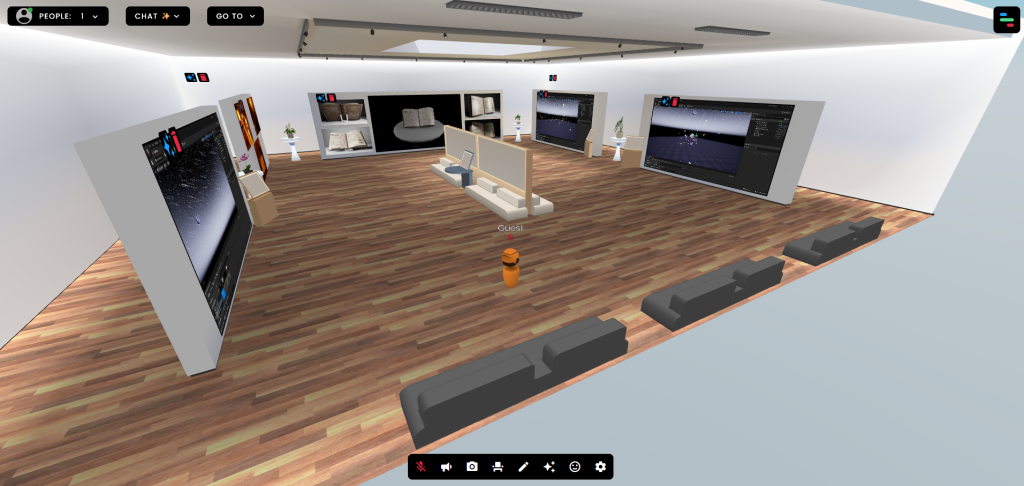
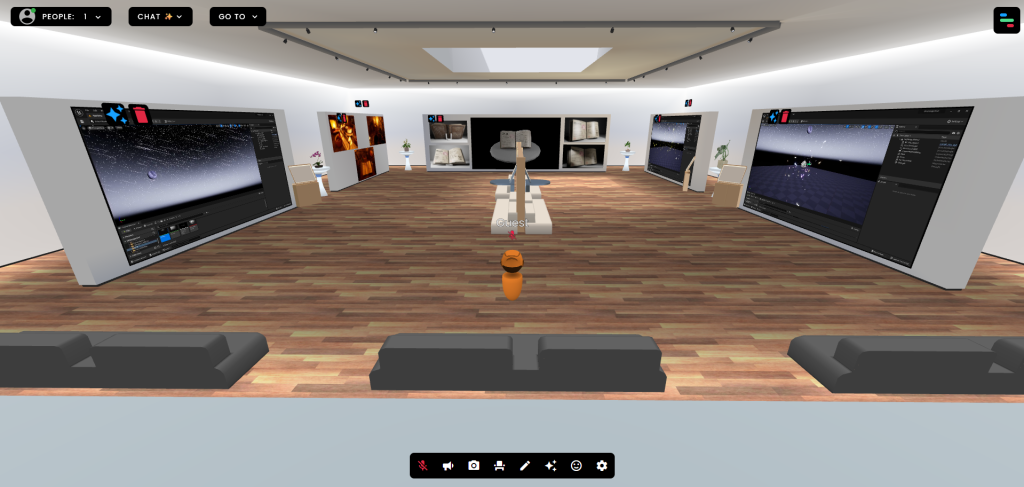
When uploading videos onto the canvas, I noticed that the videos glitch and loop in a weird way that makes the uploaded videos unwatchable. When showcasing my portfolio, I’d want the quality of the videos to be coherent but that is not the case when using Frame VR.
To make sure that the person viewing the gallery are able to see the videos I’m trying to showcase, I added a stand that allow the viewer to interact with and open up the video that’s shown.
Reflection
After experimenting with Frame VR, I believe that it’s a useful tool to showcase my portfolio that I’ve been working on during my years studying Game Design at university; however, due to the glitch with the videos, I think it damages the flow of the gallery and reflects poorly on my portfolio.
I found it a fun experience adding in pre-made assets to decorate the gallery as well as my own work, so I could present it like a real gallery for users to feel immersed within the virtual world.
Frame VR is a simple tool that can be used to showcase created assets and artwork in a virtual world. It allows the user to freely explore the world as though it were a museum. I can see the benefits of using this medium as a gallery as the interactivity can create an immersive experience for the user, however, I wouldn’t want to base my assignment project using Frame VR as you are quite limited in what you can do.
Aside from the free roaming and interacting with the canvas, such as opening a link, there isn’t much for the user to do, which leads to quite an uninteresting experience.
Conclusion
It is important to remember that there are a lot of factors to consider to create an immersive and interactive experience for the user within VR. With the use of VR, it is already an incredible tool for interactivity as the users are able to see within a virtual world and move accordingly as though they are within the virtual world. This brings us to user control and the ability to roam freely within the virtual reality which grants the user an immersive experience.
I believe that each of these mediums have their own unique ways of creating an immersive experience for the user. I don’t see much use for Frame VR in a personal project, but I can see the usefulness with its virtual reality gallery. With my current experimentation within Maya, I can imagine combining MASH within a 360° scene to create an immersive VR experience; an example of this would be something like the Mario Kart Ride at Super Mario World (Attractions 360°, 2023)2.
Overall, I enjoyed exploring all three mediums and think that they have been an informative experience for me to research immersive design.
- Ramotion (2023) VR in UX Design: Basic Guidelines for a Better Experience [Blog]. Ramotion. 16 January. Available online: https://www.ramotion.com/blog/vr-in-ux-design [Accessed 24/11/2024]. ↩︎
- Attrractions 360° (2023) Mario Kart Dark Ride at Universal Studios Hollywood | Without & W/ AR Glasses | Super Nintendo World. Available online: https://www.youtube.com/watch?v=NPfJA9i8W-o ↩︎