Substance Painter
Once I had finished modelling, I took the model into Substance Painter and baked it. By baking the model, it creates texture files for me to edit onto my model.

Textures
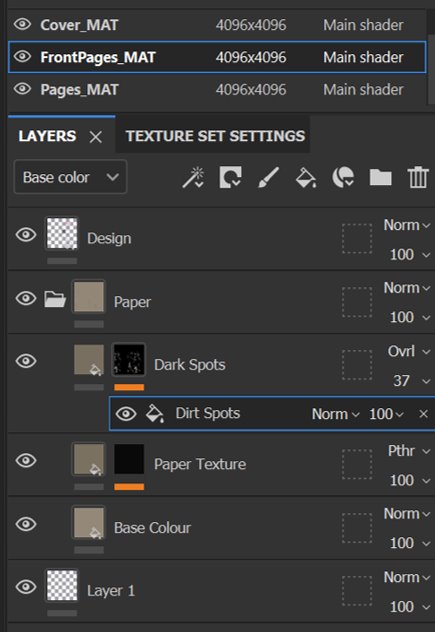
To begin the process, I created a folder for the textures of the page then created fill layers and black masks over them and added an additional fill. By selecting the fill, it allows me to embed textures of my choosing into the grayscale which would then display the texture over the model. In the screenshot on the left, I added dirt spots and altered the overlay to resemble smudges on the page.
On the fill layer at the bottom, I chose a pale brown colour to act as its base colour for the paper.
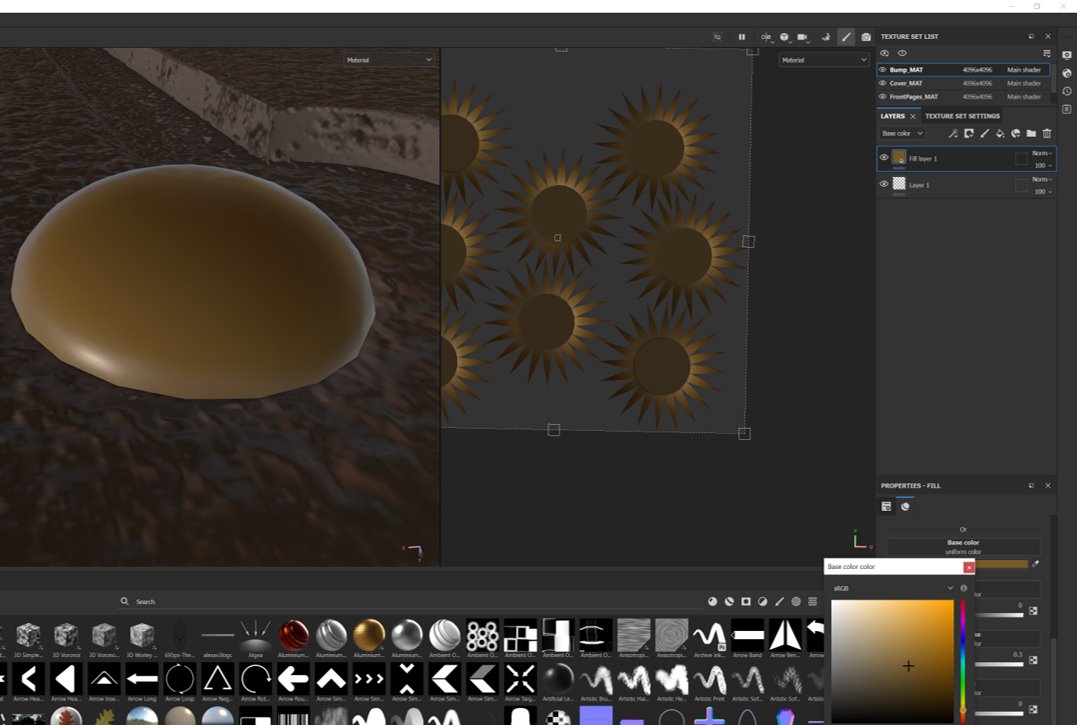
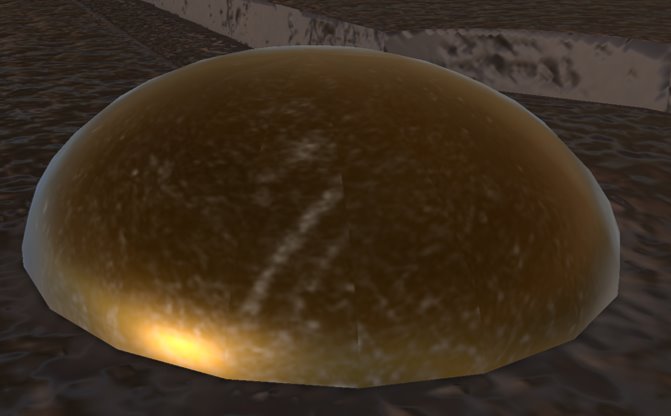
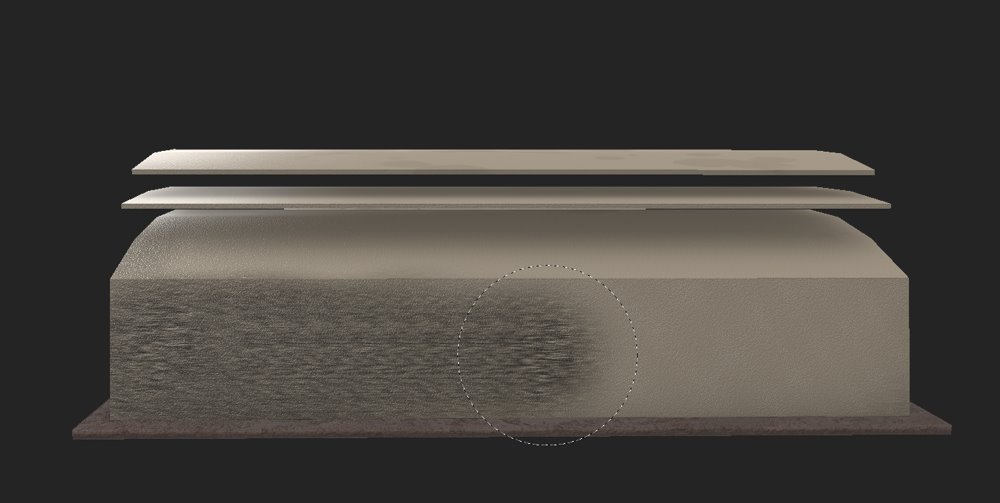
To create the metal bump, I create a fill layer for the base colour then created another fill layer and applied a metal material and adjusted the roughenss and metallic so it would appear like metal. With the same method with the dark spots, I added scratch markings over the texture to make it appear as though it was worn.
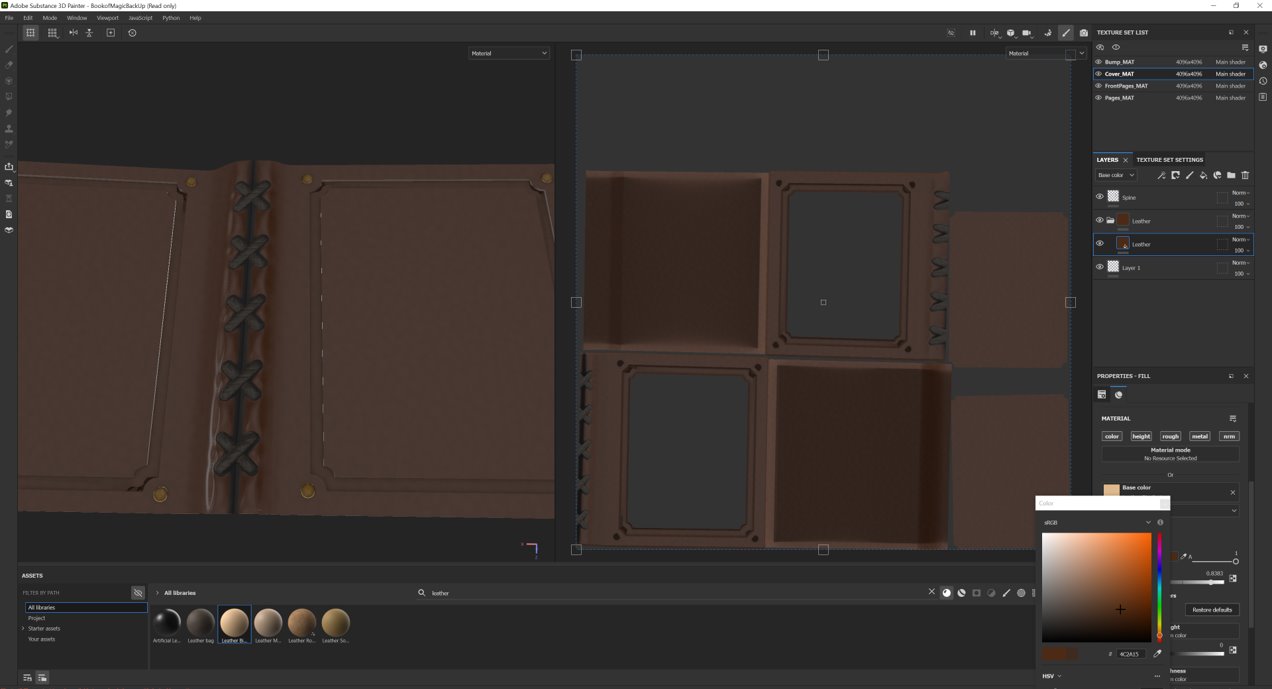
Following the same procedures, I used a leather texture for the fill and added light scratch marks. With advice from a peer, I added dust to create a worn appearance. Then used a stitch brush to paint over the spine.
With the pages layer selected, I used the directional scratches paint and applied it to a paint layer to create a texture that appeared as though there were pages stacked on top of each other then used the eraser tool to clean up the edges.
When creating the textures, I wanted to make them as accurate as possible, so I adjusted and experimented with the different settings of normals, opacity, etc.
Designs
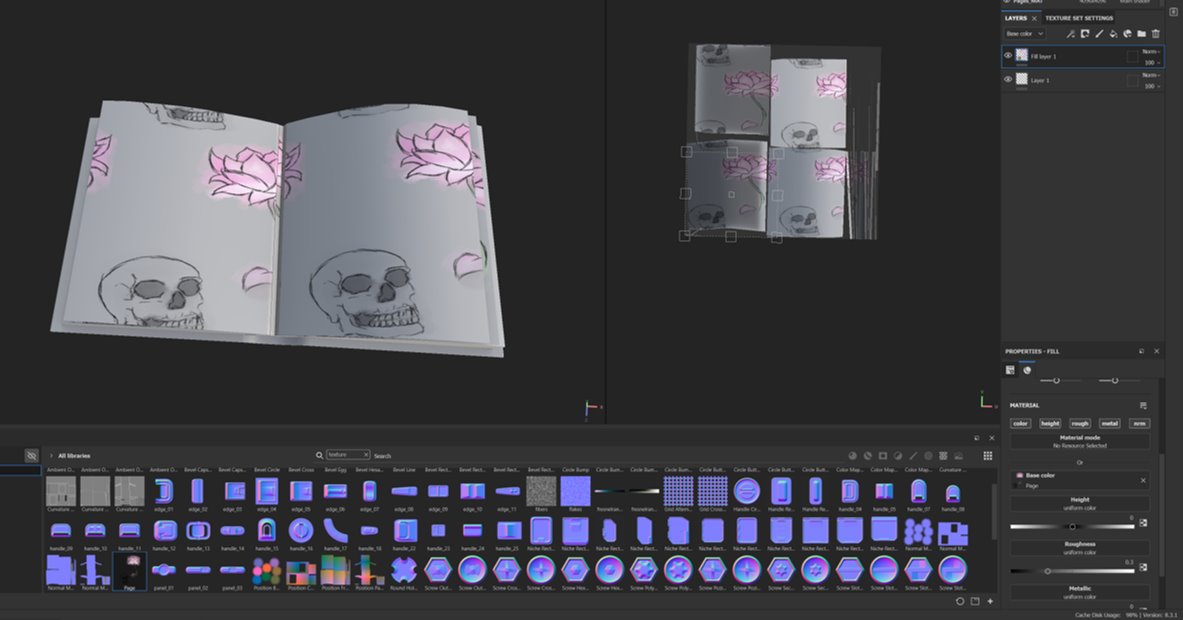
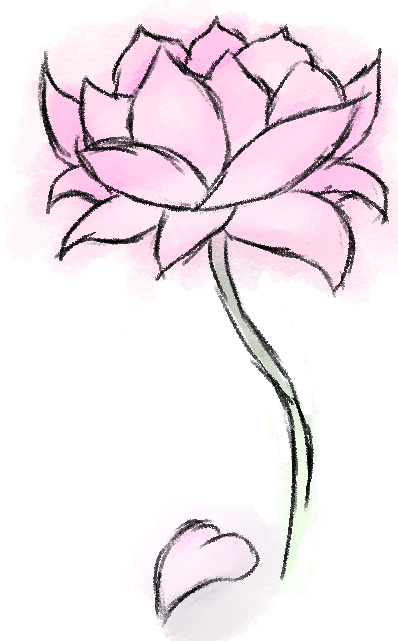
To begin the texturing, I created a fill layer and added my own .png file into the “base colour” section for the page design and altered the “UV Wrap” to none to prevent duplicates and aligned them to fit the page.


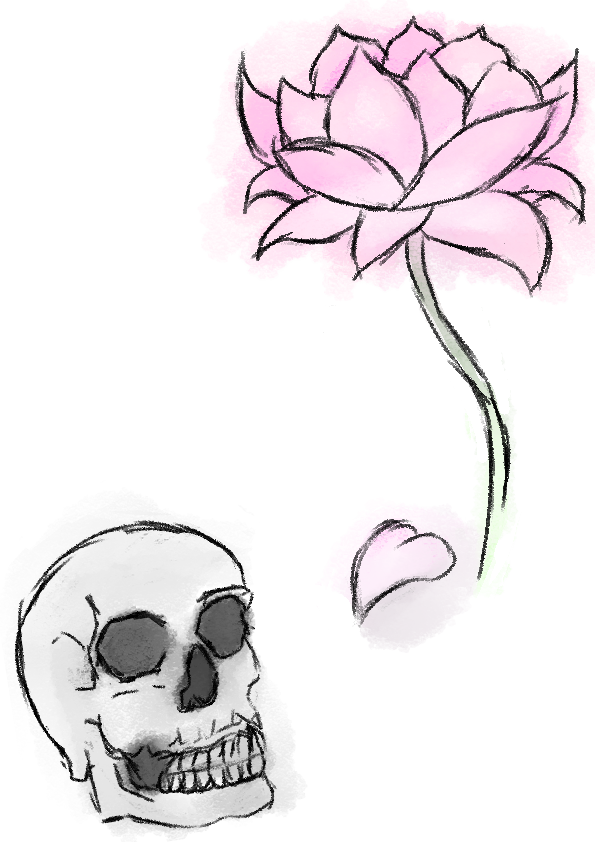
To create the incantation in old English, I put the original text through a translator (LingoJam, 2023) then copied the text and applied the font and exported it as PNG.


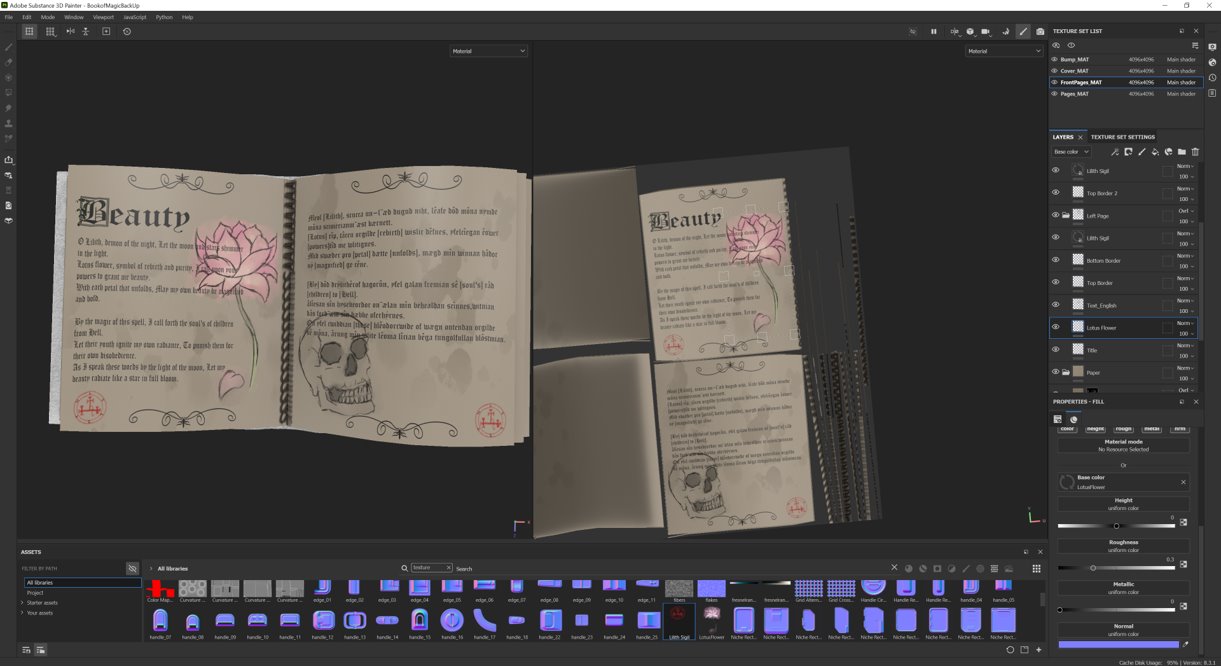
With advice from peers, I ended up separating the skull and lotus image and put them on different pages for a better layout. And because it was difficult to see the text, I needed to enlarge them and edit them again so they would wrap around the art.
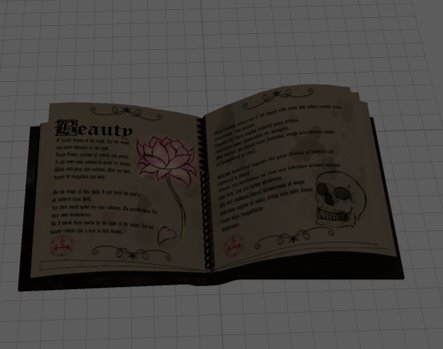
Once completed, I exported the textures and switched back to Maya to add them onto my model.
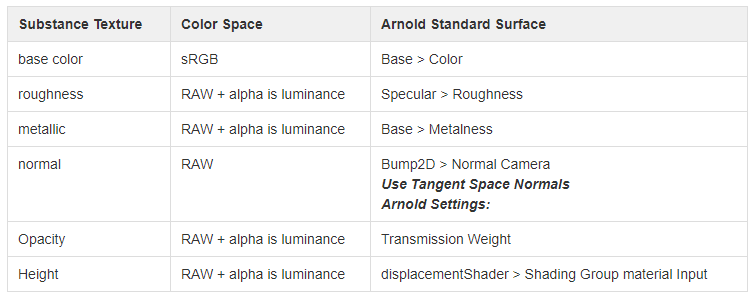
During the process of applying the textures, I followed Adobe’s guide to ensure that I applied them properly.
To begin with, I needed to create an aiSubstanceSurface onto my model and rename them appropriately. Then, looking through the attribute editor, I located each of the substance textures and added my exported PNG files in its appropriate place. When allocating my texture, it was important to ensure that the colour space settings were changed to match the table shown below.
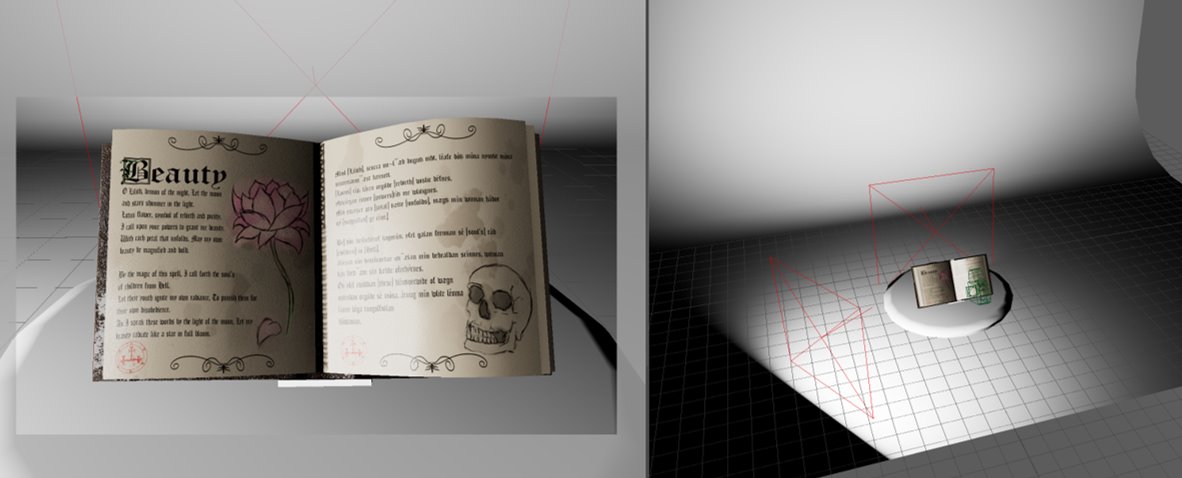
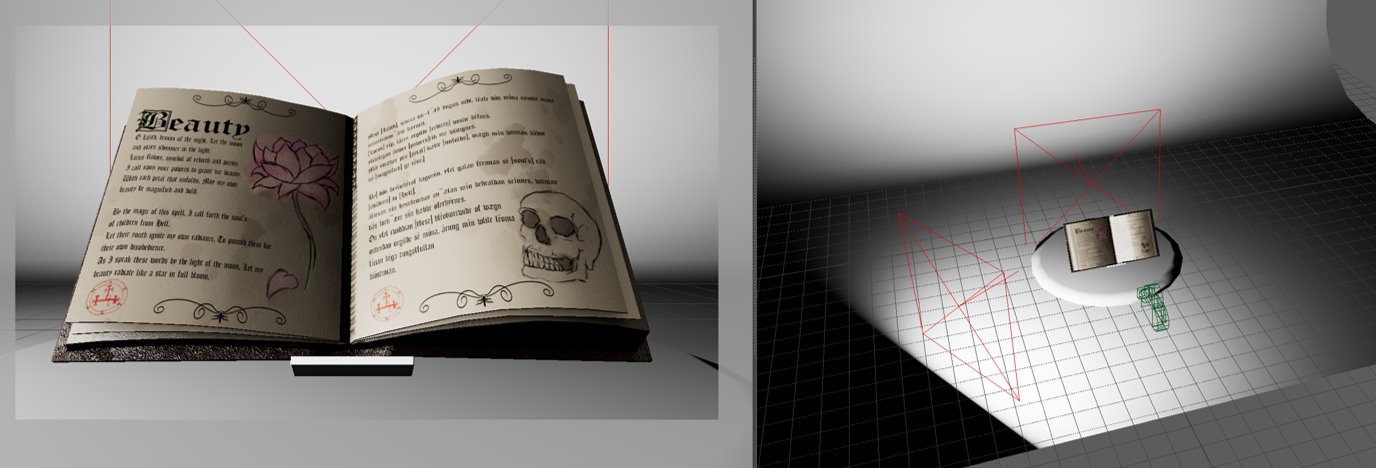
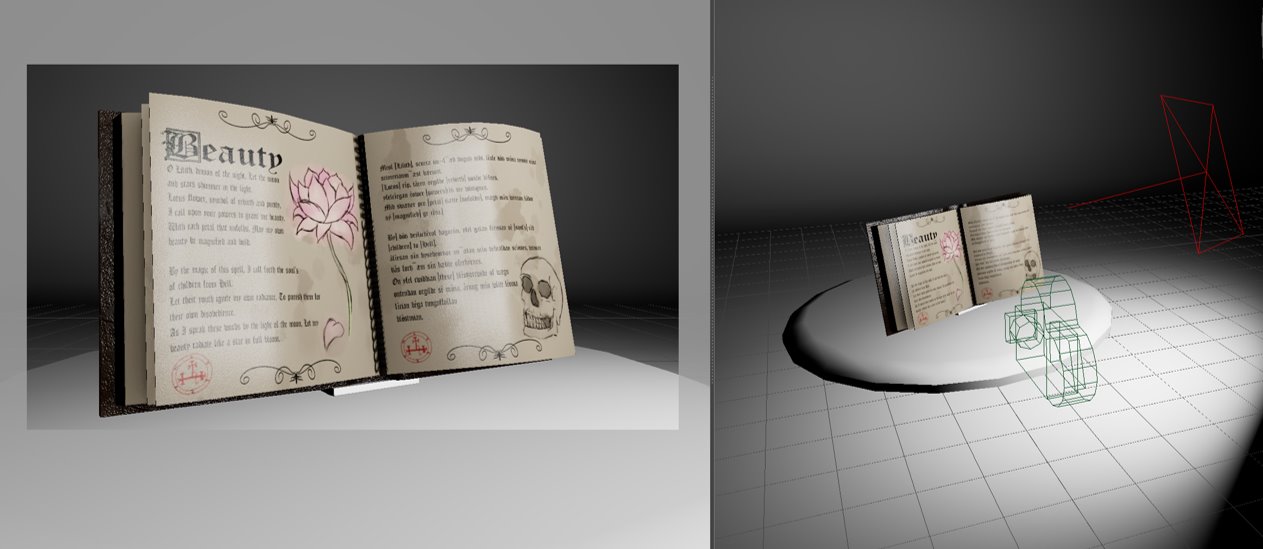
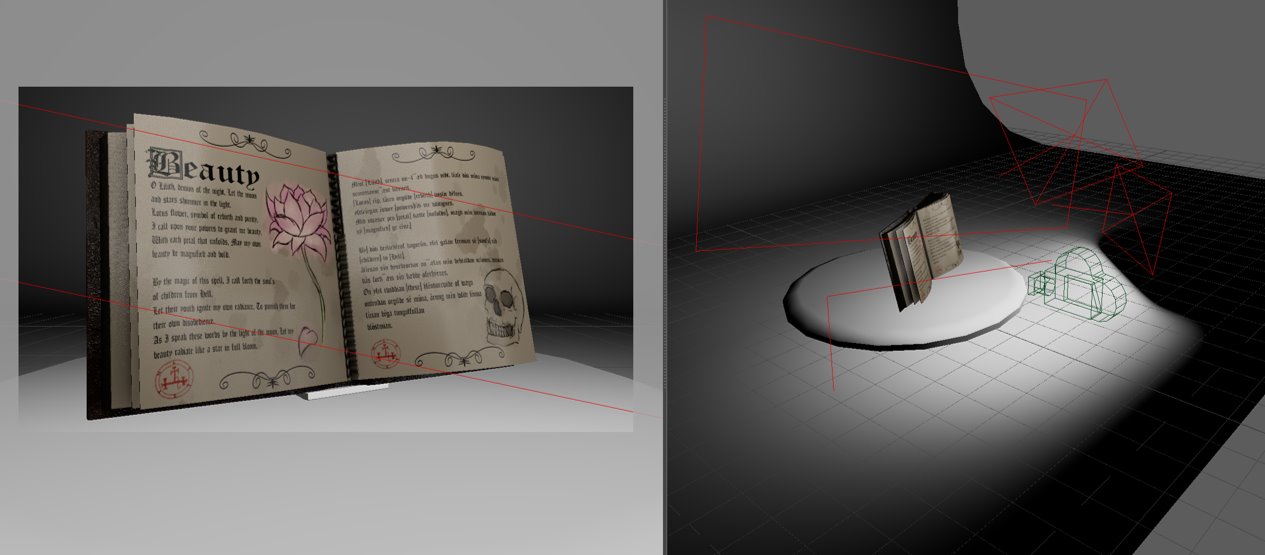
Lighting
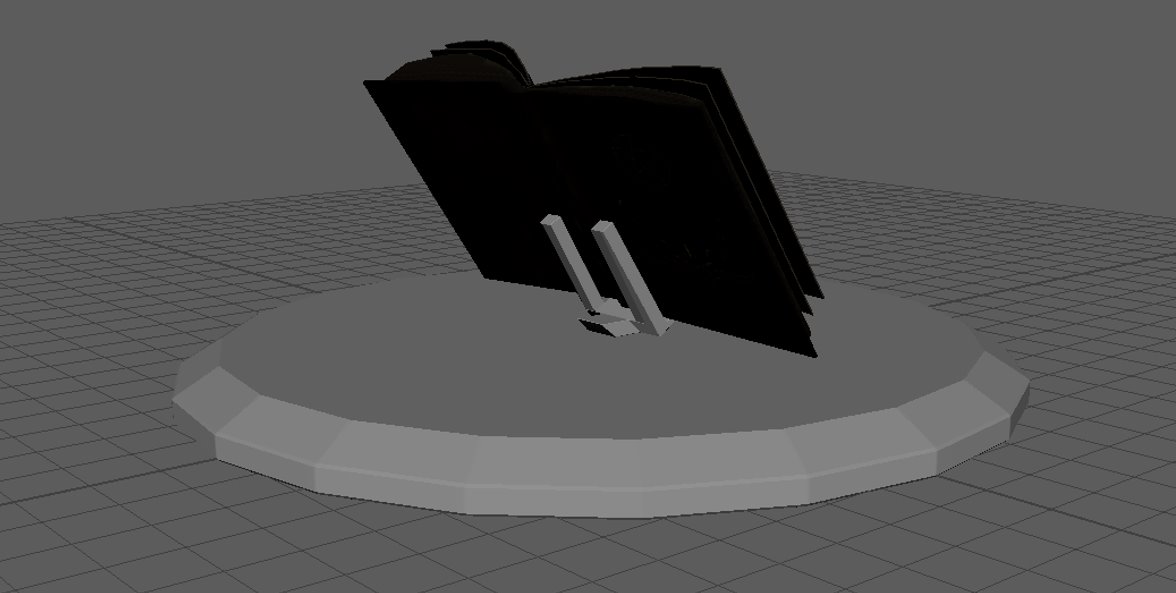
In order to begin the lighting, I first quickly created a stand and a platform for the book then created a studio background.
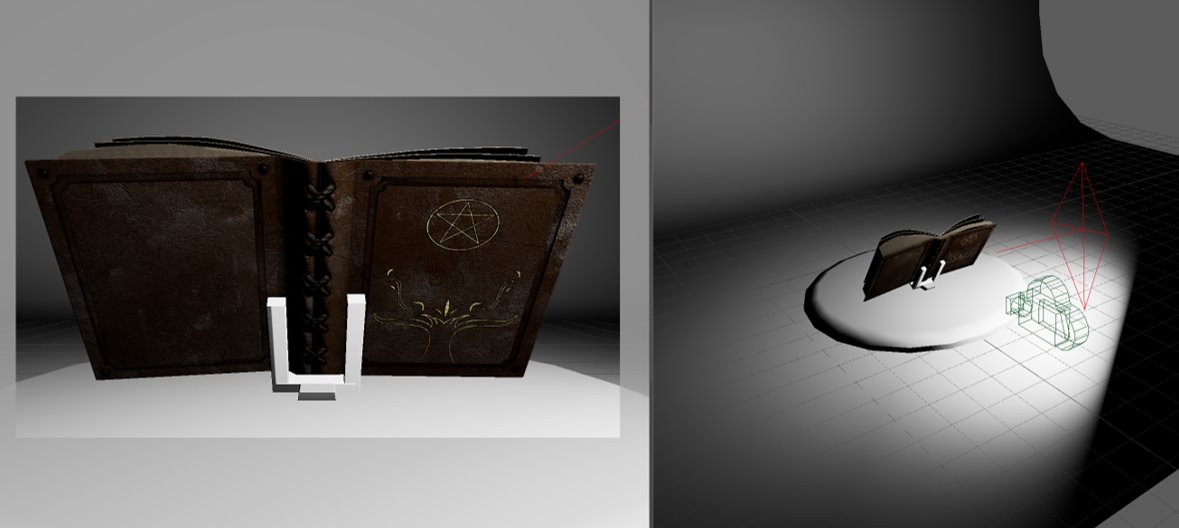
With guidance from the “Lighting Guide” (James Paterson & Chris George, 2023), I began the lighting shots. Throughout the process, I altered the exposure and intensity of the aiAreaLight and scaled and positioned them appropriately.
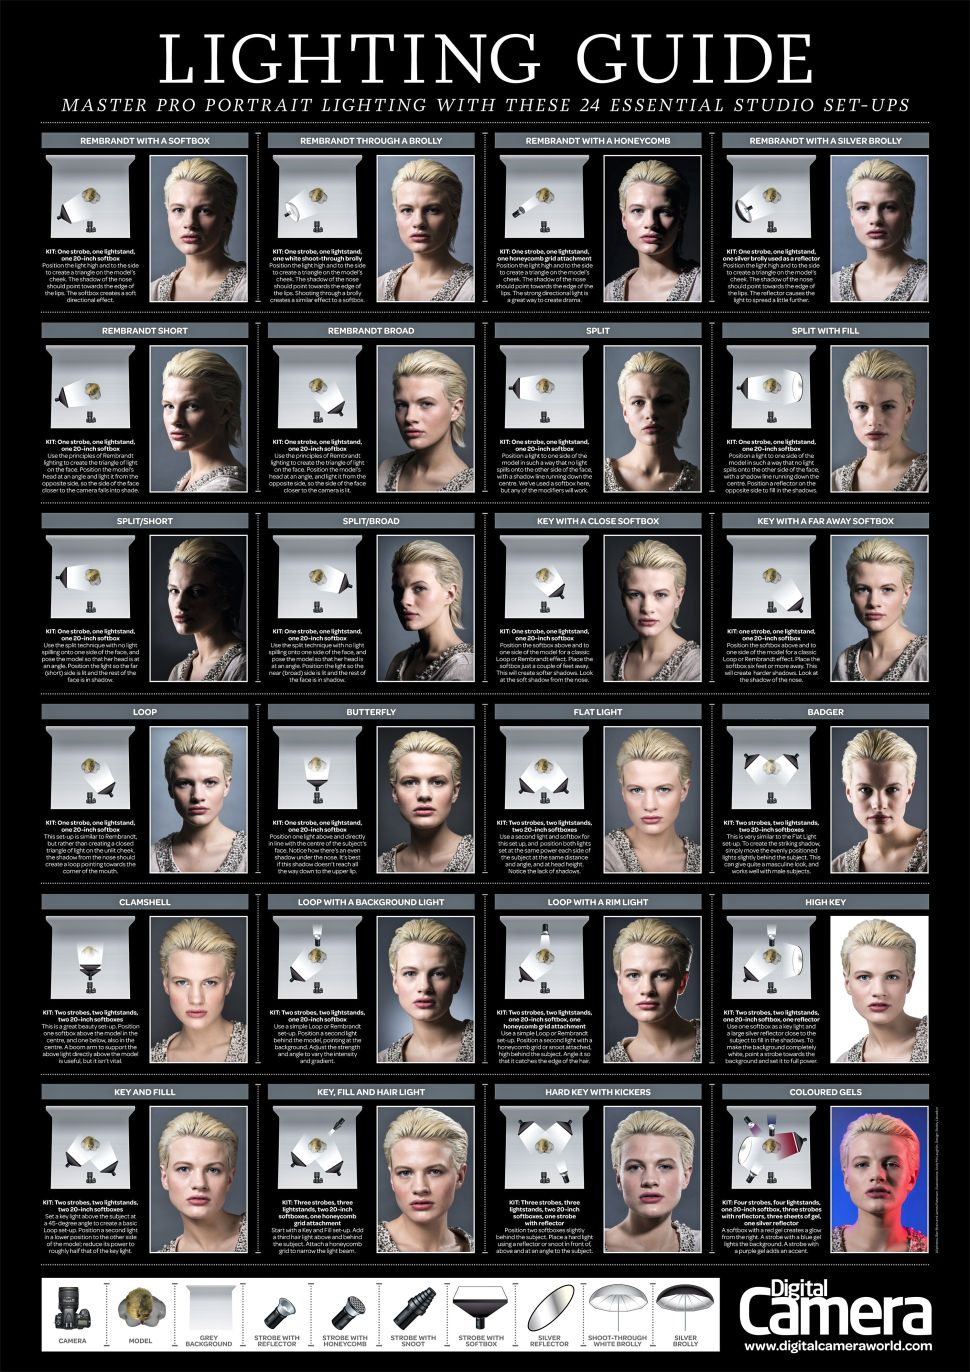
Lighting Setup
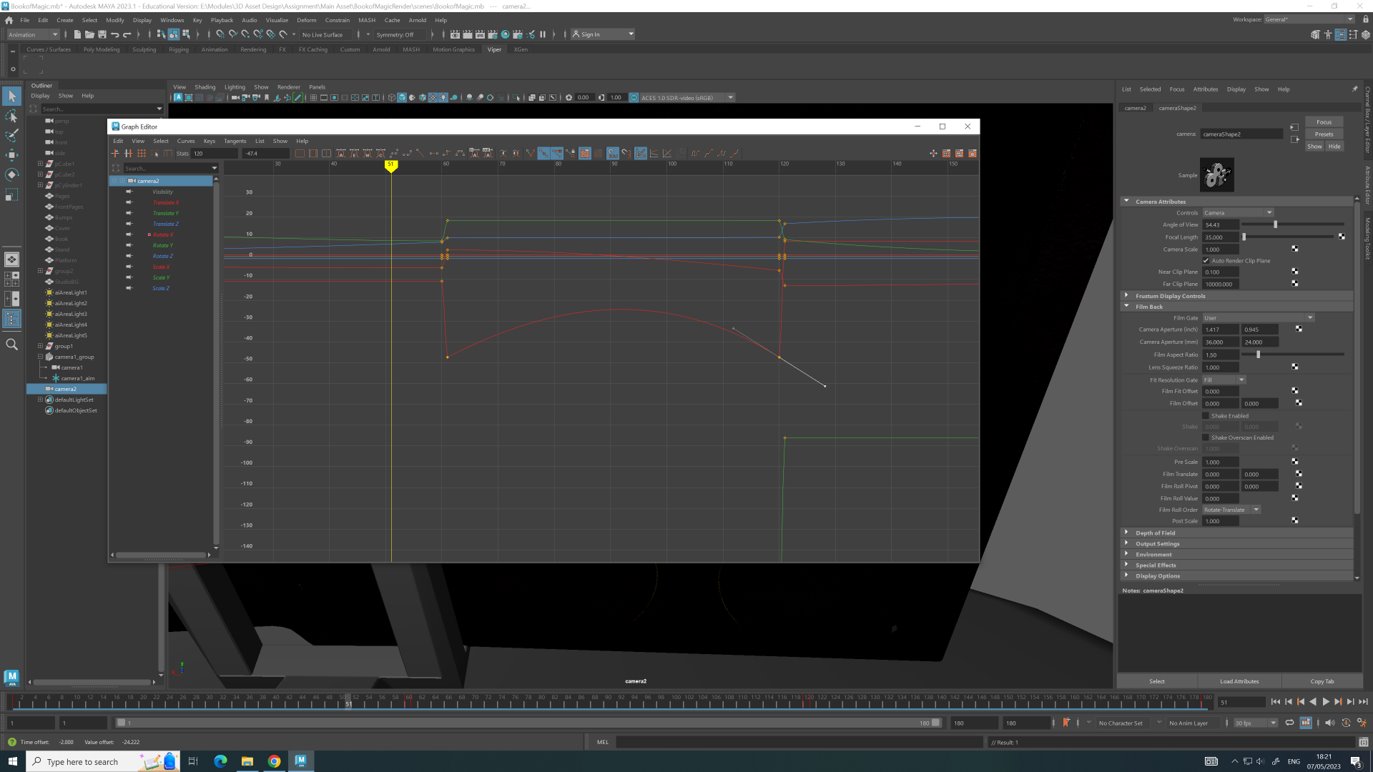
Camera Animation
When creating the video showcase, I experimented with the regular camera and the camera and aim. When opening up the animator editor, I selected the graph editor which allows me to adjust how the camera moves.
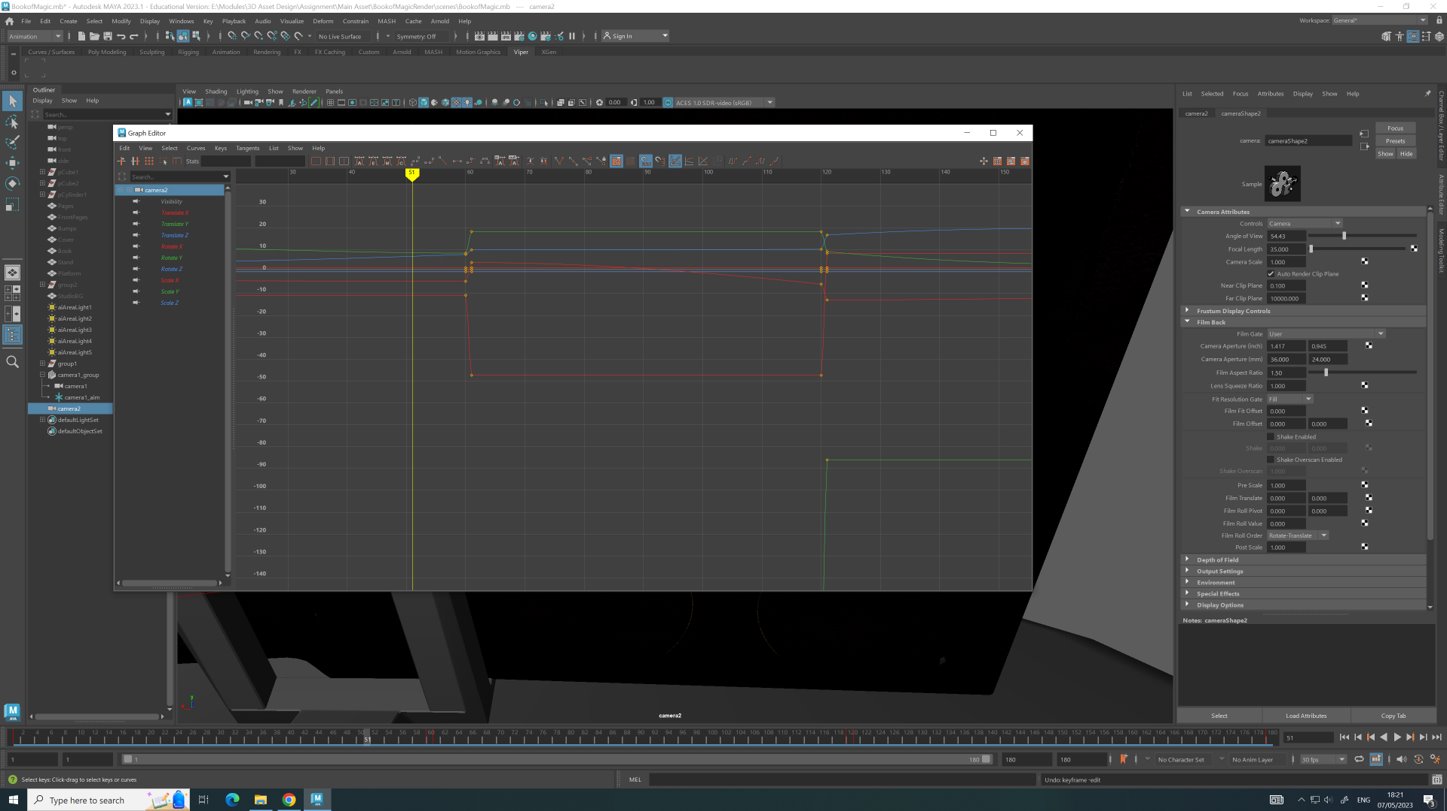
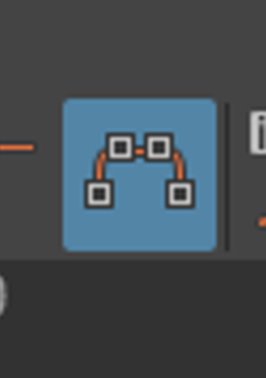
By selecting the icon below, I was able to adjust the movement of the camera; but upon doing this, with agreement from peers, we believed that the outcome was too erratic for the video showcase, so it was not included in the animation.
LingoJam (2023) Old English Translator. Available online: https://lingojam.com/OldEnglishTranslator [Accessed 01/05/2023].
Adobe (2023) Substance guide to Rendering in Arnold for Maya. Available online: https://substance3d.adobe.com/tutorials/courses/Substance-guide-to-Rendering-in-Arnold [Accessed 02/05/2023].
James Paterson, Chris George (2023) Photography cheat sheet: Lighting setups for professional portraits. Available online: https://www.digitalcameraworld.com/tutorials/photography-cheat-sheet-lighting-setups-for-for-professional-portraits [Accessed 05/05/2023].