Creating a Blockout
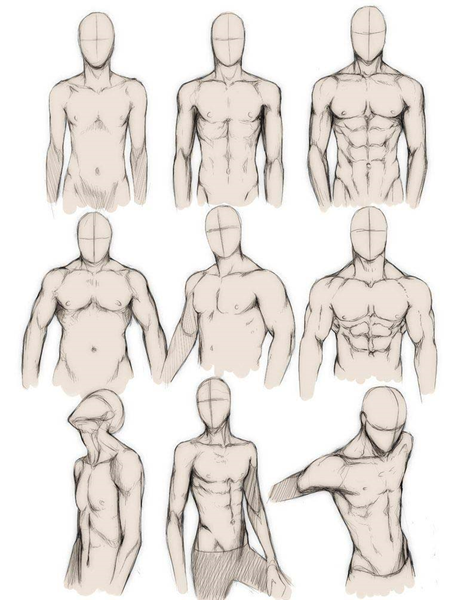
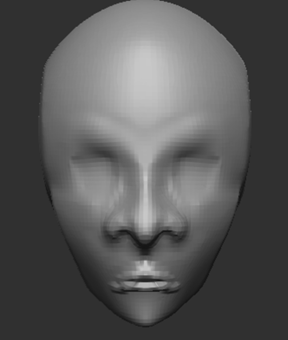
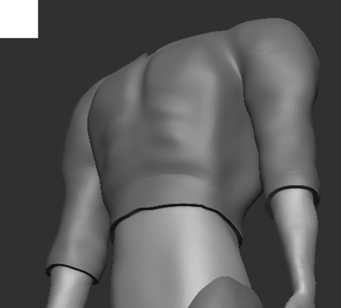
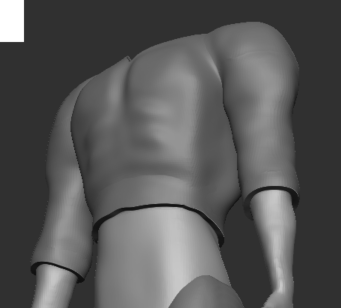
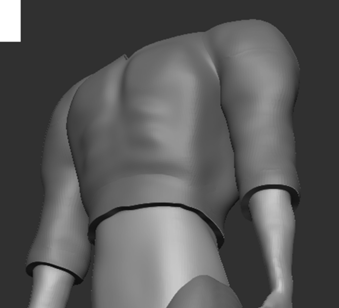
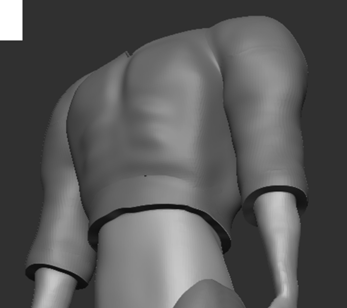
To begin the blockout, I followed the tutorial to create the basic shapes of anatomy. I started with the head by inserting a sphere and adjusting the shape with the ‘Move’ brush. By altering the size of the brush and enabling symmetry, I was able to create a head shape for my character. Once the blockout for the head was finished, I inserted a cylinder for the neck and used the ‘Transpose’ tool to adjust the size and move the cylinder beneath the head to form the neck. I followed a similar process throughout the blockout stage to create the torso and arms, using the ‘Move’ brush to reshape the spheres to form the appropriate body part.
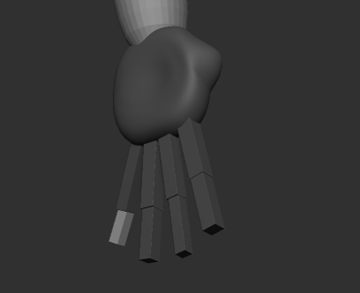
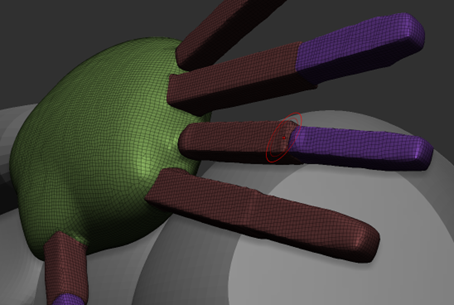
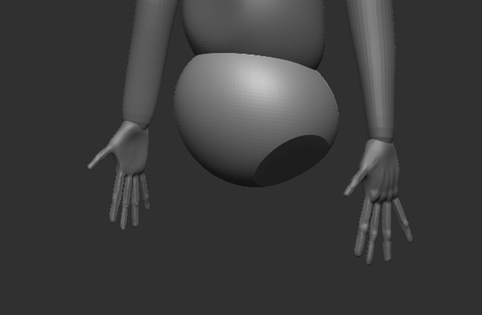
When I started on the hands, I found some difficulty using the ‘IMM Primitives Shapes’ brush to insert the cubes and resizing them onto the palm; but with trial and error, I finally created the basic block out. Because the subtool for the palm is selected, it was not necessary to merge them together as the fingers were created within the same subtool; therefore, in order to make the fingers less blocky, I needed to use the ‘DynaMesh’ tool. By selecting ‘Group’ then ‘DynaMesh’, the tool allows the user to freely sculpt the shape easily which enables me to smooth out the fingers (using the ‘Smooth’ brush) and reshape them to appear rounder.’ ‘DynaMesh’, the tool allows the user to freely sculpt the shape easily which enables me to smooth out the fingers (using the ‘Smooth’ brush) and reshape them to appear rounder.
Additionally, I used the ‘Clay Buildup’ brush to sculpt on the bones and knuckles on the fingers and used the ‘Smooth’ brush to polish the bones on the hand.
Throughout the process of sculpting, I attempted to carefully follow the given tutorials as well as looking up references online for anatomy (jinx-star, 2012).
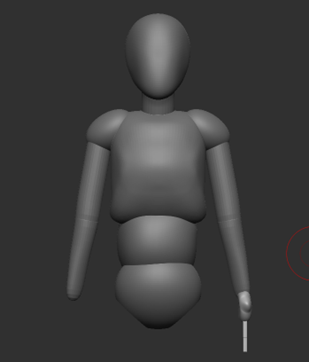
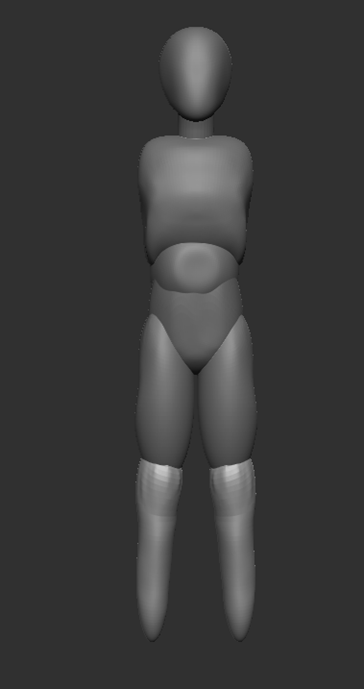
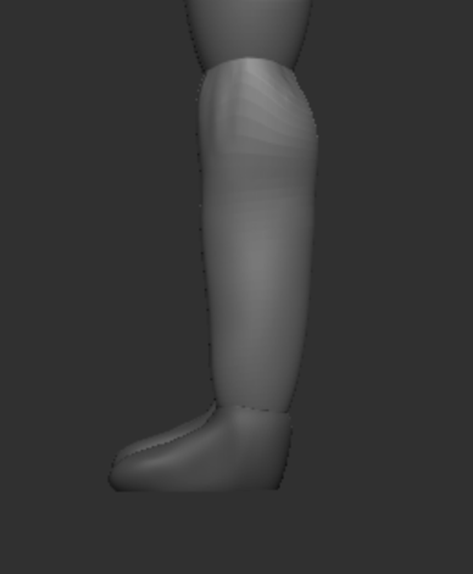
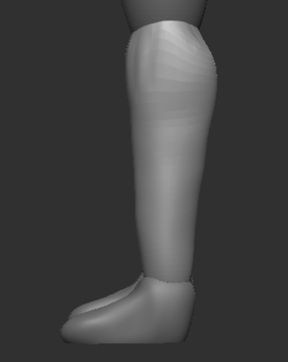
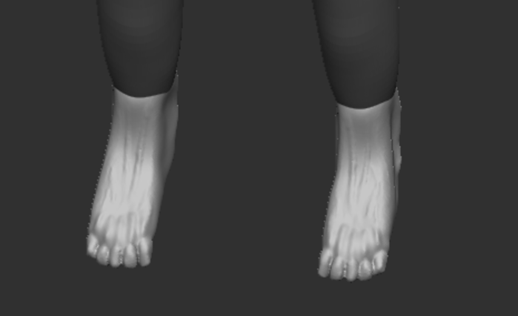
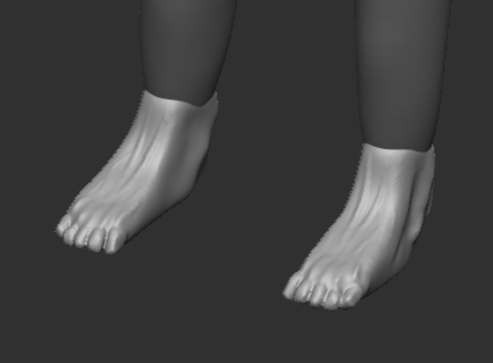
Once the hands were completed, I moved onto creating the legs. The same process was used to create the legs as I did with the arms. The ‘Move’ brush was used to adjust the spheres to form the leg shape; symmetry was also turned on.
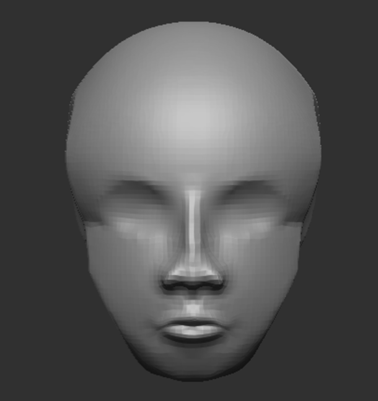
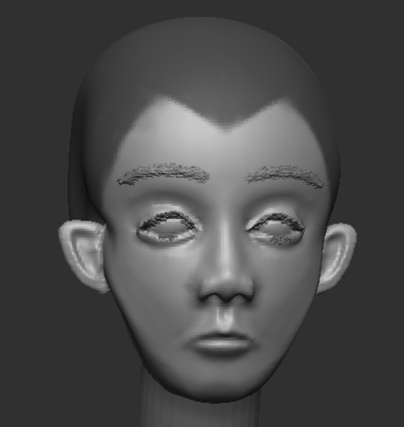
After completing the blockout, I decided to redo the head shape before adding facial features by following the tutorials provided to us.
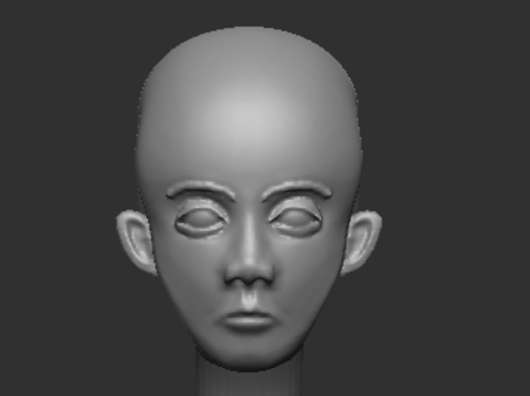
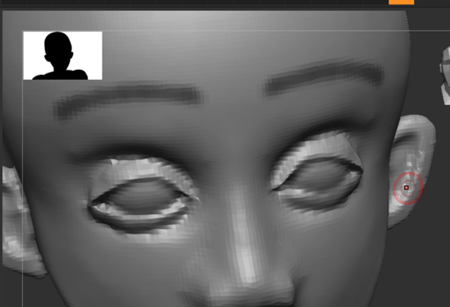
By using the ‘Clay Buildup’ brush and holding the ALT key, I was able to reverse the brush by creating indents within the skull; by doing this, I was able to create eyesockets. Once this was done, I inserted spheres and used the ‘Transpose’ tool to adjust the size and reposition it within the head.
Spheres were also added to create the ear and eyelids. Using the ‘Mask Pen’ brush, I remove a section of the sphere to cut a hole to form the top eyelid and repeated the process for the bottom. As for the ear, the ‘Clay Buildup’ and ‘Move’ brush were both used to produce the shape and the structure.
Hair
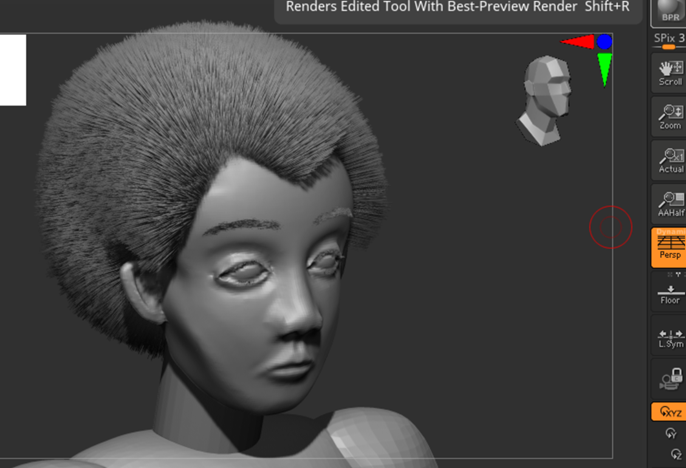
Once the blockout was completed, I moved onto the hair. Rather than sticking with the blockout for the eyebrows, I decided to use fibermesh for a realistic appearance.
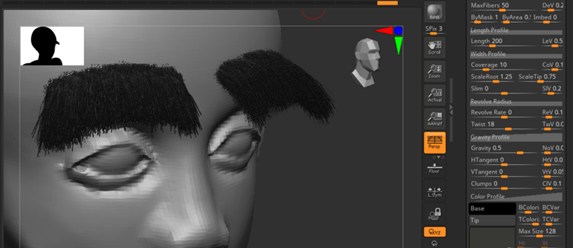
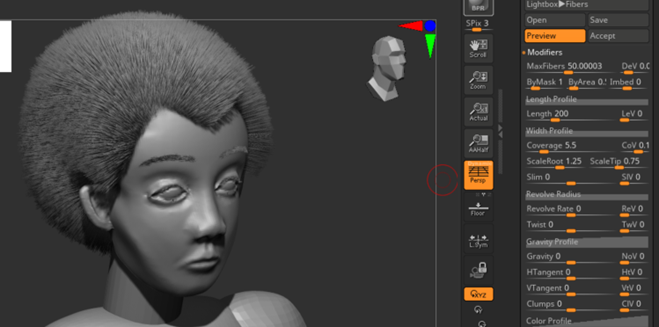
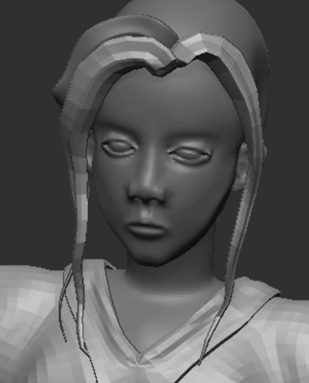
By following the tutorial by J Hill (2019), I downloaded and used the presets provided for the hair and imported them into ZBrush. I began by using the ‘Mask Pen’ brush to outline the area for the eyebrows, then under the ‘Fibermesh’ option, I experimented with the settings of ‘Max Fibers’ and the length by lowering the number until it looked suitable.
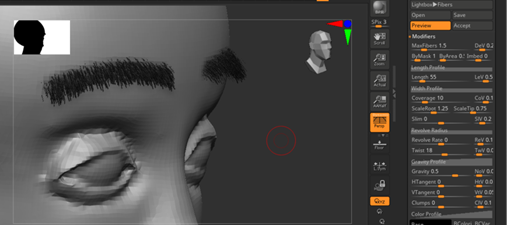
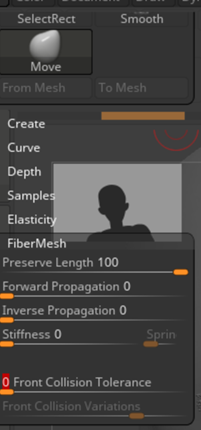
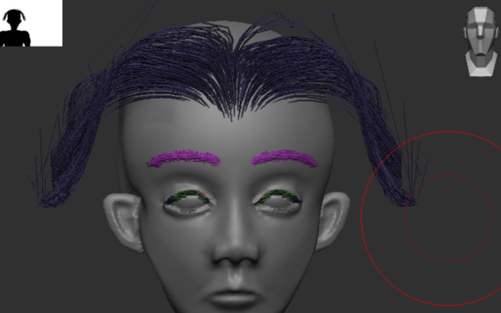
As seen in the above image, the hair from the eyebrows appear as though they are protruding from the face, rather than look combed; to solve this issue, I needed to edit the settings of the ‘Move’ brush by adjusting the ‘Preserve Length’ option to 100 and ‘Front Collision Tolerance’ to 0. By doing this, the ‘Move’ brush maintains the length of the hair when I draw across the eyebrows to smooth them out. Additionally, I experimented with the ‘Pinch’ brush to shape the eyebrow appropriately.

For the eyelashes, I found difficulty controlling the length and reshaping them, so I did the top eyelashes then the bottom.
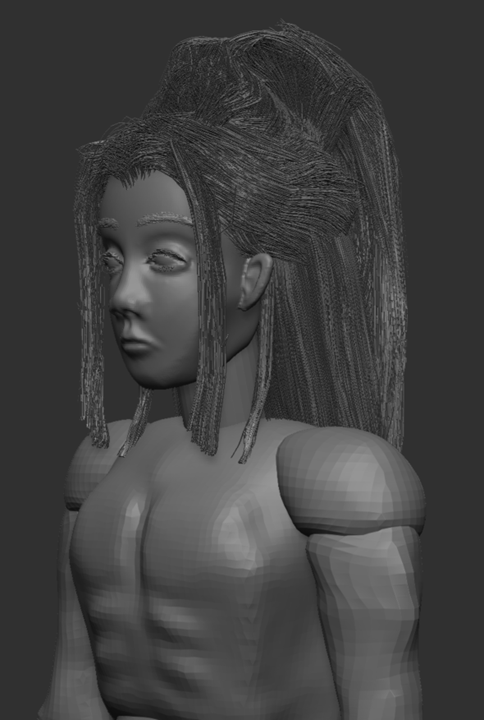
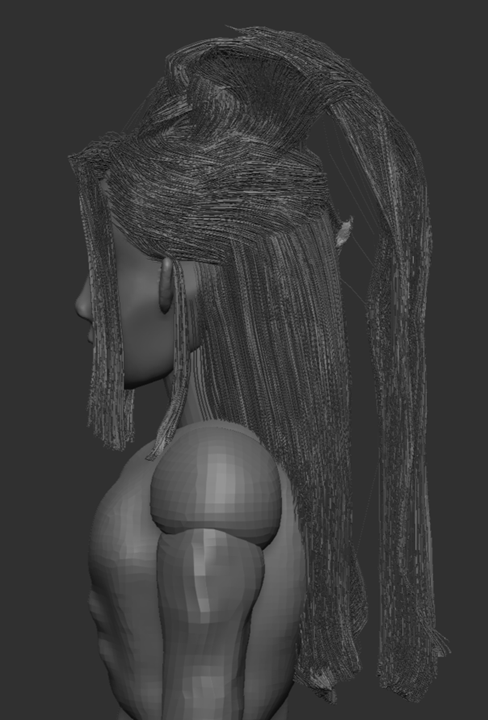
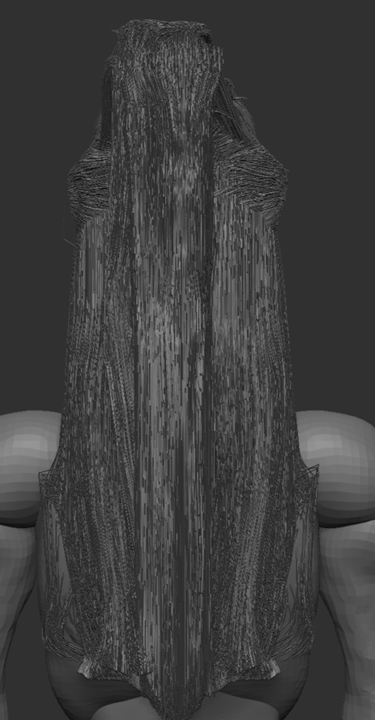
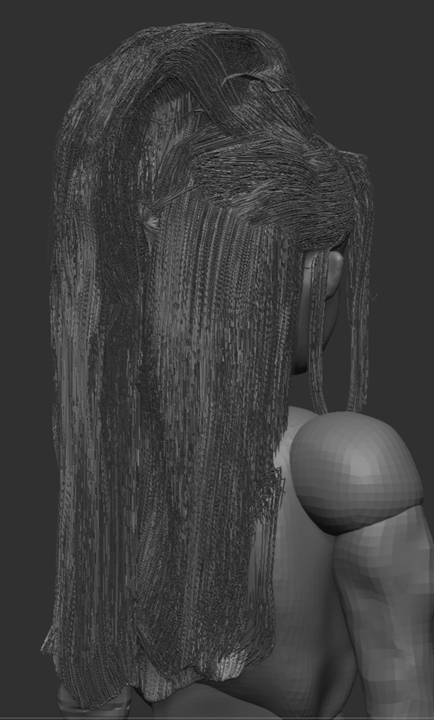
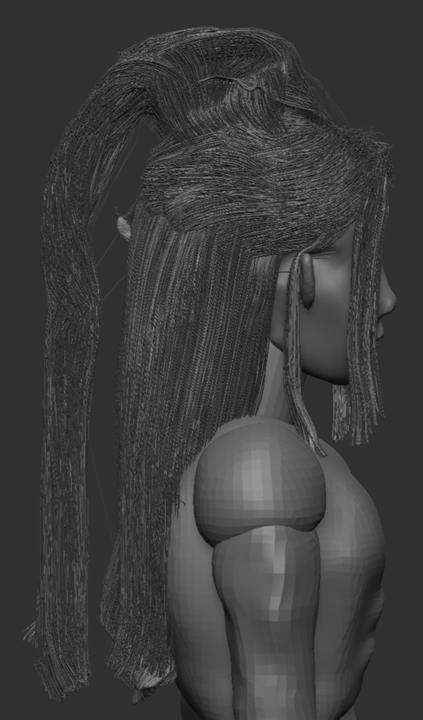
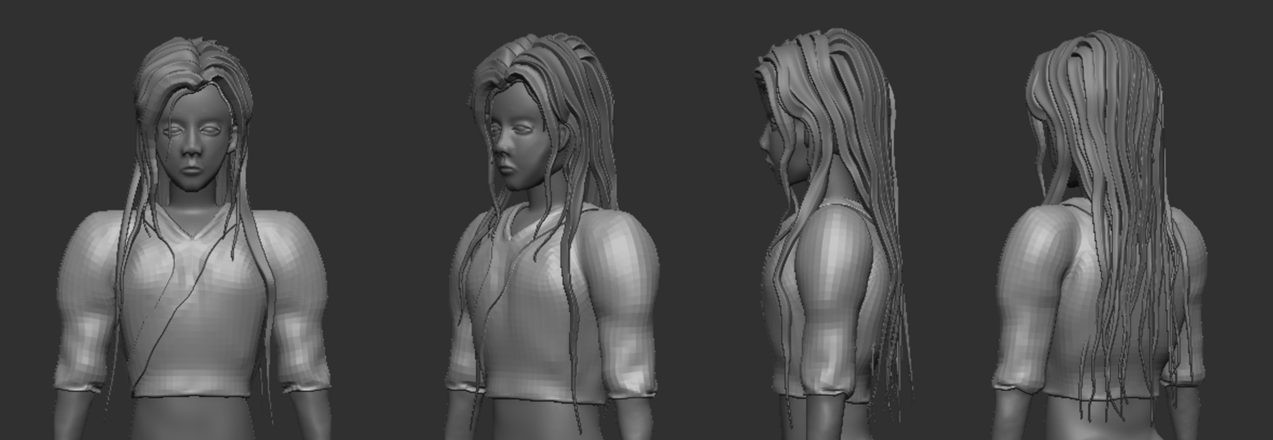
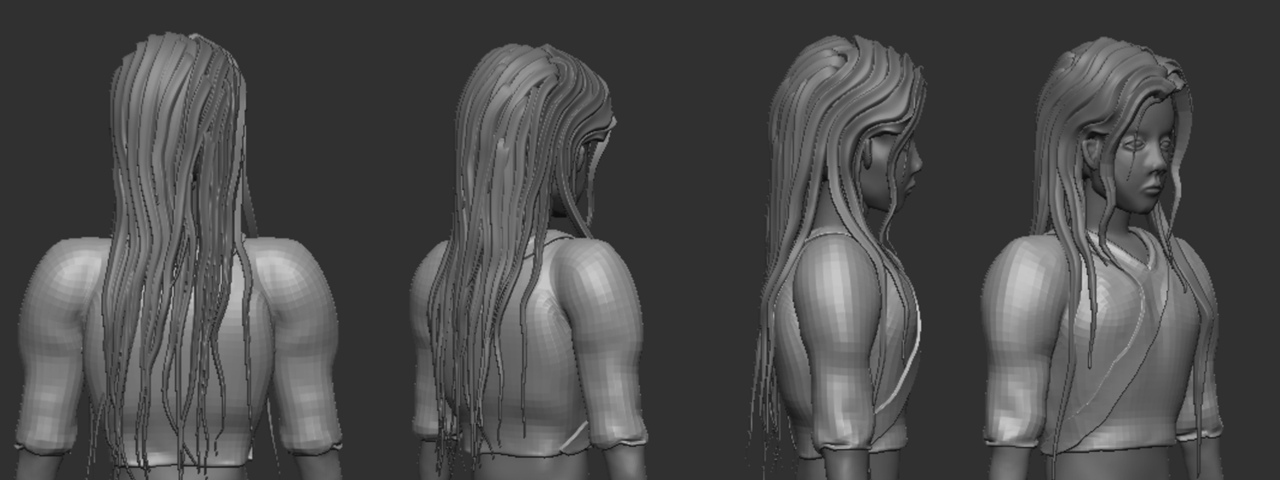
The next step was to create the hair on the head. I followed the same method which was to use the ‘Mask Pen’ brush and create a mask for the base of the hair. When adjusting the settings, I experimented with the coverage between 8 and 5.5; between the two, I opted for 5.5 as it seemed most suitable for the hair.
Throughout the process of creating the hair, the ‘Mask Pen’ brush was regularly used to select specific areas and separate them from the rest in order to create a new polygroup using CTRL + W; this allows me to section off the hair so I can then use the ‘Move’ brush to proportion the areas so I can shape them to the desired design.
By creating new polygroups for different sections of hair, I am able to isolate the specific area by using CTRL + Shift and clicking the polygroup which hides the rest of the unselected polygroups, which then allows me to freely re-adjust the hair.

Clothing & Accessories

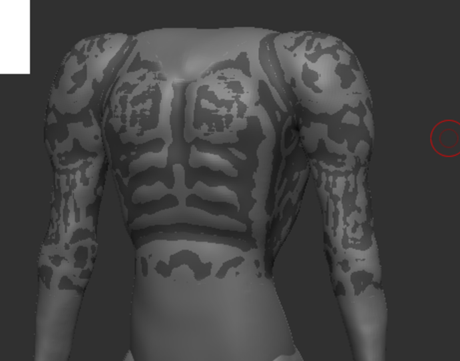
With 0 thickness for the extraction, I tried to adjust the inflate, but it only did the edges of the extraction. I realised I simply needed to unselect the masked area. I also noticed there were multiple polygroups, so I grouped them together to be one by wide selecting with the mask tool then CTRL + W.
Once this problem was fixed, I moved onto the next step which was to adjust the smoothness of the subtool. I noticed that it looked a little too thin, so I redid the mask and before extracting, I experimented with the thickness and eventually opted for 0.0125.
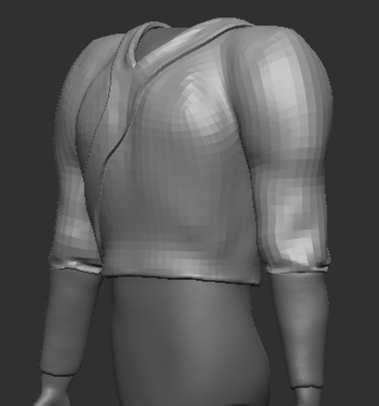
Based from my initial designs, the robe is designed so that it’s folded over from one side to the other; to recreate this, I used the ‘Mask Pen’ tool to draw out the collar area to create a new polygroup, then by switching to the ‘ZModeler’ brush and holding ‘Spacebar’ when my cursor is hovering over one of the polygons on the newly created polygroup, I am able to extrude the new polygroup.
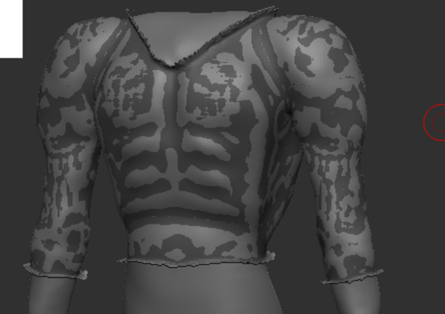
When I first did this, I noticed that the extruded polygroup had sharp edges; to fix this, I went back and switched to the ‘SmoothGroup’ brush and smoothed out the edges of the polygroup without altering the number of subdivisions before extruding again.
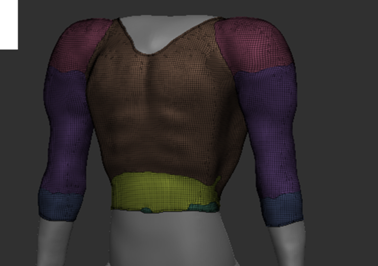
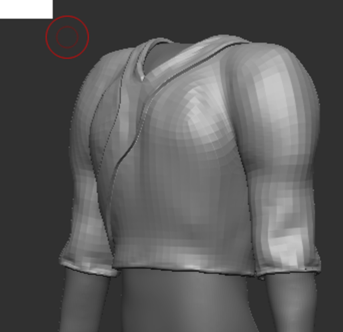
Once this was completed, I needed to use ‘Dynamics’. The basic function of ‘Dynamics’ allows me to imitate the material of the clothing; to elaborate, with the ‘Gravity’ setting on low and ‘Collision Volume’ on, once simulation begins the selected subtool sinks into the other subtools when making contact with it. As shown in the GIF below, simulation is manually turned on and off to ensure that the appropriate amount is applied to the subtool. This function also creates slight creases (as seen in the sleeves) which produces appealing material resembling clothes.
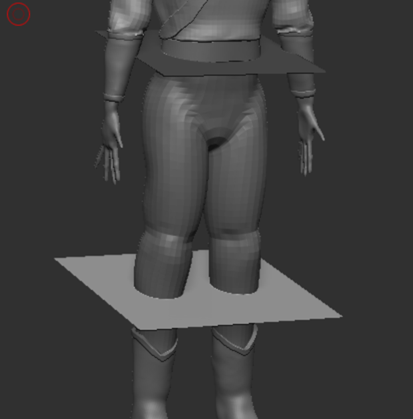
Moving onto the next item of clothing, I used the same method to create the trousers. As shown in the GIF, the top part clips through the belt; to resolve this issue, I simply used the ‘Move’ brush to adjust the mesh until suitable.
Continuing onto the next step, I needed to create a skirt; to do this, I found an online tutorial and followed the video (Maxon ZBrush, 2018).
Firstly, I inserted a 3D Plane subtool then duplicated it and moved it downwards to where I wanted to the length of the skirt to be, and resized the bottom one. I selected solo mode then selected the ‘MaskCircle’ brush.
With orthographic view and repositioning the camera to face down, I created masks with the circle which applies on both layers of the plane subtools. Then used ‘MaskPen’ to add the ruffling around the bottom plane to mimic the ruffles around the skirt.
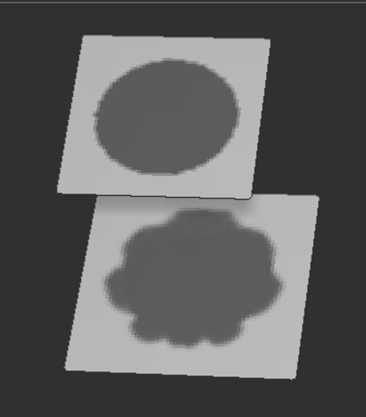
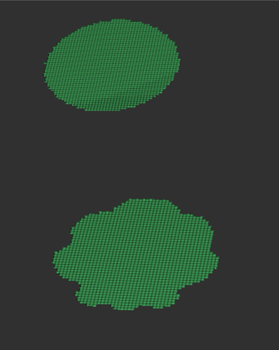
Additionally, by using CTRL + W to create new polygroup with the masked area, then CTRL+SHIFT and clicking the outer area twice to reveal just the new polygroup, I was then able to select the ‘Delete Hidden’ option under ‘Modify Topology’ to remove the excess parts.
After deleting the excess mesh, I select the bottom plane and under ‘Display Properties’ I click ‘Flip’ and then ‘Double’; this flips the normals so that the bottom normal is facing downwards.
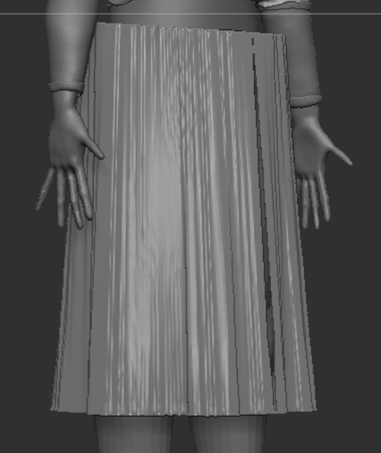
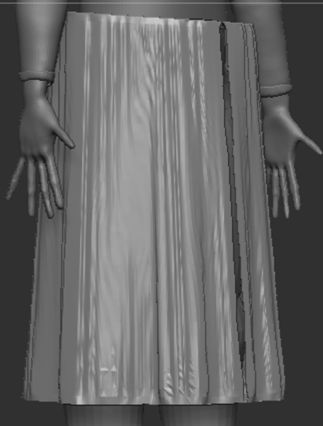
Once this is done, I am left with the two planes which are the top and bottom parts of the skirt. Complying with the tutorial, I used the ‘Curved Bridge’ tool to select both planes in order to create a bridge between them; this tool connects the edges of the two planes together, producing the skirt shown below. As it looks rather rigid, I used the ZRemesher tool and selected ‘KeepGroups’ to make it look smoother and deleted hidden again for any excess parts.
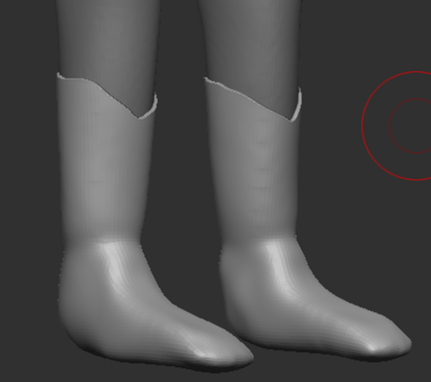
My character also needed boots and bracers to finalise the design. The method to make these followed the previous steps which was to mask then proceed with extracting.
Adjusting Details
Final Adjustments
After looking at the outcome of my character, I realised that the realistic style of the hair clashed with the rest of the stylised design of the character; therefore, I decided to recreate the hair with a more stylised approach.
Having been given a tutorial on how to create hair (Art Heroes, 2020), I followed the video and downloaded the brushes provided.
The process was fairly simple. By selecting the brush, I am able to draw out each strand individually and manually adjust it. The strand is then extracted and I then used the ‘Move’ brush to modify it further as the downloaded hair brush sometimes snaps the dots that I make. With this, I am able to create each strand and re-position them to my desired design and it is then ready to be imported to Maya.
jinx-star (2012) +BODY TYPE STUDY+ [DeviantArt]. Available online: https://www.deviantart.com/jinx-star/art/BODY-TYPE-STUDY-280531109 [Accessed 16/10/2023].
J Hill (2019) Fibermesh and Finishing in ZBRUSH! [Video]. Available online: https://www.youtube.com/watch?v=Xbi_iqk0FZI [Accessed 18/12/2023].
Maxon ZBrush (2018) #AskZBrush: “Any tips on modeling a Gown or a Skirt?” [Video]. Available online: https://www.youtube.com/watch?v=qbT8I3T1yto [Accessed 02/01/2024].
Art Heroes (2020) [FREE ZBRUSH TUTORIAL] How To Create Hair with IMM Brush [Video]. Available online: https://www.youtube.com/watch?v=FNjBKQZKHhc [Accessed 03/01/2024].